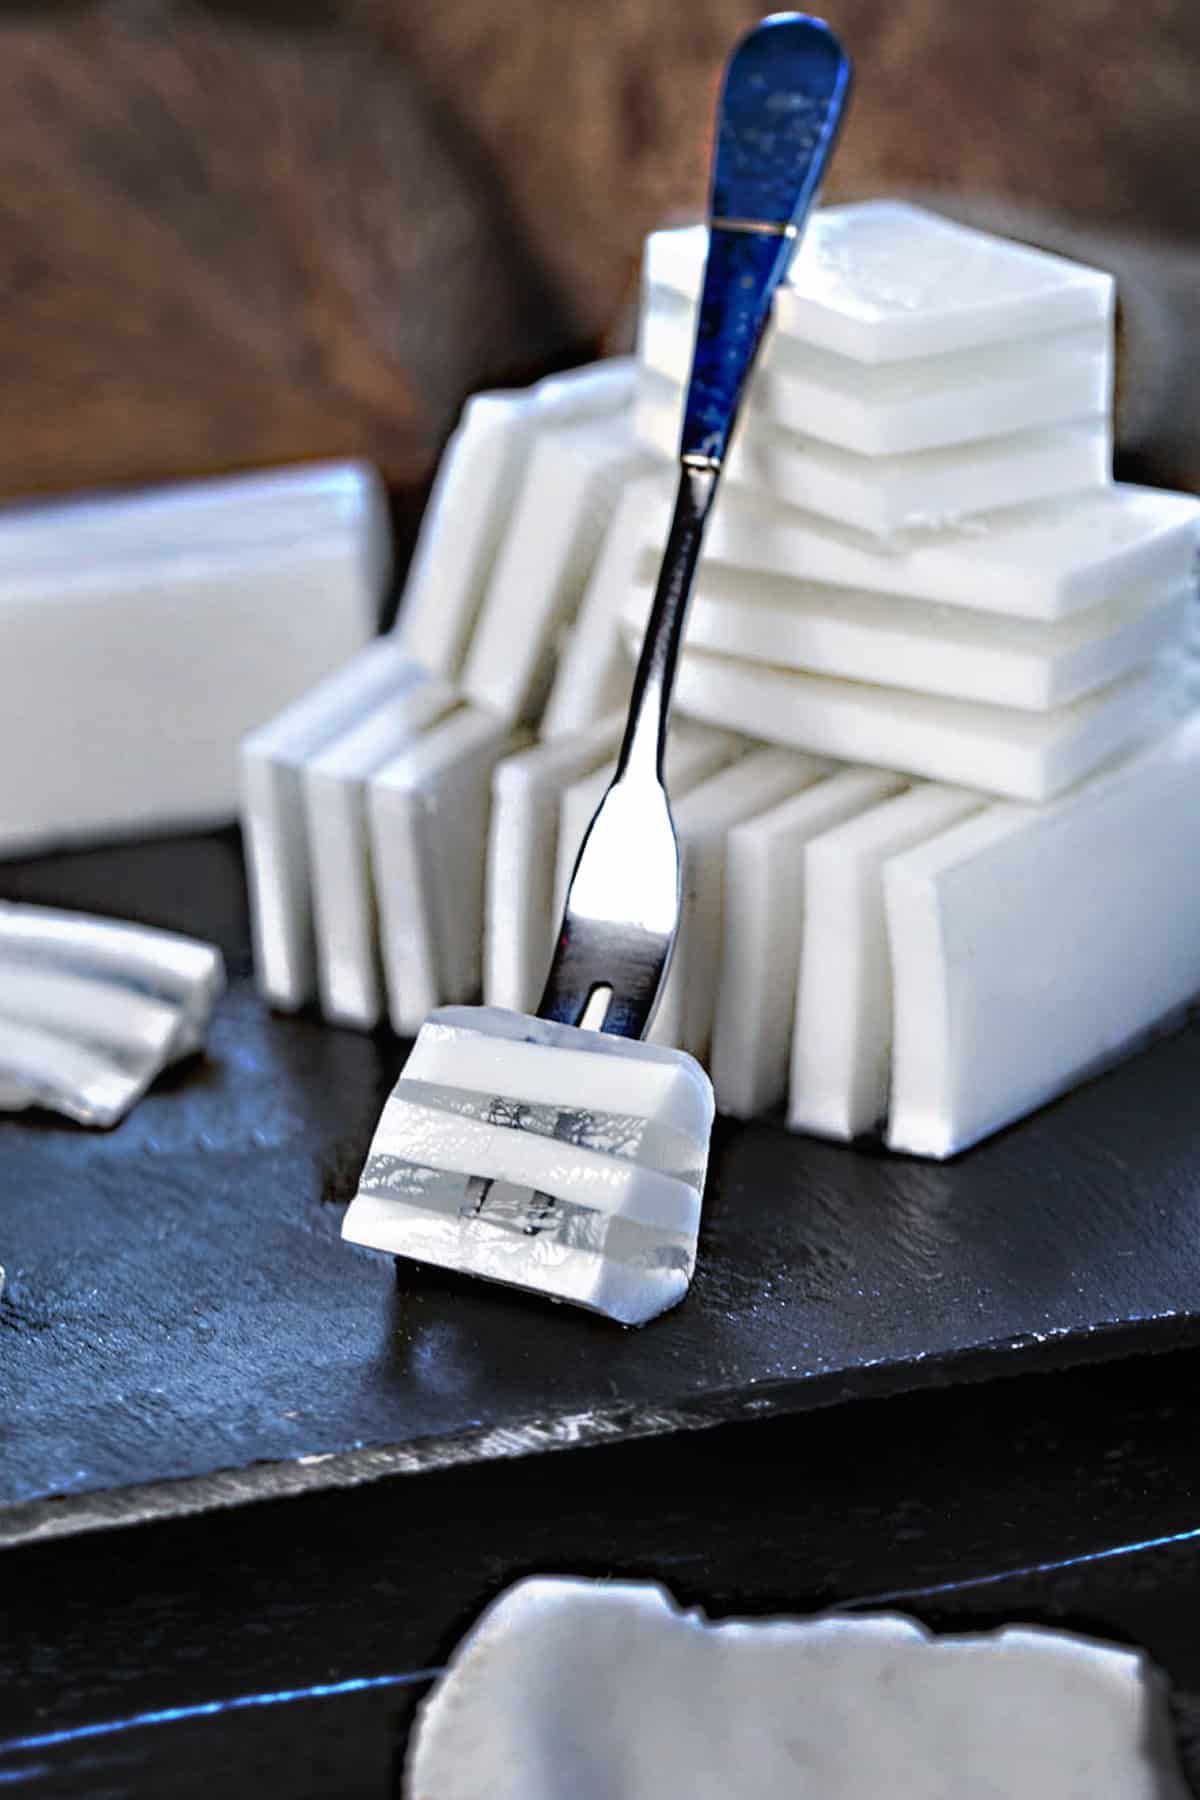
Try this simple and the best coconut jelly for a light and refreshing dessert. It's a perfect treat to cool off after a spicy meal or enjoy as a snack anytime. Plus, it's vegan and gluten-free!
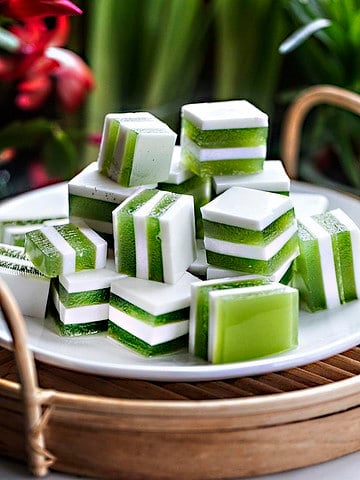
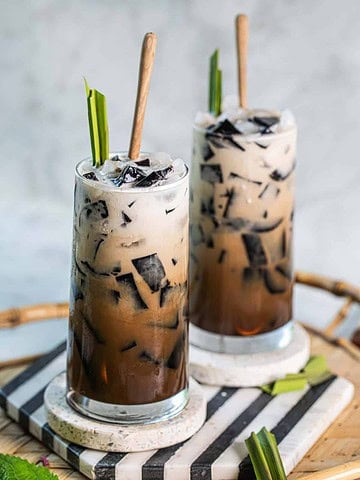
For more coconut milk desserts, check out these recipes. Pandan Coconut Jelly (with Agar Agar), grass Jelly Drink with Brown Sugar Syrup, pandan coconut custard, coconut pandan sticky rice,
Learn how to crack a coconut, old and young coconuts, and Make Coconut Milk (6 Ways!) Learn about pandan leaf and how to make pandan juice here.
Jump to:
Why You'll Love This Recipe
- It's vegan! So it's versatile, and everyone can enjoy this Thai recipe together!
- It's a Playful and fun Thai dessert, great for making with kids.
- This delicious coconut jelly is a Refreshing and light dessert, perfect for hot weather.
- Another good thing about this easy coconut jelly recipe is that it uses simple ingredients and is easy to prepare.
- The jelly-like morsels are great for a little snack for kids and adults alike!
What is Coconut Jelly?
Coconut jelly is a light and refreshing dessert made from coconut milk, coconut water, agar agar powder, sugar, and flavorings. It has a jelly-like texture and a subtle coconut flavor, making it a delightful treat.
What is agar-agar powder?
Agar agar is a natural thickening agent derived from seaweed. It's commonly used in Asian desserts to create a jelly-like texture. They are the vegan version of the gelatin powder, making this recipe a great option for vegans.
Find them at Asian grocery stores or check your health food store.
Ingredients for Coconut Agar Jelly
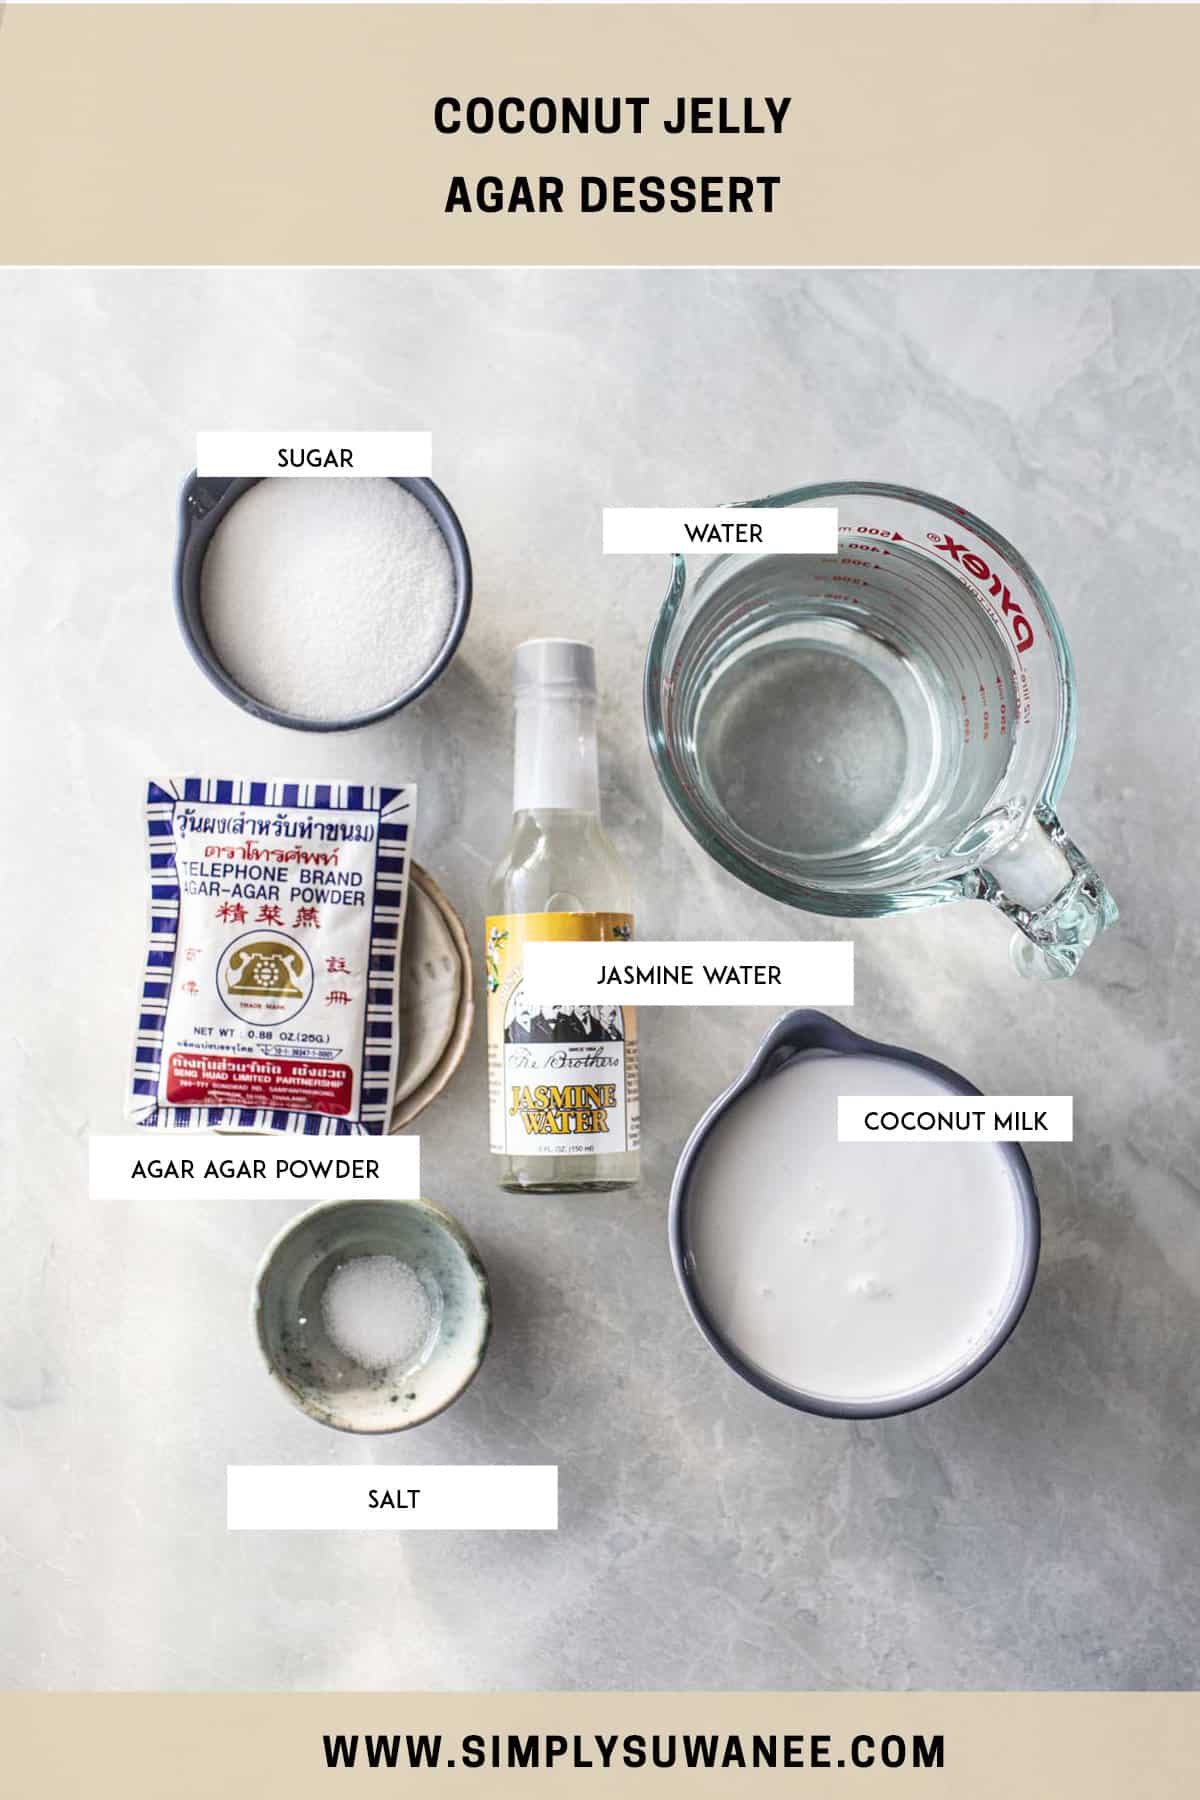
- Coconut milk: Adds creaminess and coconut flavor. You want to use full fat coconut milk for this recipe.
- Fresh Coconut water: Provides hydration and subtle sweetness.
- Agar agar powder: Acts as a thickening agent to set the jelly. Find these in the Asian markets.
- Salt: Enhances the flavor of the coconut.
- Sugar: Adds sweetness to the dessert. Use white sugar. Adjust the amount of sugar as needed for your taste buds.
- Scented water of choice: Optional for additional flavor. I've used the Sadaf brand's rose, jasmine, and orange blossom water. These waters can be found in the Asian market or online.
How to Make Coconut Agar Agar Jelly
1. The Coconut layer
This is the base layer of coconut jelly, where we use creamy white coconut milk. You can even make your coconut milk with fresh coconut to use if you are adventurous.
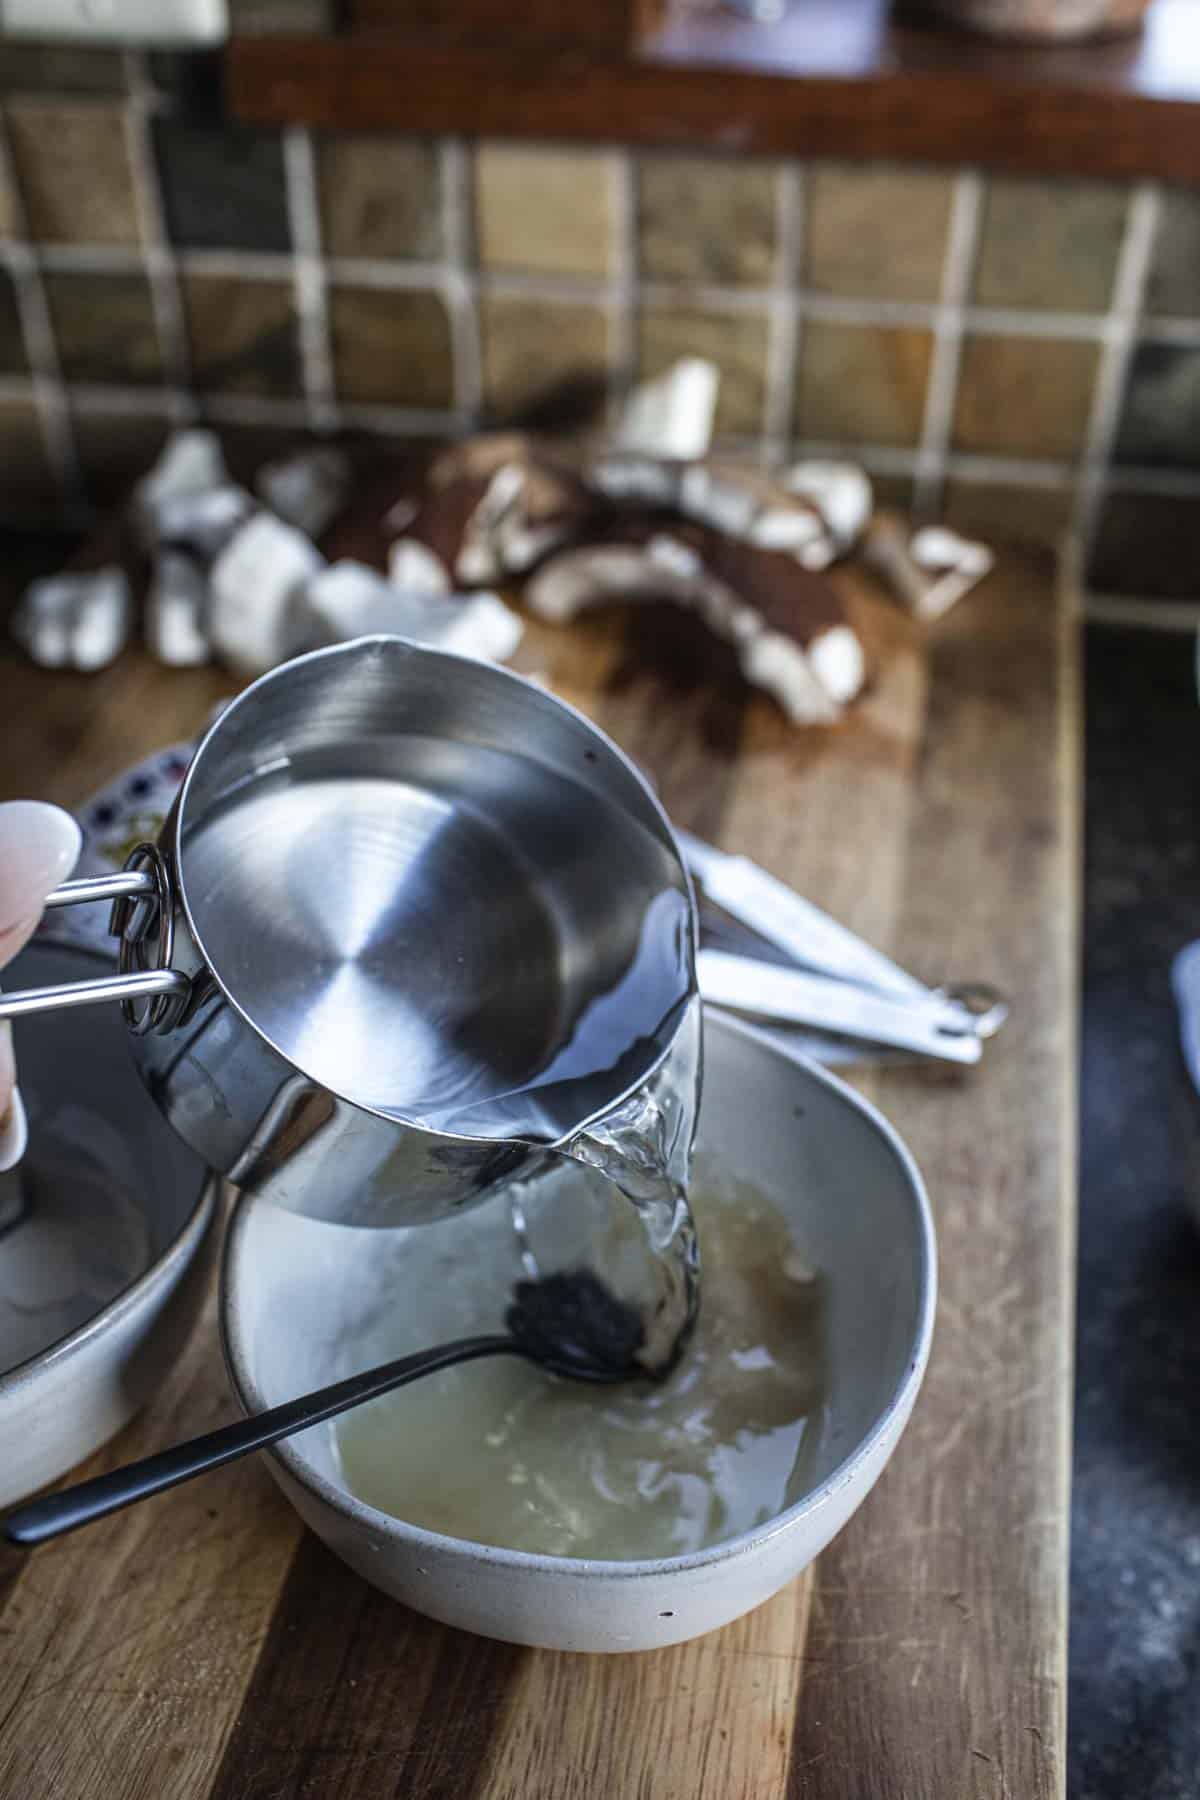
1. Make the agar water mixture. Add hot water to agar agar powder, whisk well, and let it dissolve and sit for 10-15 minutes.
2. Now, it's time to make the sweet coconut layer. Over medium heat, combine coconut milk, half of the water, half of the sugar, and salt in a small saucepan and gently bring it to a boil.

3. Quickly whisk the agar solution and add it to the coconut mixture in the saucepan. Stir until the agar is completely dissolved.
4. Carefully pour a little coconut milk mixture into a heatsafe container. A square glass bowl is good for this. Save the remaining coconut milk mixture for other layers.
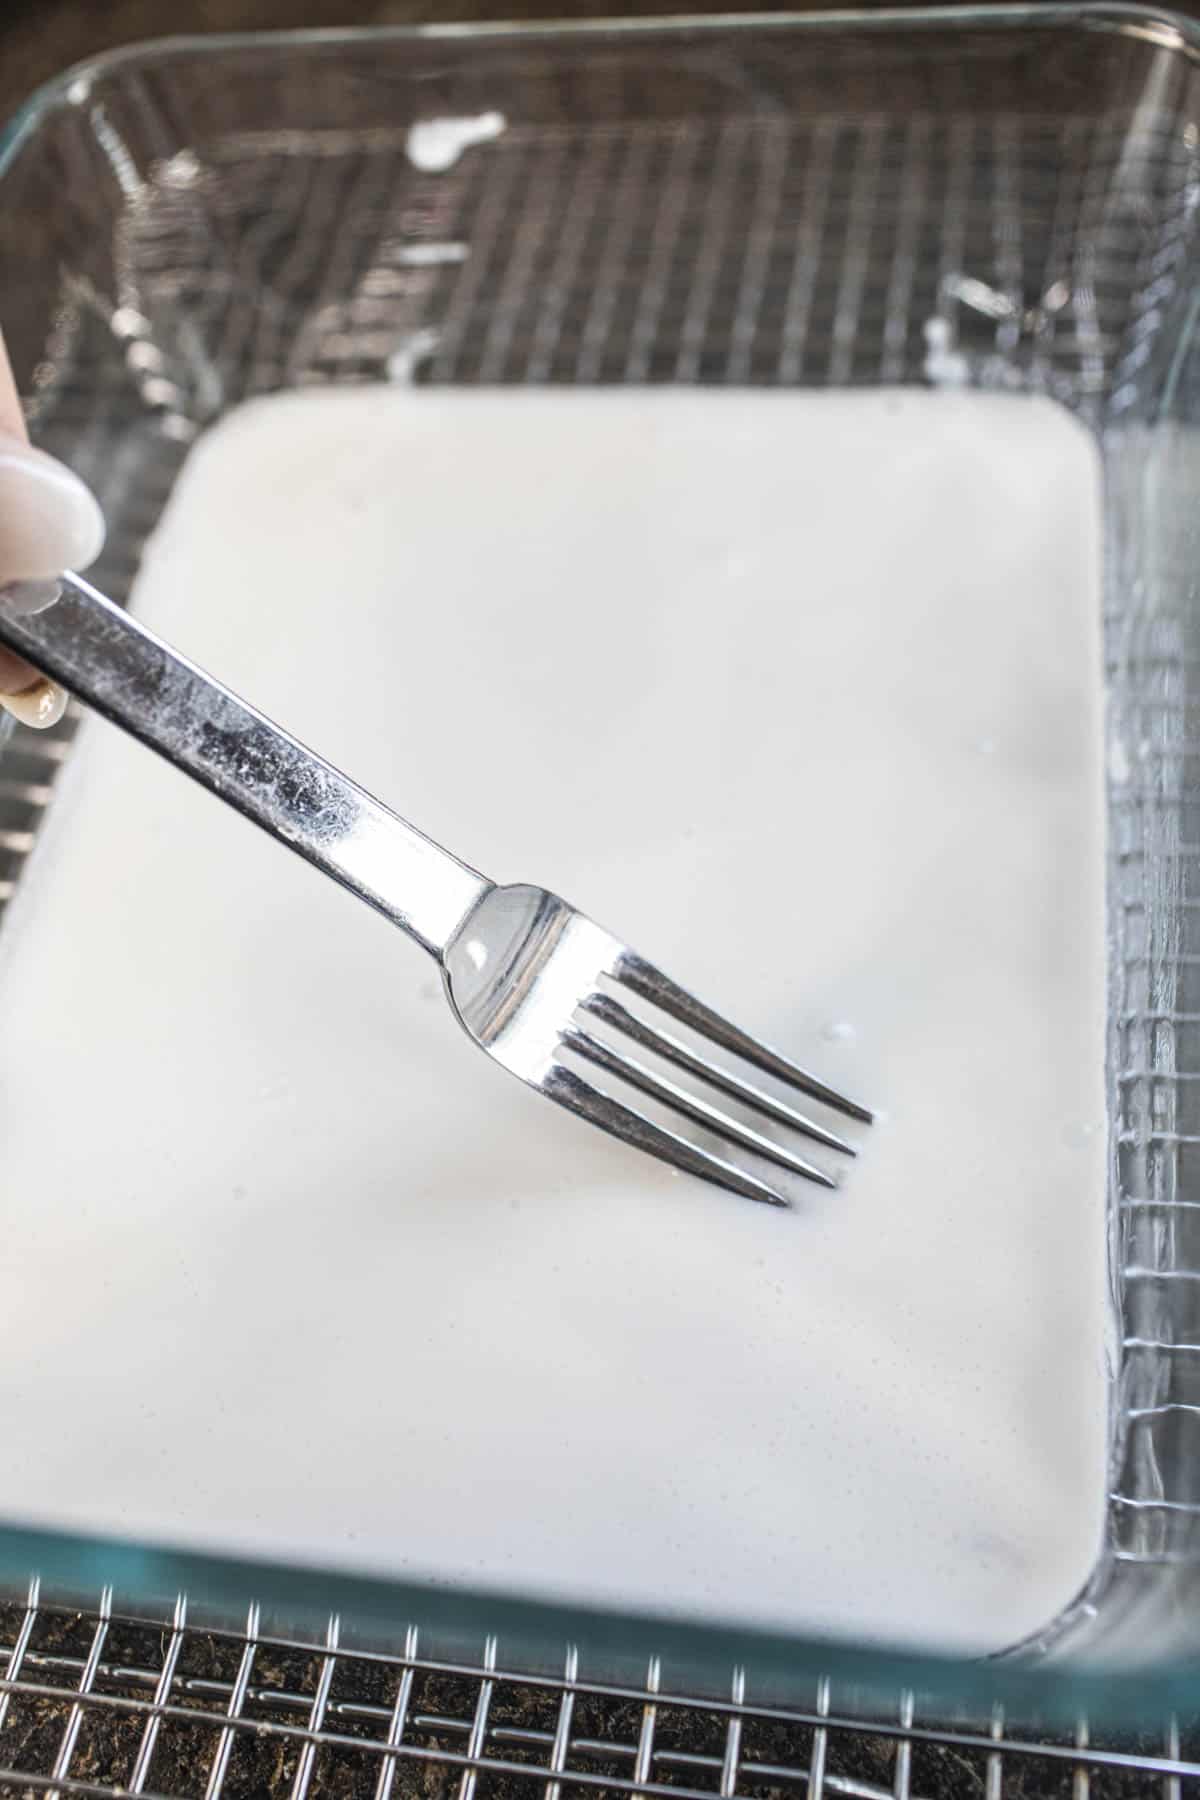
5. Allow this bottom layer to set either at room temperature or in the fridge. Keep a close eye on it as you don't want it to set to a firm, or the next layer won't stick to this one.
6. Keep repeating the layers until you run out of both liquids, letting each layer set properly. Once all the layers are done, chill the container in the fridge.
2. The Clear Layer
This is the clear layer of the jelly. Use coconut, jasmine, rose, or any scented water you choose. The more clear of the liquid used, the more distinct layers you'll get.
I used jasmine water, and then the combination of jasmine and coconut is heavenly!
1. Prepare the agar water mixture by dissolving agar agar powder in warm water. Let it sit for 10-15 minutes.
2. In another small pot, make the clear layer with boiling water, coconut juice, or any scented water of choice, sugar, and salt. Add the gelatin mixture and whisk all together until sugar and salt dissolve.
Keep the temperature to low heat to keep the mixture warm.
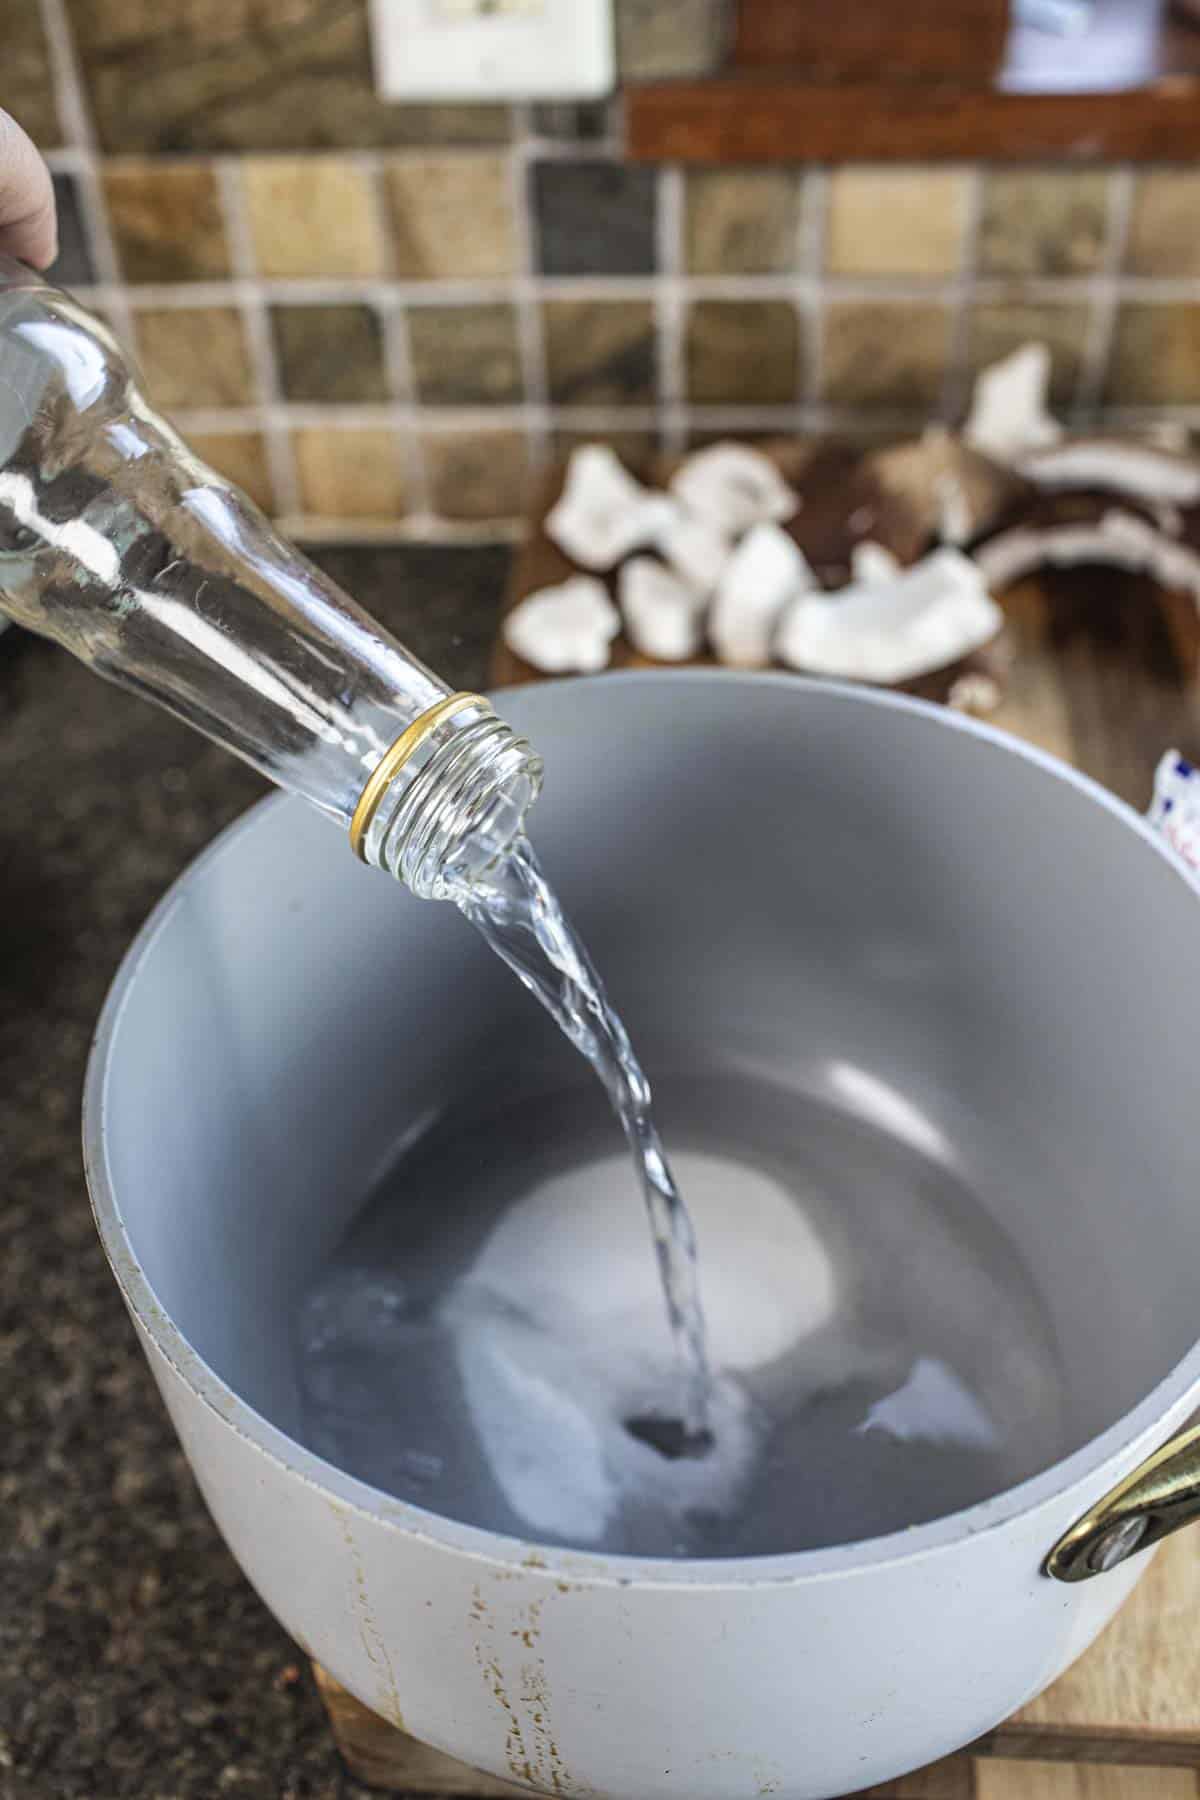
3. Gently pour ⅓ of the mixture over the coconut milk layer. Be careful not to tear the bottom sheet.
Use a corner to pour and slide the liquid around to cover the surface of the set jelly.
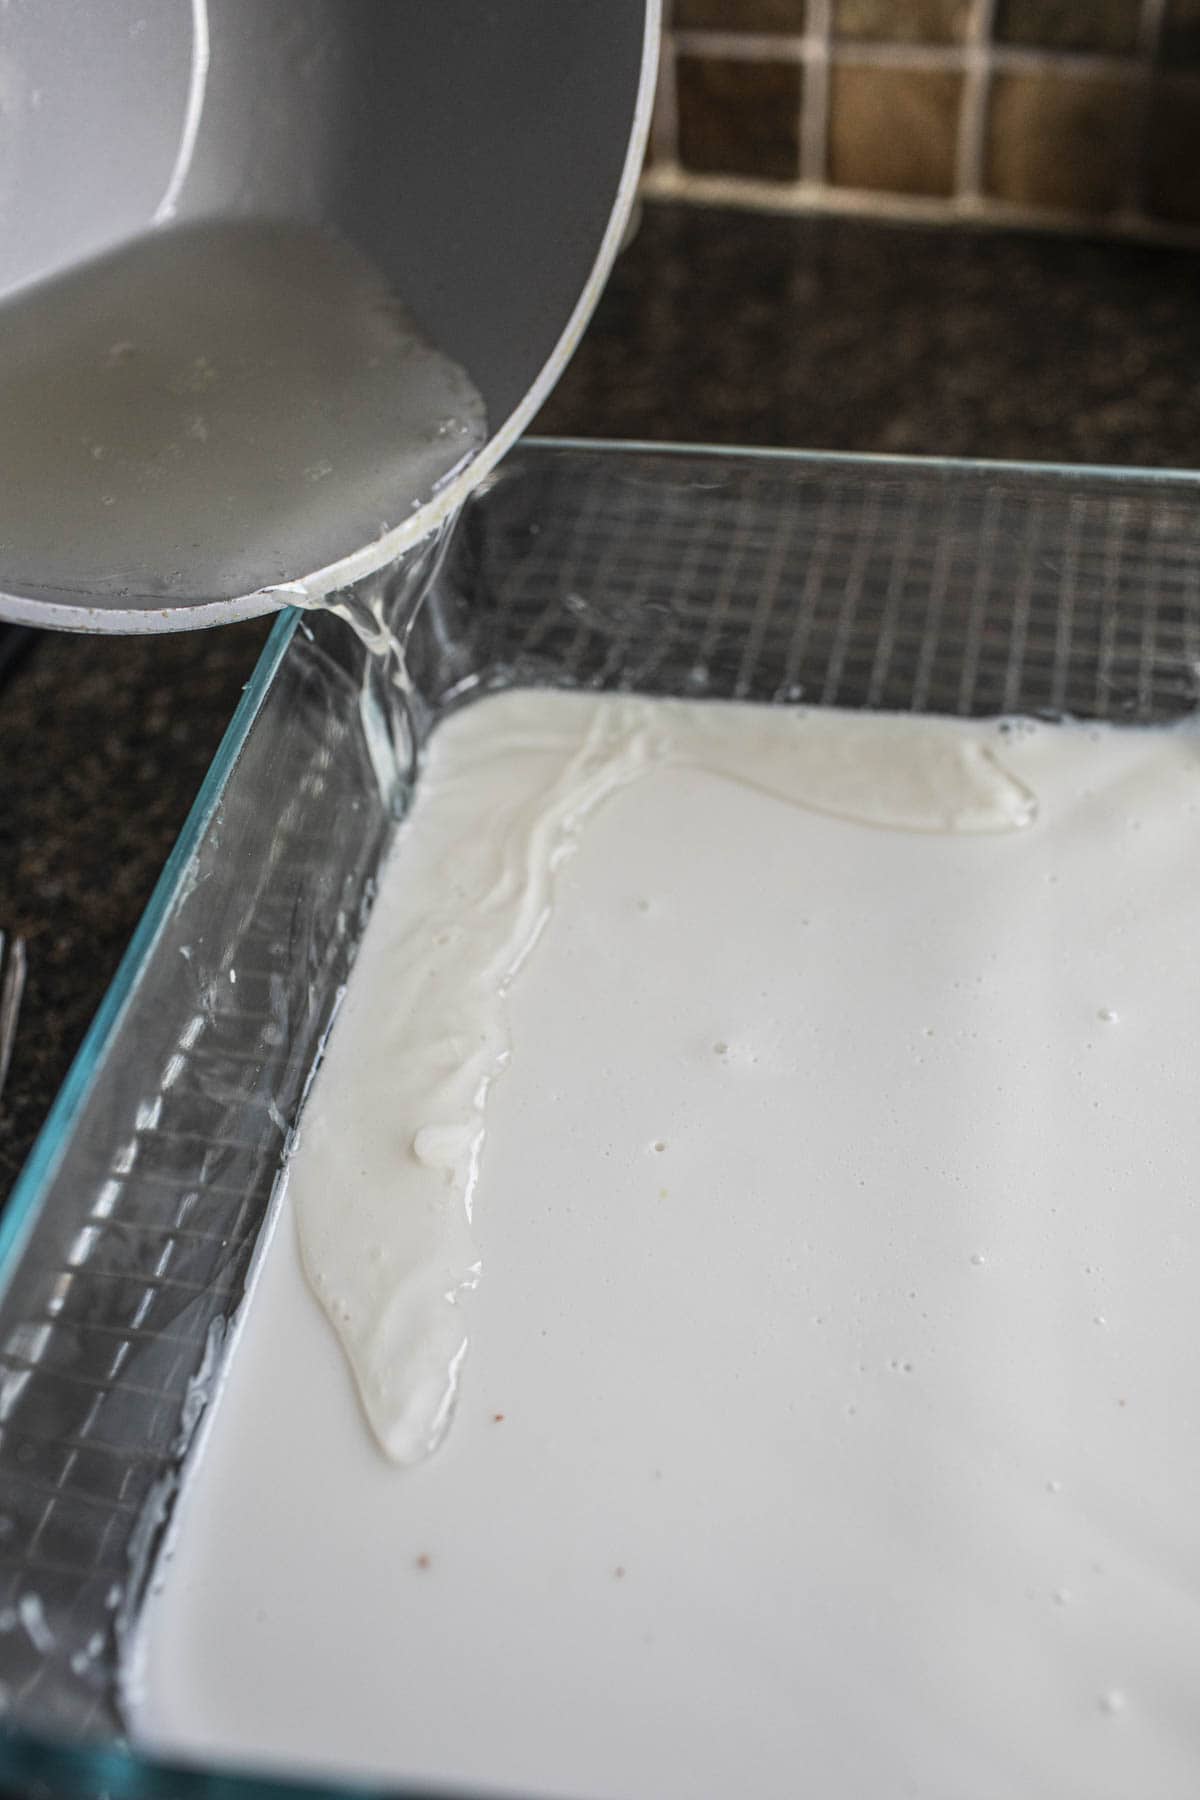
4. Alternate between the two layers until both liquid mixtures are gone. Once done, cover the jelly with plastic wrap and place it in the fridge for a complete cooldown.
When it's ready, cut the coconut jelly into any shapes you like and enjoy it cold!
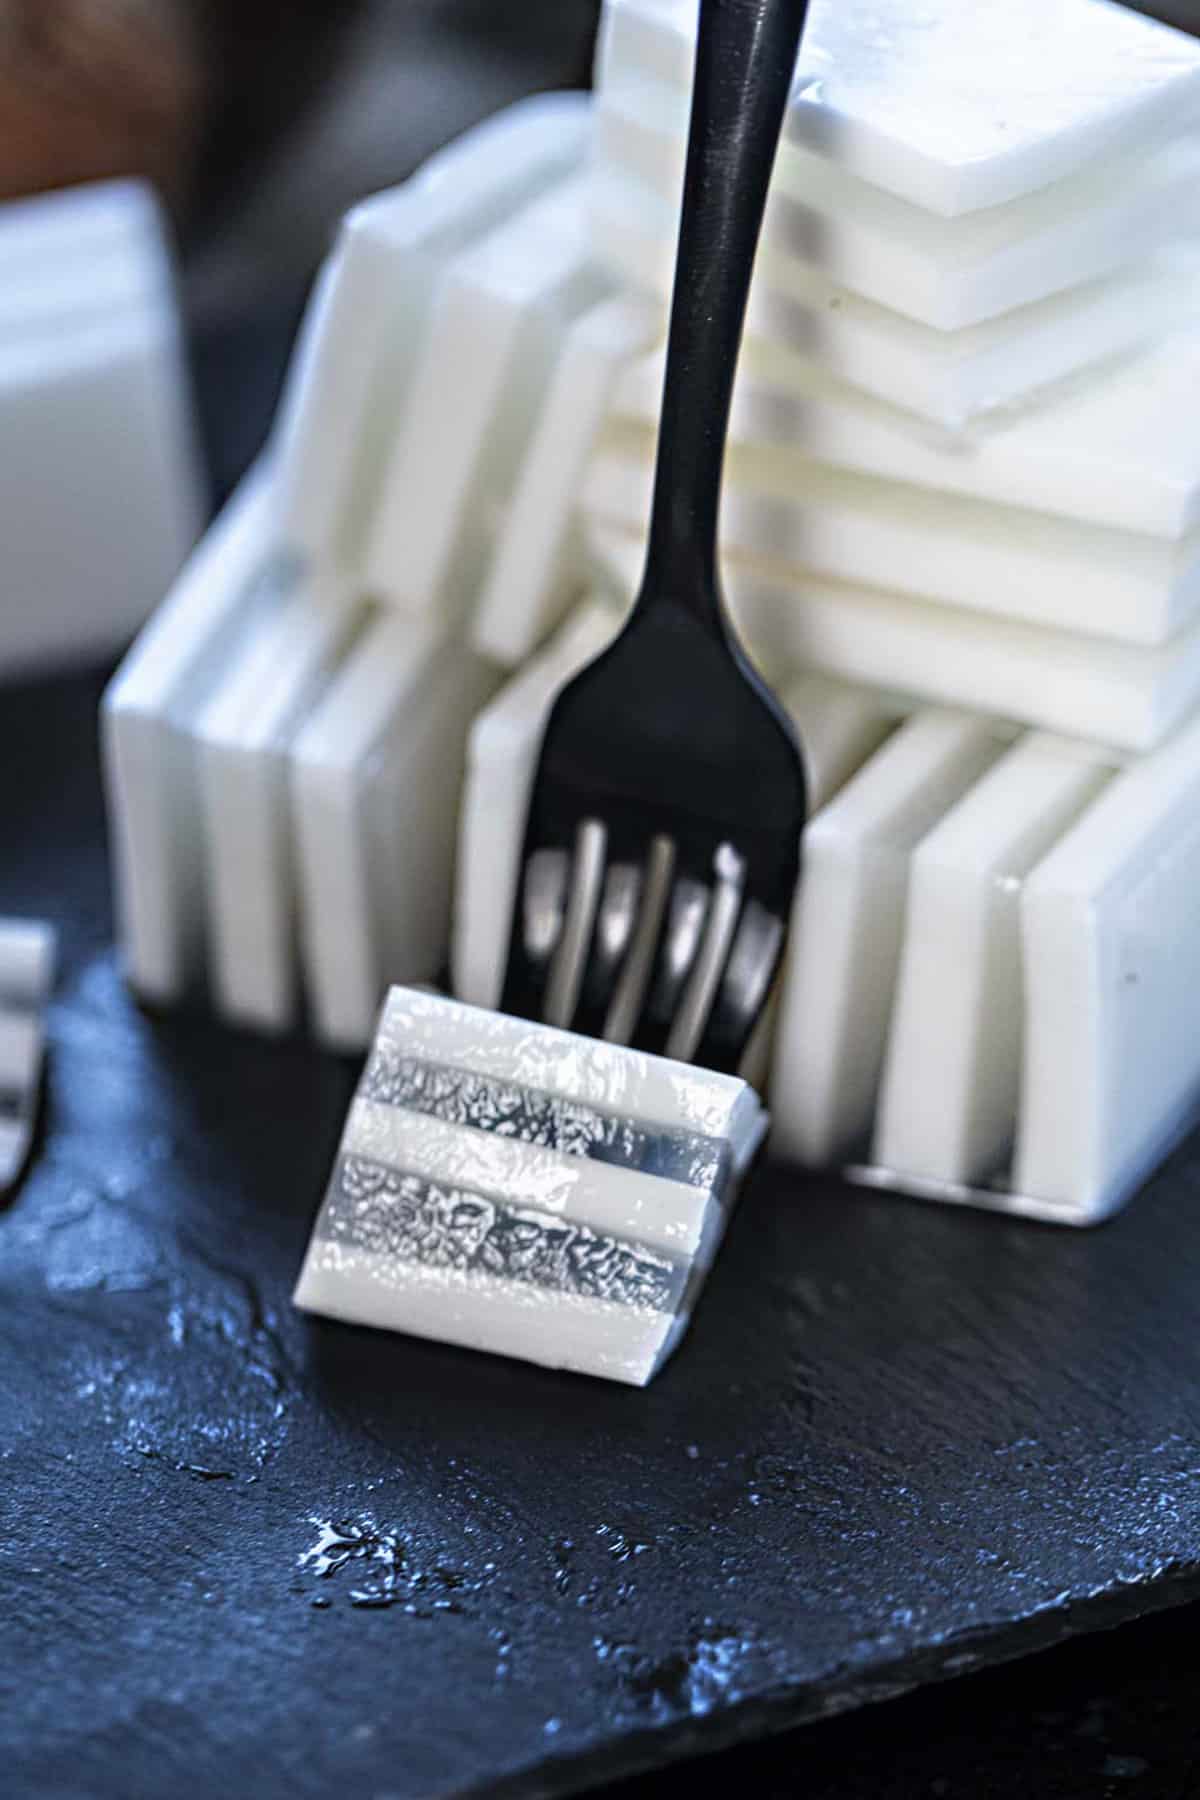
Serve the chilled coconut agar jelly as a refreshing dessert or snack.
Tips for the Perfect Coconut Jelly
- The amount of gelatin used will also determine how firm your jelly will be. If used too much, the jelly will not set right, and the layers won't stick together.
- Use full-fat coconut milk for a richer flavor and creamier texture.
- If using fresh coconuts, add the coconut meat from young green coconut to add texture to your jelly.
- Feel free to add some fruits to your jelly layers for extra texture and flavor.
- Adjust the amount of sugar according to your taste preferences.
- Experiment with different scented waters or flavorings for variations in taste.
Variations & Substitutes
- Add pandan, coconut, or vanilla extract to your jelly for a touch of fragrance.
- Add diced fresh fruit to the jelly mixture before setting for added texture and flavor.
- Substitute agar agar powder with gelatin if desired, following package instructions for substitution ratio.
Storage
Store leftover coconut jelly in an airtight container in the refrigerator for up to 3-4 days.
Other Related Recipes to Try Now
- Brown sugar simple syrup
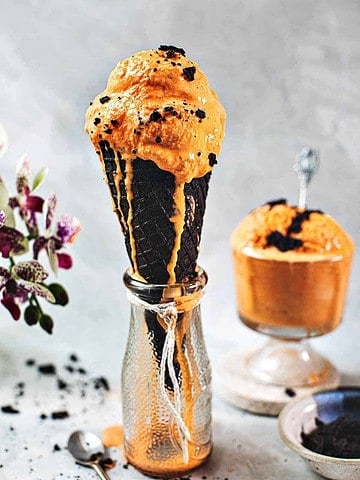
- Coconut ice cream
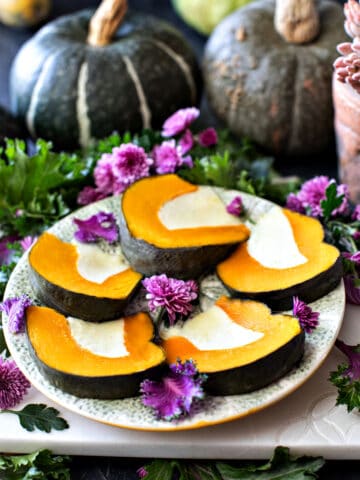
- Kabocha squash coconut dessert
- Kabocha custard
- Dried shrimp (how to use it and the best substitutes)
Frequently Asked Questions
Coconut jelly is made from coconut milk, water, agar agar powder, sugar, and flavorings.
Coconut jelly can last 3-4 days when stored in the refrigerator.
Coconut jelly is a refreshing dessert suitable for hot weather and enjoyable for all ages.
Coconut jelly has a jelly-like texture, similar to gelatin desserts, but softer and smoother.
**Love a recipe you've tried? Please leave a 5-star rating in the recipe card below and a review in the comments section further down the page. Or follow me on Facebook, Pinterest, or Instagram!**
Print
Easy Coconut Jelly
- Total Time: 40 minutes
- Yield: 10 servings 1x
- Diet: Gluten Free
Description
Try this simple coconut jelly for a light and refreshing dessert. It's a perfect treat to cool off after a spicy meal or enjoy as a snack anytime. Plus, it's vegan and gluten-free!
Ingredients
- 1 cup coconut milk
- 1 cup jasmine water, coconut water, rose water, or any scented water of choice
- 1 cup sugar, divided for each layer
- ½ cup sugar, divided for each later
- ⅛ teaspoon salt
- 2 teaspoon agar agar powder
Instructions
1. The Coconut layer
This is the base layer of coconut jelly, where we use creamy white coconut milk. You can even make your coconut milk with fresh coconut to use if you are adventurous.
1. Make the agar water mixture. Add hot water to agar agar powder, whisk well, and let it dissolve and sit for 10-15 minutes.
2. Now, it's time to make the sweet coconut layer. Over medium heat, combine coconut milk, half of the water, half of the sugar, and salt in a small saucepan and gently bring it to a boil.
3. Quickly whisk the agar solution and add it to the coconut mixture in the saucepan. Stir until the agar is completely dissolved.
4. Carefully pour a little coconut milk mixture into a heatsafe container. A square glass bowl is good for this. Save the remaining coconut milk mixture for other layers.
5. Allow this bottom layer to set either at room temperature or in the fridge. Keep a close eye on it as you don't want it to set to a firm, or the next layer won't stick to this one.
6. Keep repeating the layers until you run out of both liquids, letting each layer set properly. Once all the layers are done, chill the container in the fridge.
2. The Clear Layer
This is the clear layer of the jelly. Use coconut, jasmine, rose, or any scented water you choose. The more clear of the liquid used, the more distinct layers you'll get. I used jasmine water, and then the combination of jasmine and coconut is heavenly!
1. Prepare the agar water mixture by dissolving agar agar powder in warm water. Let it sit for 10-15 minutes.
2. In another small pot, make the clear layer with boiling water, coconut juice, or any scented water of choice, sugar, and salt. Add the gelatin mixture and whisk all together until sugar and salt dissolve. Keep the temperature to low heat to keep the mixture warm.
3. Gently pour ⅓ of the mixture over the coconut milk layer. Be careful not to tear the bottom sheet. Use a corner to pour and slide the liquid around to cover the surface of the set jelly. Allow it to set
4. Alternate between the two layers until both liquid mixtures are gone. Once done, cover the jelly with plastic wrap and place it in the fridge for a complete cooldown. When it's ready, cut the coconut jelly into any shapes you like and enjoy it cold!
Serve the chilled coconut agar jelly as a refreshing dessert.
Notes
- The amount of gelatin used will also determine how firm your jelly will be. If used too much, the jelly will not set right, and the layers won't stick together.
- Use full-fat coconut milk for a richer flavor and creamier texture.
- If using fresh coconuts, add the coconut meat from young green coconut to add texture to your jelly.
- Feel free to add some fruits to your jelly layers for extra texture and flavor.
- Adjust the amount of sugar according to your taste preferences.
- Experiment with different scented waters or flavorings for variations in taste.
- Prep Time: 10 minutes
- Cook Time: 30 minutes
- Category: dessert
- Method: stovetop
- Cuisine: Thai
** Thank you so much for visiting my blog! This is truly a passion for me. If you have enjoyed these recipes and appreciate the hard work I put into them, I would love it if you would share them with your friends! Your recommendation is the highest review I could hope for, and I’d appreciate it! **
Related
Looking for other recipes like this? Try these authentic Thai desserts.


Katherine Wolstenholm
Love this! So easy and refreshing!