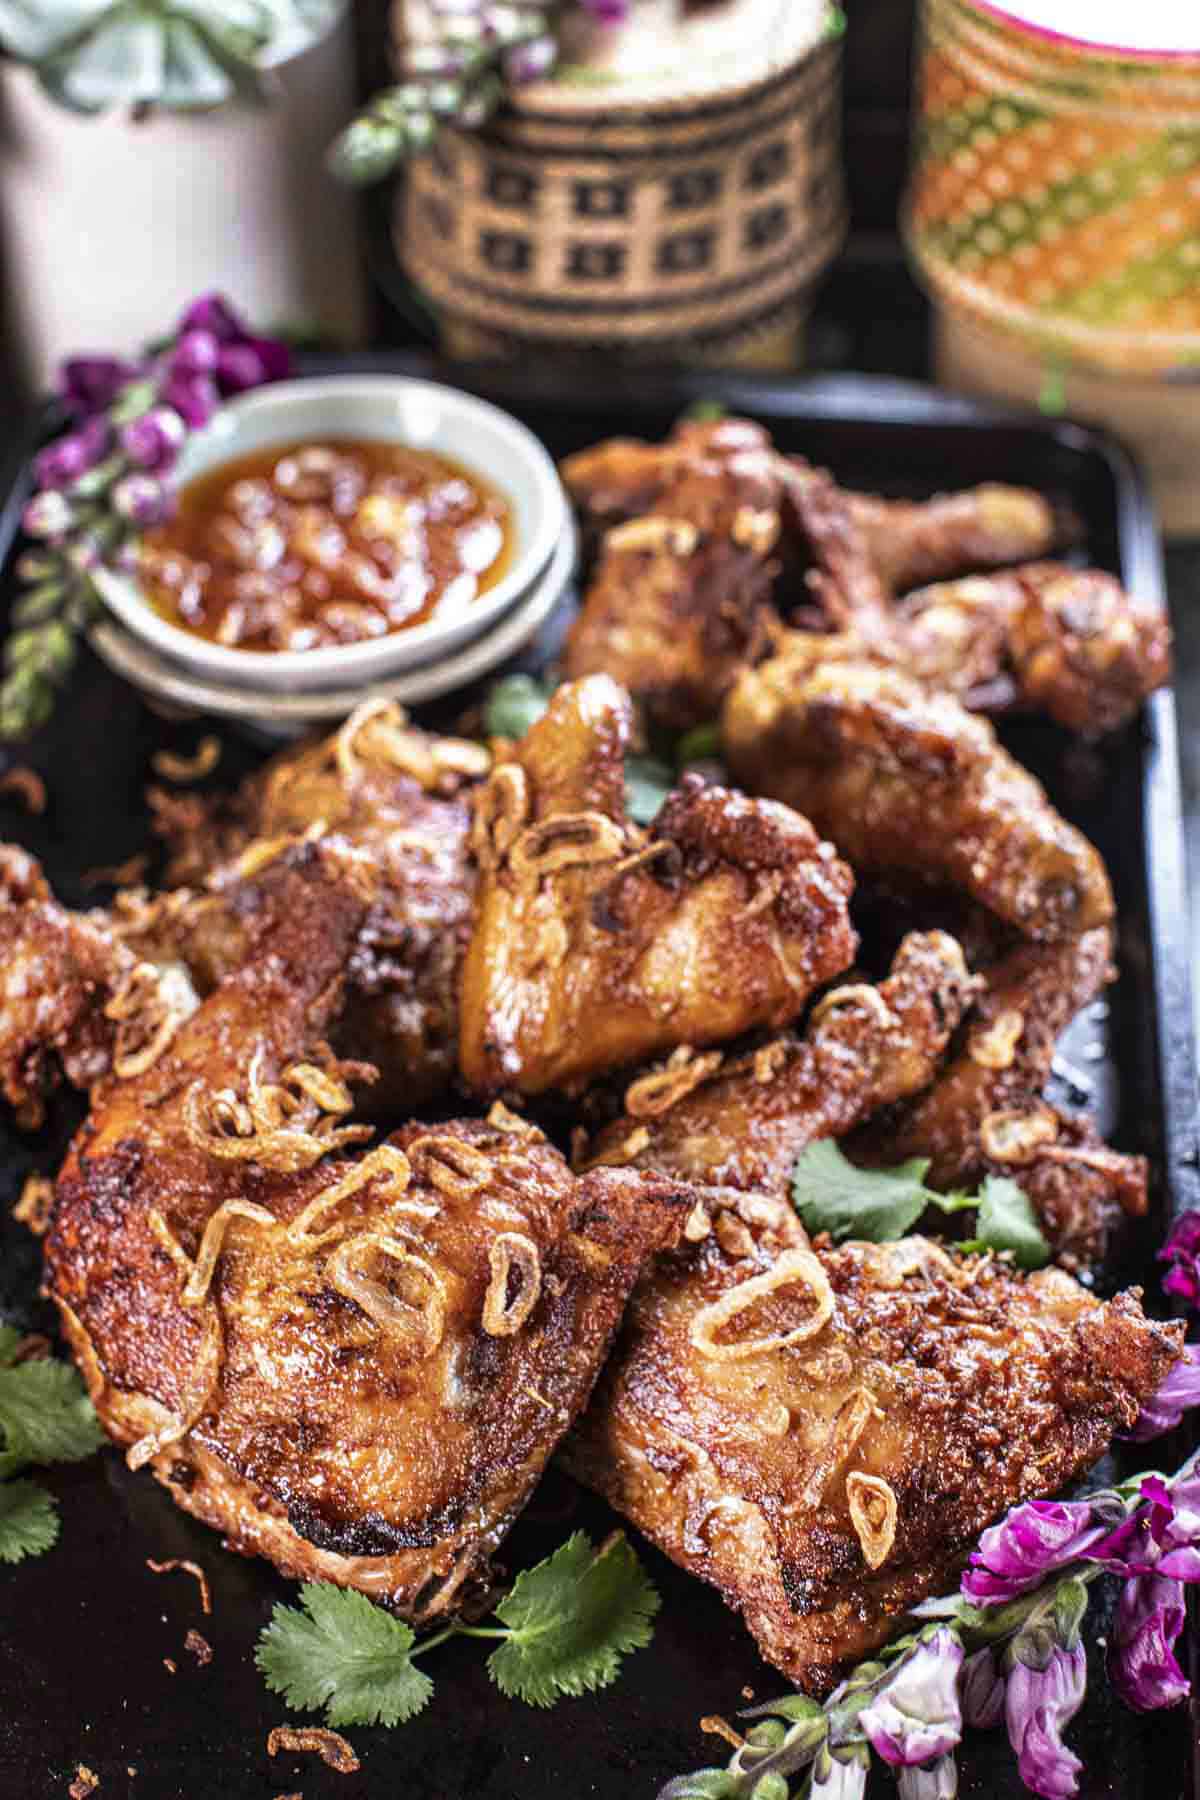
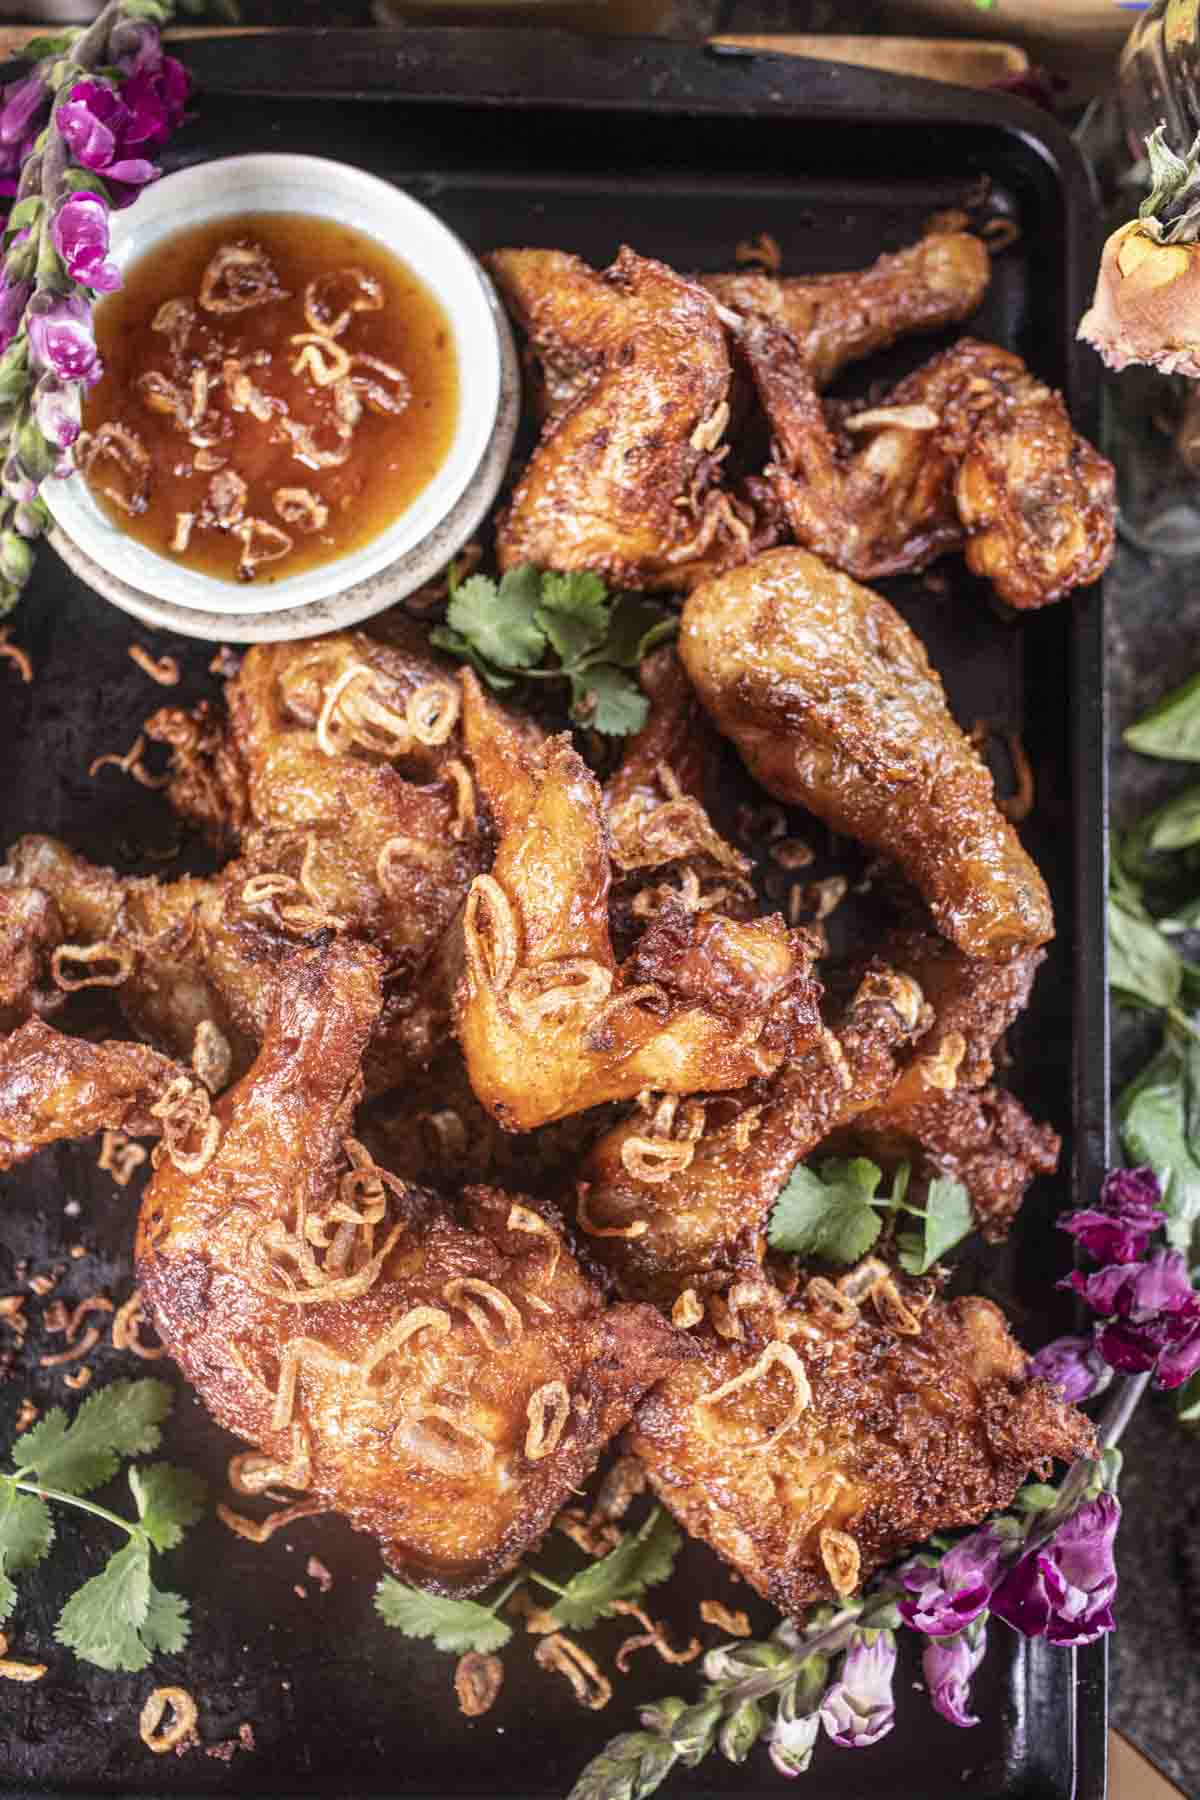
This Thai Fried Chicken Hat Yai is a delicious and crispy chicken dish for any occasion. Enjoy the extra crunch and flavor with every bite!
Jump to:
- What is Hat Yai Fried Chicken
- Why Try This Southern Thai Fried Chicken
- Ingredients for Thai Fried Chicken Hat Yai
- How to Make Thai Fried Chicken Hat Yai
- How to Serve Hat Yai
- Tips for the Perfect Crispy Fried Chicken
- Helpful Kitchen Tools for This Recipe
- Variations & Substitutes
- Other Thai Recipes You'll Love
- Frequently Asked Questions
- Thai Fried Chicken Hat Yai
- Pairing
Learn how to make the perfect crispy fried shallots here.
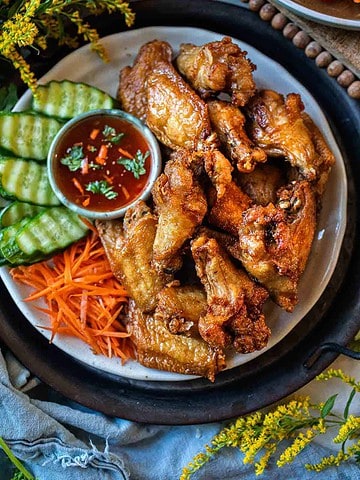
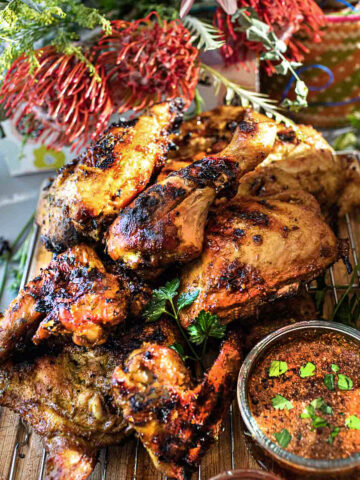
Another similar recipe is the Gai Tod, thai fried chicken wings. Try grilled chicken Gai Yang or oven-baked lemongrass chicken.
What is Hat Yai Fried Chicken
Thai Fried Chicken Hat Yai (gai tod hat yai) is a beloved street food from southern Thailand, celebrated for its crispy exterior and savory marinade.
Originating from south Thailand, this dish features succulent chicken pieces marinated in a medley of Thai herbs and sauces. The chicken is then fried until golden brown.
It's often topped with crispy shallots for an extra crunch and flavor.
Why Try This Southern Thai Fried Chicken
- Tasty and flavorful, with a crispy exterior, juicy interior, and a crunchy texture
- Great for serving as a main meal or party appetizer.
- Offers an authentic taste of Thai street food with the perfect fried chicken
Ingredients for Thai Fried Chicken Hat Yai
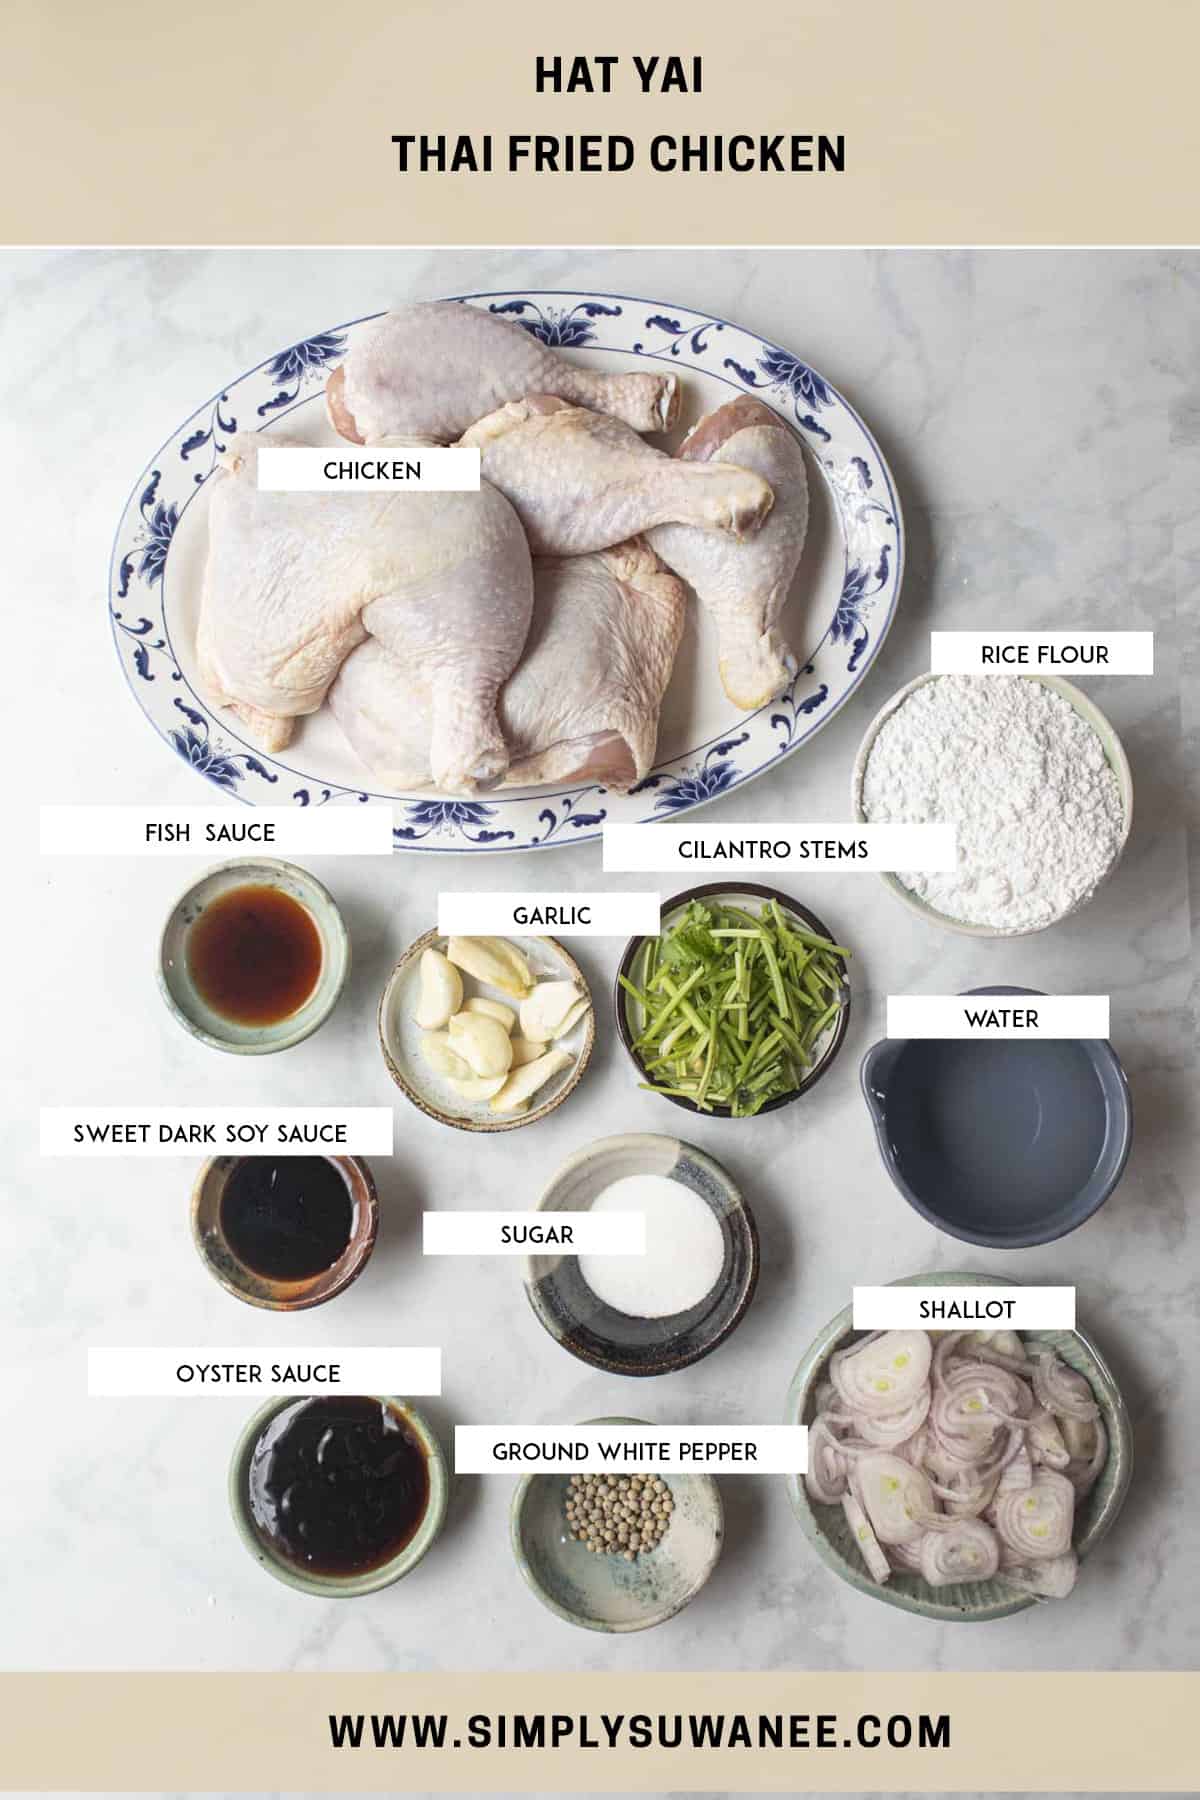
- Chicken thighs, legs, drumsticks, or wings. The meaty parts of the chicken give the dish its main flavor and texture. Leaving the skin and bones on helps keep the chicken juicy and adds to its taste.
- Rice flour. This is used to coat the chicken pieces before frying. It makes them crispy outside, giving that crunchy bite we love. More about Thai rice flour and noodles here.
- Cilantro stems roots. These fresh herbs add a nice, herby flavor to the marinade, making the chicken taste aromatic. The cilantro (coriander root) is difficult to find in the US. The largest and lowest stems will make the unique Thai paste to marinate the chicken. More about fresh Thai herbs here.
- Garlic. Garlic gives the marinade a strong, savory taste, making the chicken delicious.
- Whole white peppercorns. This adds a bit of gentle spiciness and flavor to the marinade, balancing everything out. You can use black peppercorns, but they don't have the same taste and aroma as white pepper. More about Thai spices here.
- Oyster sauce. It adds a savory richness to the marinade, making the chicken taste even better. Read more about Thai sauces here.
- Fish sauce. The fish sauce brings in a salty and savory flavor, giving the chicken its unique Thai taste.
- Sweet dark soy sauce. This sauce adds sweetness and dark brown color to the marinade, making the chicken look glossy and tasty.
- Sugar. Sugar balances the flavors by adding a bit of sweetness to the marinade, making the dish more enjoyable.
- Water. Water helps to thin out the marinade, making it easier to spread evenly over the chicken, keeping it moist and flavorful.
- Shallot. The shallot will be crispy fried and used as a garnish for extra flavor and crunchiness. Red onions are not recommended as a substitute for the authentic recipe.
- Oil (neutral oil for deep frying). We use oil to fry the chicken until it's golden brown and crispy. Neutral oils like vegetable or canola oil are best for frying because they don't change the chicken's flavor.
How to Make Thai Fried Chicken Hat Yai
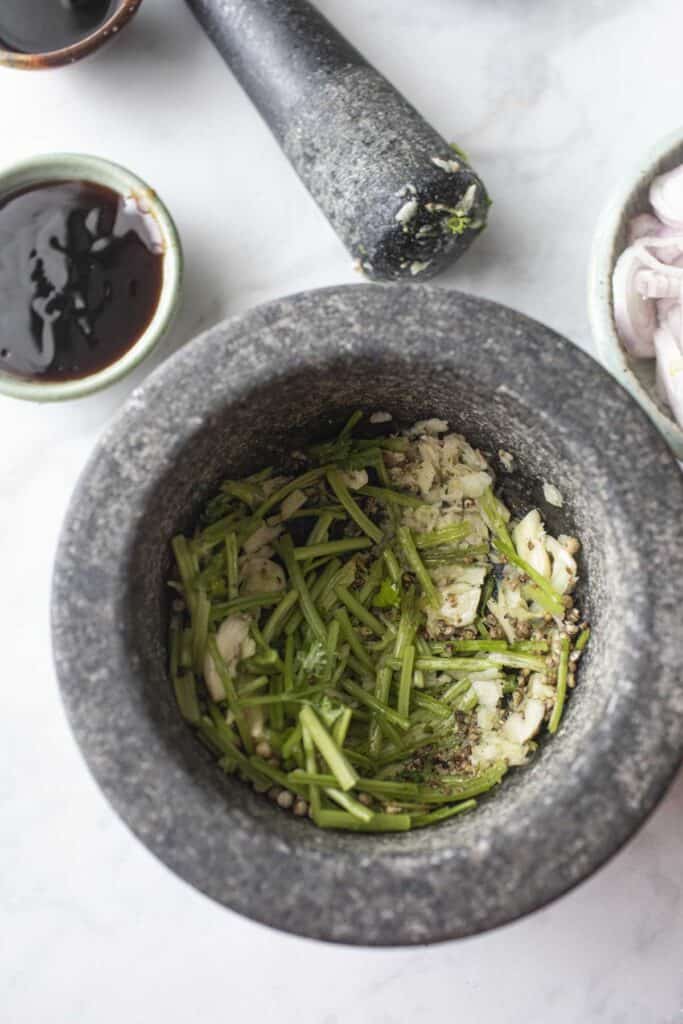
1. Make the paste with cilantro, garlic, and white pepper in a mortar and pestle and pound it together until a rough paste forms.
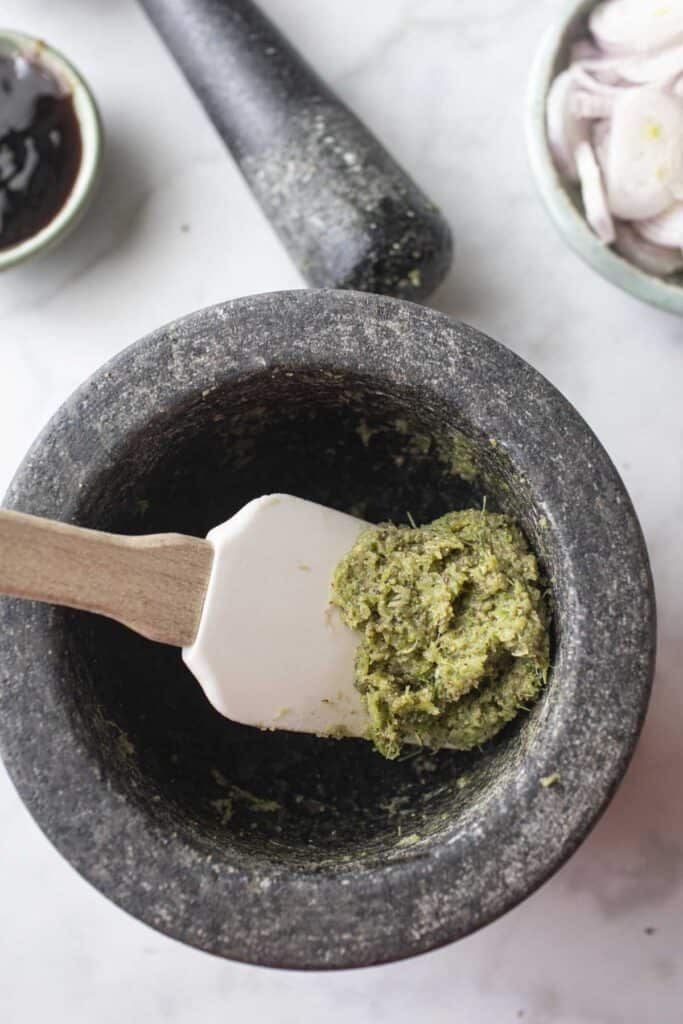
2. Combine the marinade ingredients using oyster sauce, fish sauce, sweet dark soy sauce, sugar, and ¼ of the water into the mortar and pestle with the paste.
Use the pestle to swirl the ingredients together until the sugar dissolves.
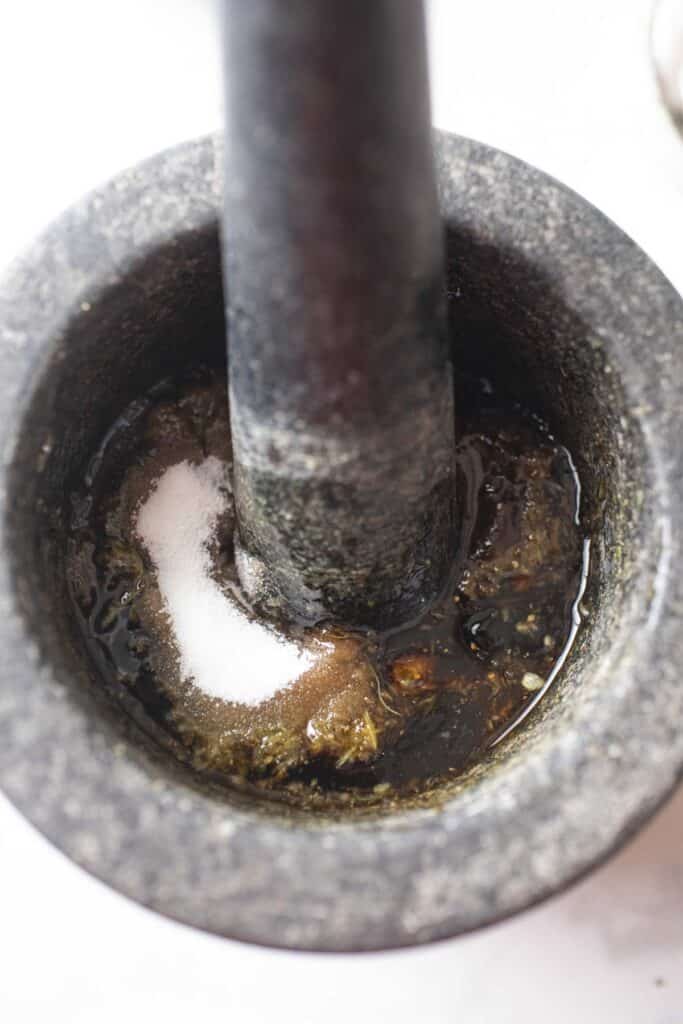
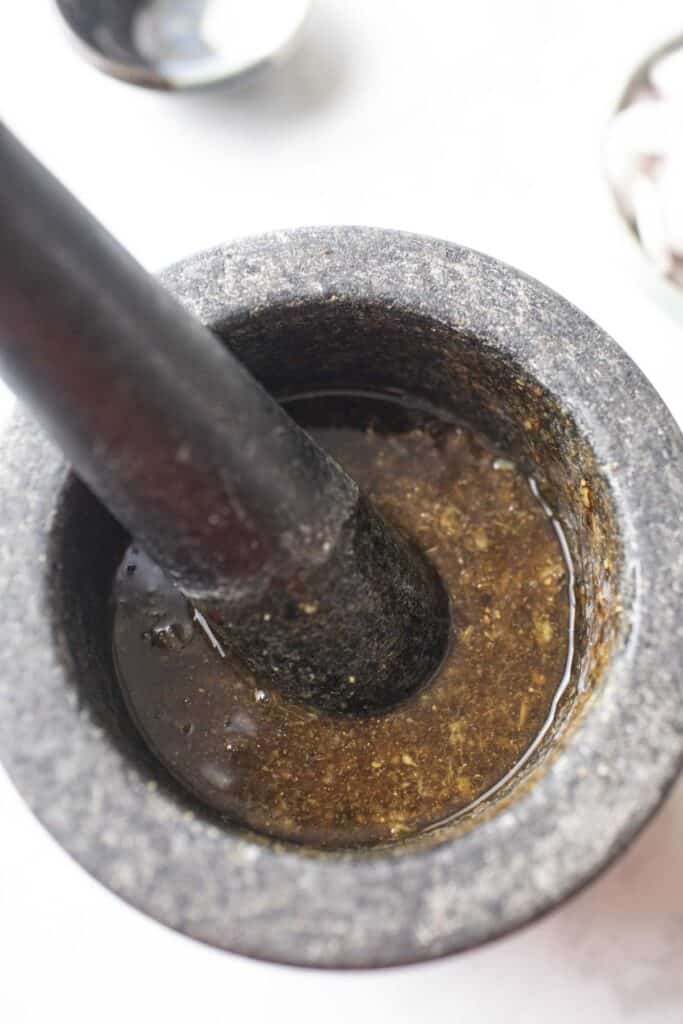
3. Add the chicken in a large bowl, container, or ziplock bag, then pour the marinade sauce over the meat. Rub the sauce well over the pieces.
Marinate the chicken for 30 minutes at room temperature or up to 5 hours in the fridge.
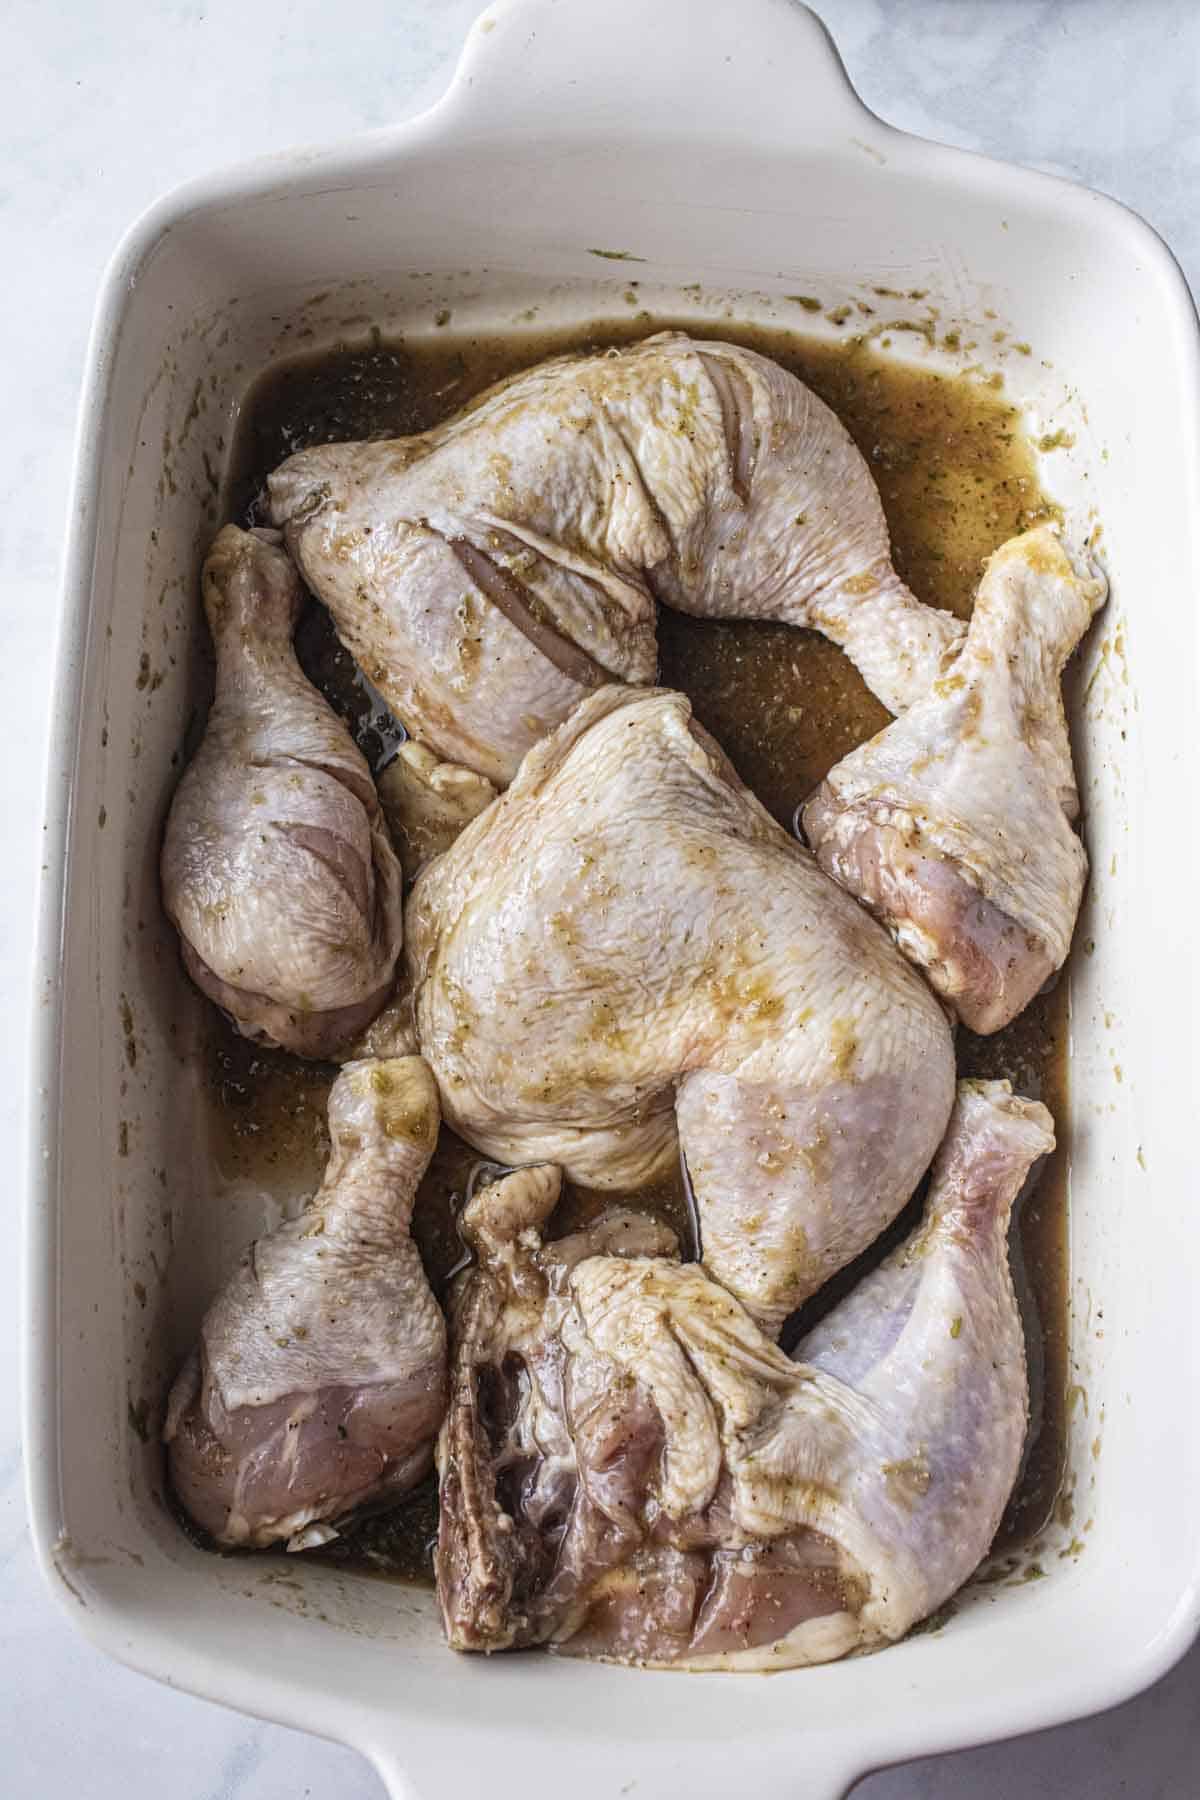
Rotate the chicken in the marinating sauce at least once for all sides to get the sauce.
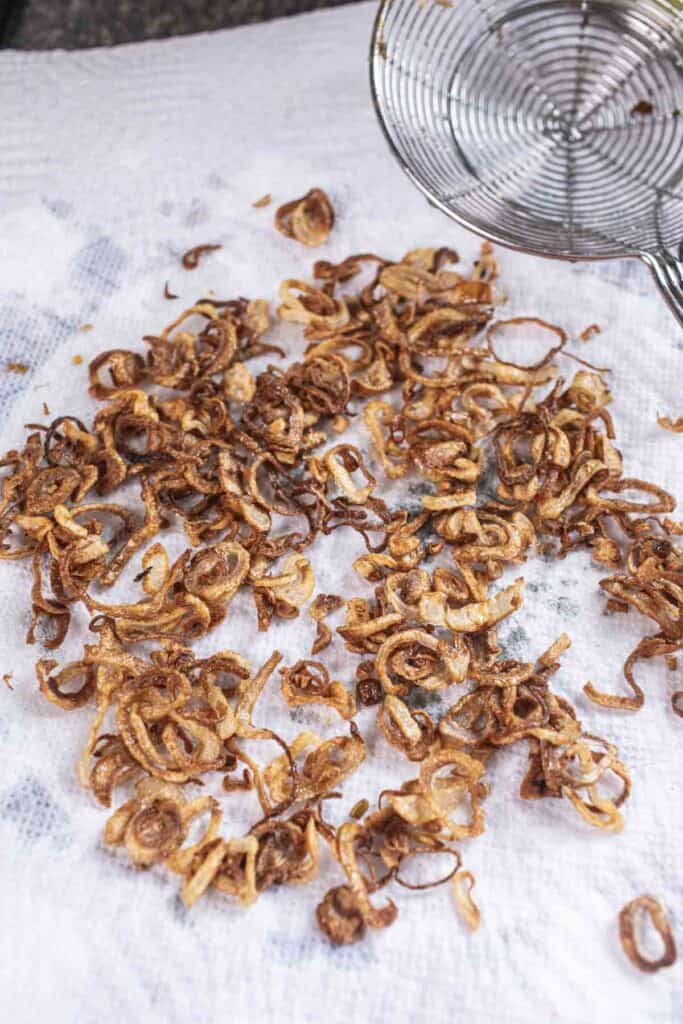
4. Fry sliced shallots on medium heat until golden brown. Remove using a slotted spoon or wire mesh strainer. Placed the fried shallot over a paper towel-lined plate to absorb extra oil.
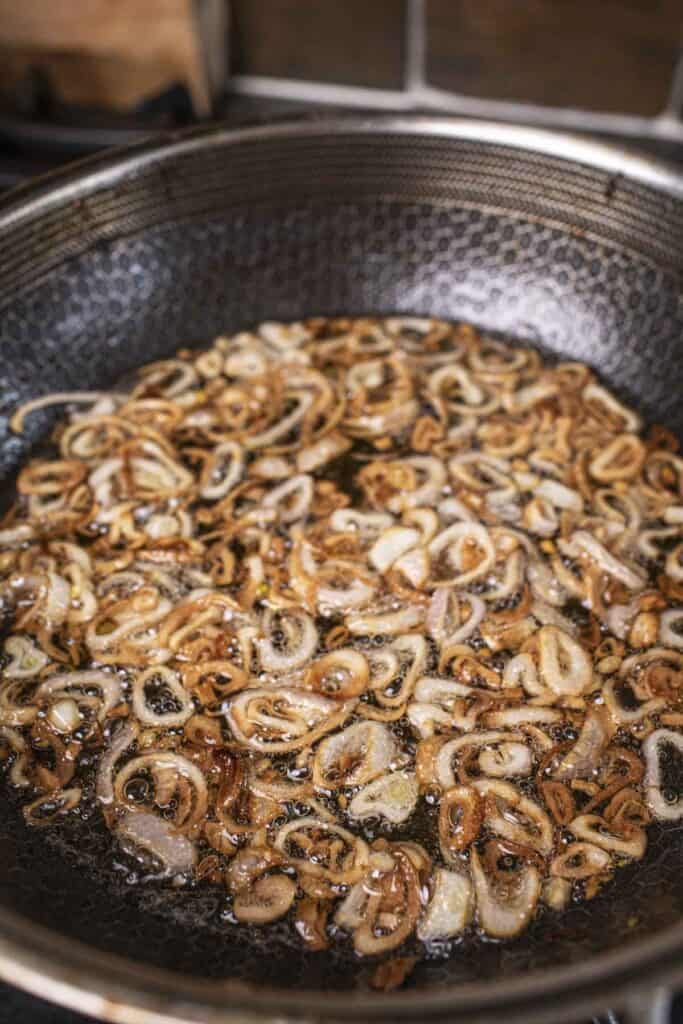
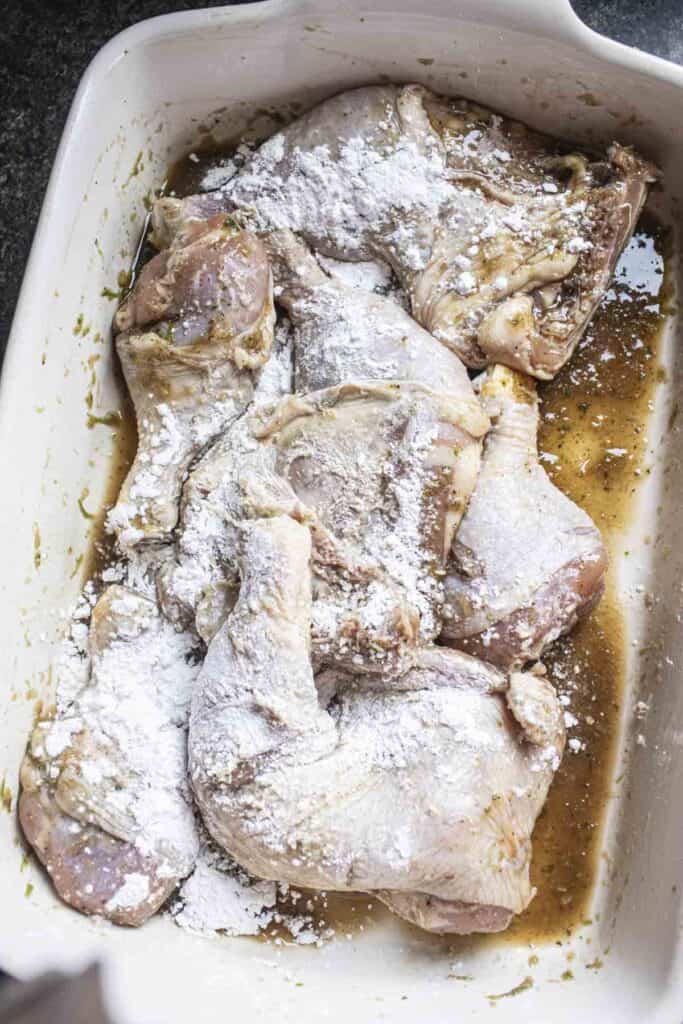
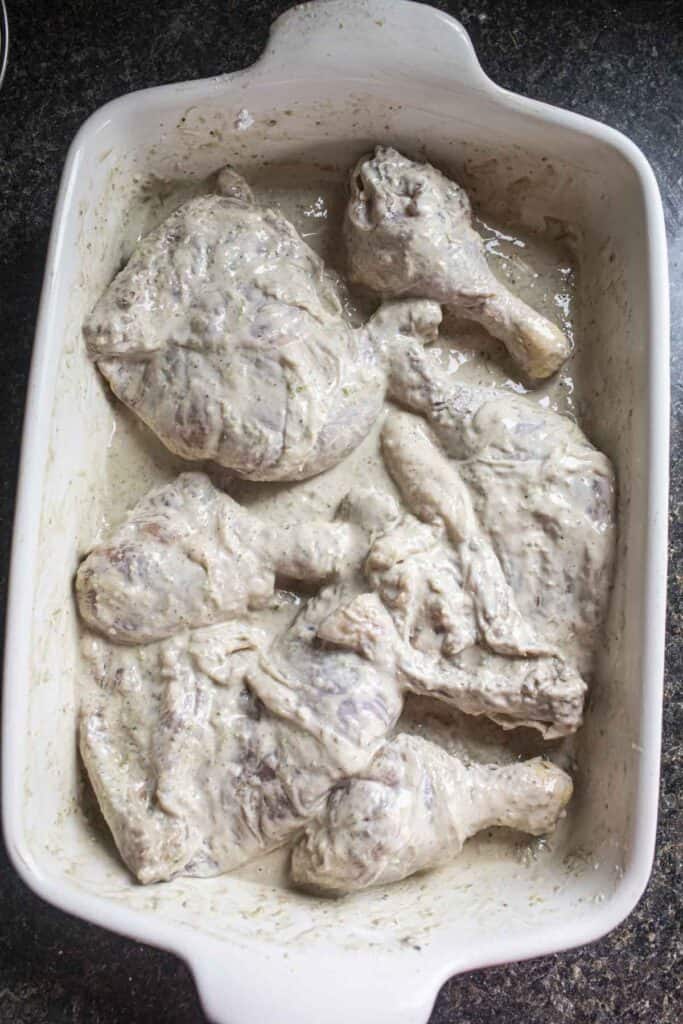
5. Take the chicken out of the fridge and let it chill for 20 minutes. Gradually sprinkle flour and rub it in until it's all mixed in. Use the marinade to help blend the flour.
Keep going until the chicken is coated in a thick, but not dry, flour texture. Kitchen gloves will make this step easier.
6. Heat the oil on medium-high heat. Add the chicken pieces to the hot oil once hot. Work in batches; for best results, don't overcrowd your pan.
Fry anywhere from 6-12 minutes, depending on the size of your chicken.
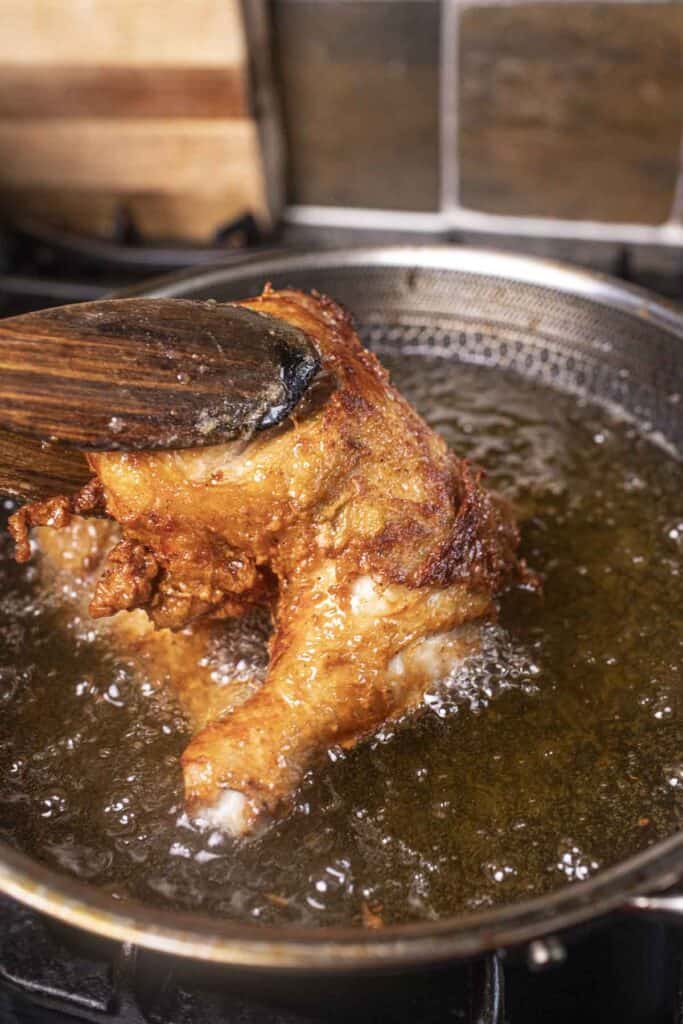

Use a meat thermometer to cook the chicken through. Cook to a minimum temperature of 165 °F (74 °C).
7. Remove the cooked chicken to a rack or a dried paper towel platter. Sprinkle a generous amount of the fried shallot over the chicken and serve with Thai sticky rice. Enjoy!
How to Serve Hat Yai
Thai Fried Chicken Hat Yai pairs well with Thai sticky rice, purple sticky rice, green papaya salad, Thai light salads like Yum Woonsen, and spicy corn salad. Use Thai sweet chili dipping sauce, easy Pad Thai sauce, or tamarind sauce.
Garnish with a few leaves of cilantro or thinly sliced green onions for added color.
Tips for the Perfect Crispy Fried Chicken
- To make the paste, use a spice grinder. A small food processor will not work as it is too big for the small amount of the paste we make.
- Make sure your chicken is cooked through by using a meat thermometer. Slice your shallot thinly and evenly to ensure even cooking.
- Fry the chicken in batches to maintain the oil temperature.
- Sprinkle fried shallots generously over the cooked chicken for added flavor and texture.
- Some recipes use coriander seeds and cumin to add a little spice kick. The chicken is already tasty without them, and to keep it simple like the recipe on the street of Thailand. For your home-cook versions, feel free to add some to your recipe. Get creative and try different spices next time you make this recipe!
Helpful Kitchen Tools for This Recipe
- Large mixing bowl
- Medium saucepan
- Wire rack or paper towel-lined plate for draining fried chicken
- Deep fryer or heavy-bottomed pot for frying
Variations & Substitutes
- Experiment with different herbs and spices in the marinade for a unique flavor.
- Substitute chicken wings with other chicken pieces based on preference.
Storage:
Store any leftover Thai Fried Chicken Hat Yai in an airtight container in the refrigerator for 2-3 days.
Other Thai Recipes You'll Love
- Green Papaya Salad
- Sticky rice without a bamboo basket.
- Thai crispy pork belly
- Thai Crispy Fried Garlic and Oil (and How to use it)
Frequently Asked Questions
No. Oyster sauce and sweet soy sauce used in my Hat Yai recipe are not gluten-free.
It's best to use chicken with skin and bones for authentic flavors. The chicken skin gives the signature crispy texture and flavors that Thai Hat Yai chicken is known for.
While you can bake it, you'll miss out on the authentic Thai experience of the crispy texture and flavors of traditional deep-frying.
Air frying is an option, but it may not achieve the same texture and flavor as traditional deep-frying. In the traditional Thai cuisine, Hat Yai chicken is deep fried.
The calories are high since the chicken is deep fried, but eating it in moderation and paired with a salad helps balance the meal.
Fried chicken in Thailand is called "gai tod."
**Love a recipe you've tried? Please leave a 5-star rating in the recipe card below and a review in the comments section further down the page. Or follow me on Facebook, Pinterest, or Instagram!**

Thai Fried Chicken Hat Yai
- Total Time: 30 minutes
- Yield: 6 servings
- Diet: Low Lactose
Description
This Thai Fried Chicken Hat Yai is a delicious and crispy chicken dish for any occasion. Enjoy the extra crunch and flavor with every bite!
Ingredients
- 3 pounds chicken thighs, legs, drumsticks or wings, skin on and bones in
- 1 cup rice flour
- ⅓ cilantro stems or 5 cilantro roots
- 6 cloves garlic
- 1 ½ teaspoon whole white pepper
- 3 tablespoons oyster sauce
- 1 tablespoon fish sauce
- 1 ½ tablespoons sweet dark soy sauce
- 1 ½ tablespoons sugar
- ½ cup water. Divided
- 4 ounces shallot, sliced into thin circular shapes
- Oil. Neutral oil for deep frying
Instructions
1. Make the paste with cilantro, garlic, and white pepper in a mortar and pestle and pound it together until a rough paste forms.
2. Combine the marinade ingredients using oyster sauce, fish sauce, sweet dark soy sauce, sugar, and ¼ of the water into the mortar and pestle with the paste. Use the pestle to swirl the ingredients together until the sugar dissolves.
3. Add the chicken in a large bowl, container, or ziplock bag, then pour the marinade sauce over the meat. Rub the sauce well over the pieces. Marinate the chicken for 30 minutes at room temperature or up to 5 hours in the fridge. Rotate the chicken in the marinating sauce at least once for all sides to get the sauce.
4. Fry sliced shallots on medium heat until golden brown. Remove using a slotted spoon or wire mesh strainer. Placed the fried shallot over a paper towel-lined plate to absorb extra oil.
5. Take the chicken out of the fridge and let it chill for 20 minutes. Gradually sprinkle flour and rub it in until it's all mixed in. Add the remaining water slowly in with the flour as well. Use the marinade to help blend the flour. Keep going until the chicken is coated in a thick, but not dry, flour texture. Kitchen gloves will make this step easier.
6. Heat the oil on medium-high heat. Add the chicken pieces to the hot oil once hot. Work in batches; for best results, don't overcrowd your pan. Fry anywhere from 6-12 minutes, depending on the size of your chicken. Use a meat thermometer to cook the chicken through. Cook to a minimum temperature of 165 °F (74 °C).
7. Remove the cooked chicken to a rack or a dried paper towel platter. Sprinkle a generous amount of the fried shallot over the chicken and serve with Thai sticky rice. Enjoy!
Notes
- To make the paste, use a spice grinder. A small food processor will not work as it is too big for the small amount of the paste we make.
- Make sure your chicken is cooked through by using a meat thermometer. Slice your shallot thinly and evenly to ensure even cooking.
- Fry the chicken in batches to maintain the oil temperature.
- Sprinkle fried shallots generously over the cooked chicken for added flavor and texture.
- Some recipes use coriander seeds and cumin to add a little spice kick. The chicken is already tasty without them, and to keep it simple like the recipe on the street of Thailand.
- For your home-cook versions, feel free to add some to your recipe. Get creative and try different spices next time you make this recipe!
- Prep Time: 15
- Cook Time: 15
- Category: chicken recipes
- Method: deep frying
- Cuisine: thai
** Thank you so much for visiting my blog! This is truly a passion for me. If you have enjoyed these recipes and appreciate the hard work I put into them, I would love it if you would share them with your friends! Your recommendation is the highest review I could hope for, and I’d appreciate it! **
Pairing
These are my favorite dishes to serve with [this recipe]:


Leave a Reply