In Thai food, crispy garlic is an ingredient that can take your dishes to the next level. Learn how to make Thai crispy fried garlic and oil (and how to use it). This aromatic and flavorful combination of golden-brown garlic and oil adds a delightful crunch and depth of flavor to various Thai recipes.
For another delicious and easy condiment, make this easy and delicious crispy fried shallots. Then use both on this easy Thai son-in-law eggs and Thai pomelo salad.
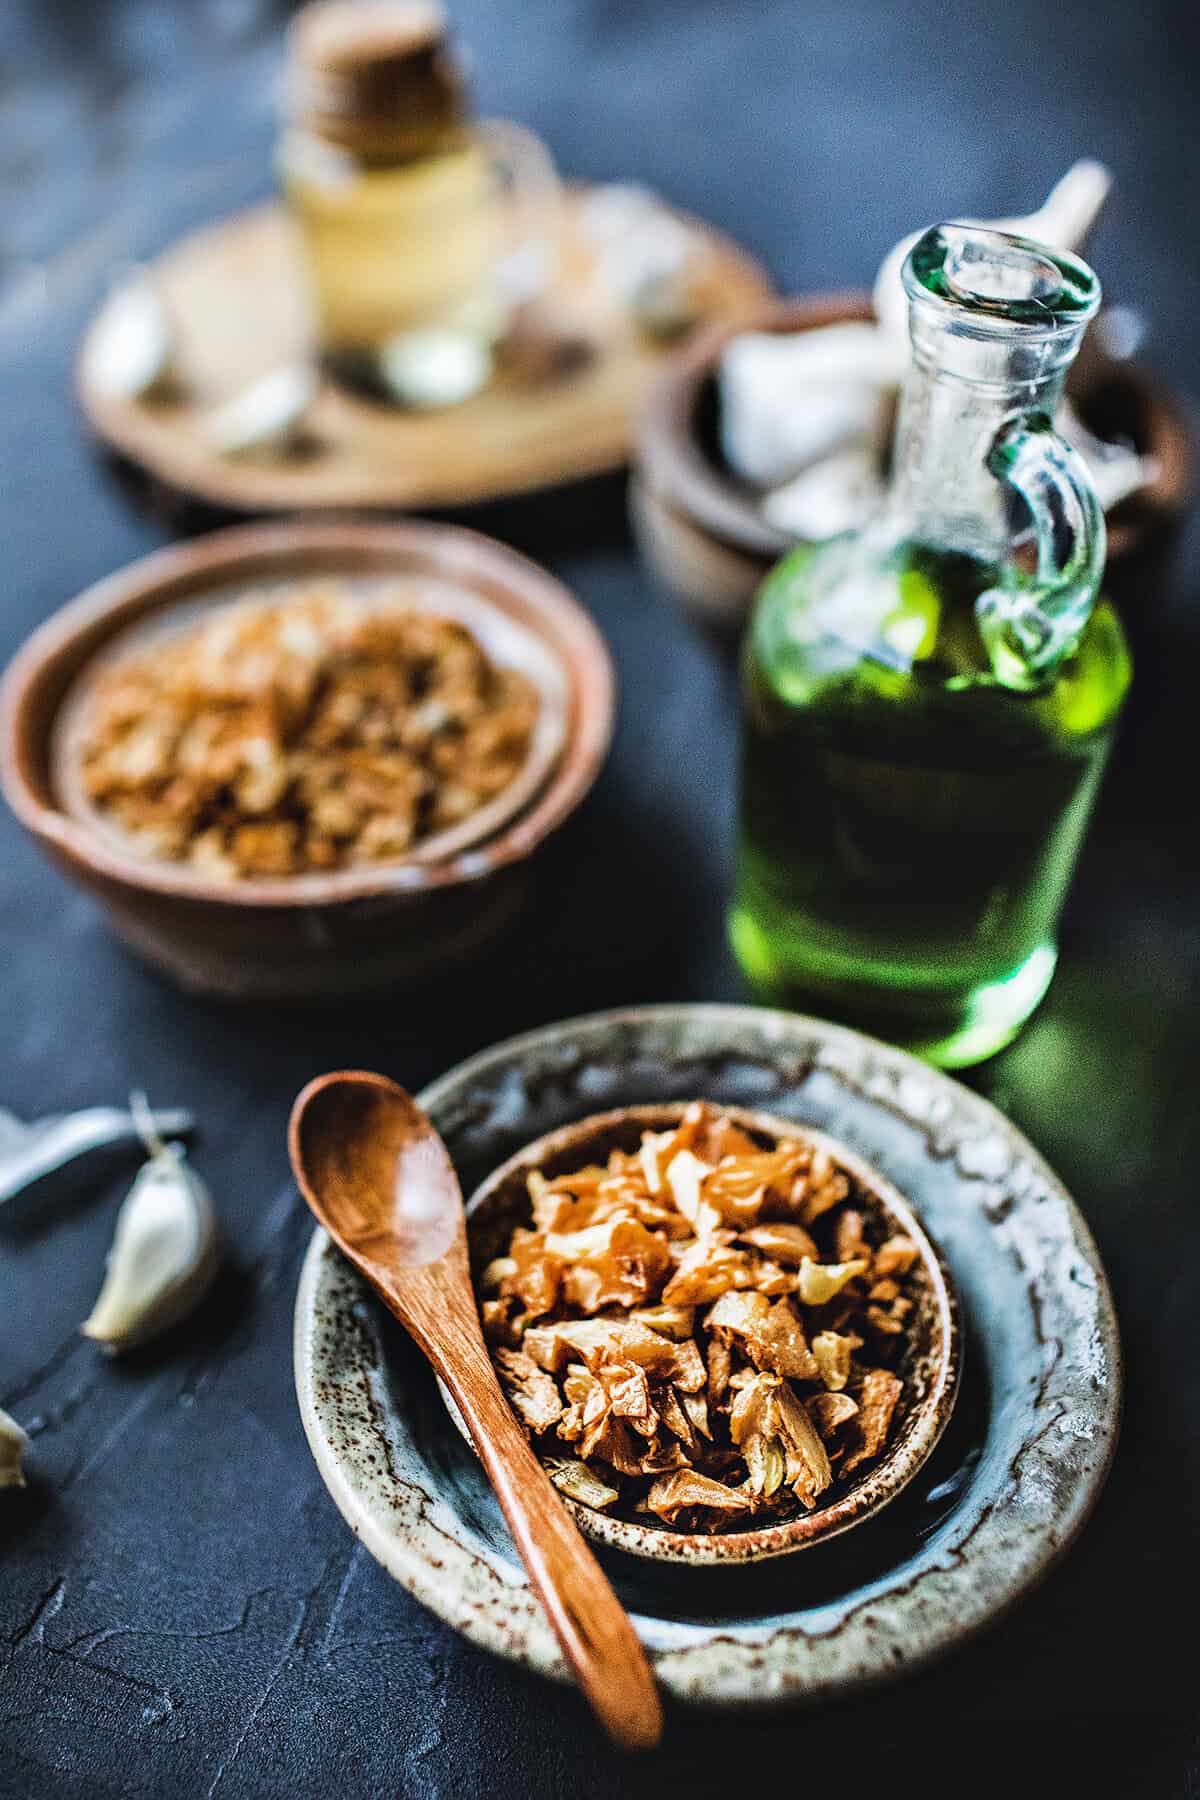
Are you a garlic fan? If so, you’re in for a delicious Thai fried garlic recipe! The crispy and aromatic fried garlic makes this simple dish a perfect garnish over many Thai dishes. The best part is this recipe is easy, quick to make, and keeps in your pantry for a few days!
Jump to:
- Why You'll Love This Recipe
- What is Thai Crispy Fried Garlic and Oil?
- Ingredients for Thai Fried Garlic
- How to Make Thai Crispy Fried Garlic and Oil
- Helpful Kitchen Notes and Tips
- How to use Thai Crispy Fried Garlic and Oil
- Helpful Kitchen Tools for making Thai crispy garlic
- Variations
- Substitutes
- Storage
- Frequently Asked Questions
- More Thai Recipes You'll Love
- Thai Crispy Fried Garlic and Oil (and How to Use it)
- Recipes to use fried garlic with
- More Thai recipes
Why You'll Love This Recipe
- It adds a rich and savory flavor to your dishes, enhancing their overall taste profile.
- The crispy texture of the fried garlic provides a satisfying crunch, creating a delightful contrast to the other ingredients.
- Making your own Thai crispy fried garlic and oil allows you to customize the flavor intensity and ensure it suits your preferences, resulting in a truly unique and memorable culinary experience.
- The best part is this recipe is easy, quick to make, and keeps in your pantry for a few days!
- The leftover oil from deep frying the garlic is fantastic for cooking! The infused garlic in the oil elevates any dish it's used in!
What is Thai Crispy Fried Garlic and Oil?
Thai crispy fried garlic and oil is a simple yet magical condiment widely used in Thai cooking. It involves frying garlic cloves until they turn golden brown and crispy. Frying the garlic softens its pungency and brings out its natural sweetness, resulting in a flavorful and crunchy garnish. The oil used in the frying process absorbs the essence of the garlic, creating a fragrant and aromatic infusion.
Ingredients for Thai Fried Garlic
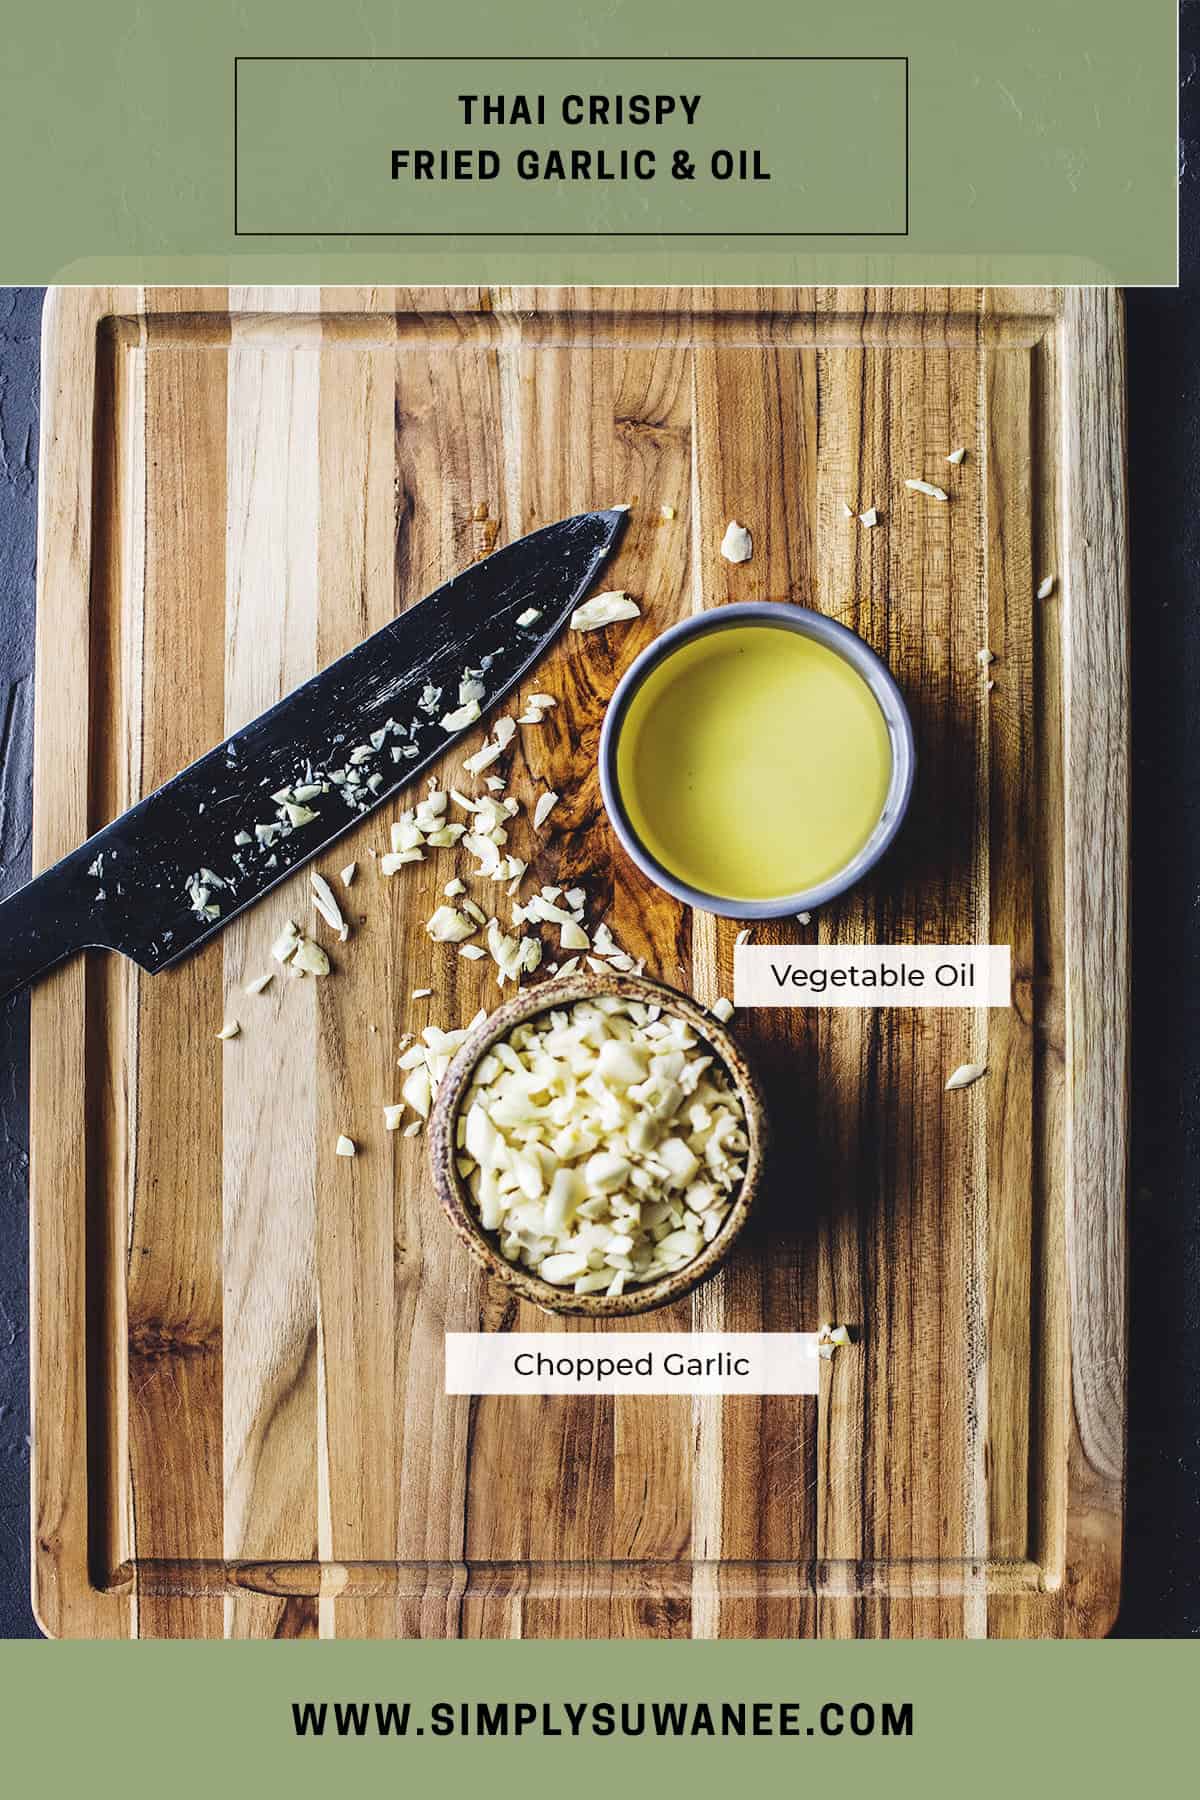
You'll need the following ingredients to make your own Thai crispy fried garlic and oil.
- Garlic cloves. Use as many as desired, depending on the amount of crispy fried garlic you want to make.
- Oil. Vegetable, canola, or sunflower oil works well for frying garlic.
- A tiny dash of salt (optional)
How to Make Thai Crispy Fried Garlic and Oil
The instructions may seem long, but trust me. It's full of helpful tips to make this recipe successful.
Step 1. Heat oil in a small pot or saucepan over medium heat. You'll need enough oil to submerge the garlic cloves completely. Make sure the pot is large enough to hold the oil and garlic. A wok is good for this recipe too. Wait until the oil is hot. Test the oil with a chopstick. The oil should bubble. If so, then add garlic to the pan. Another great way to test the oil is to drop a piece of garlic and see how it responds. If it's ready, the oil will bubble over the pieces. If not, it will float to the surface of the oil. Wait for the bubbles.
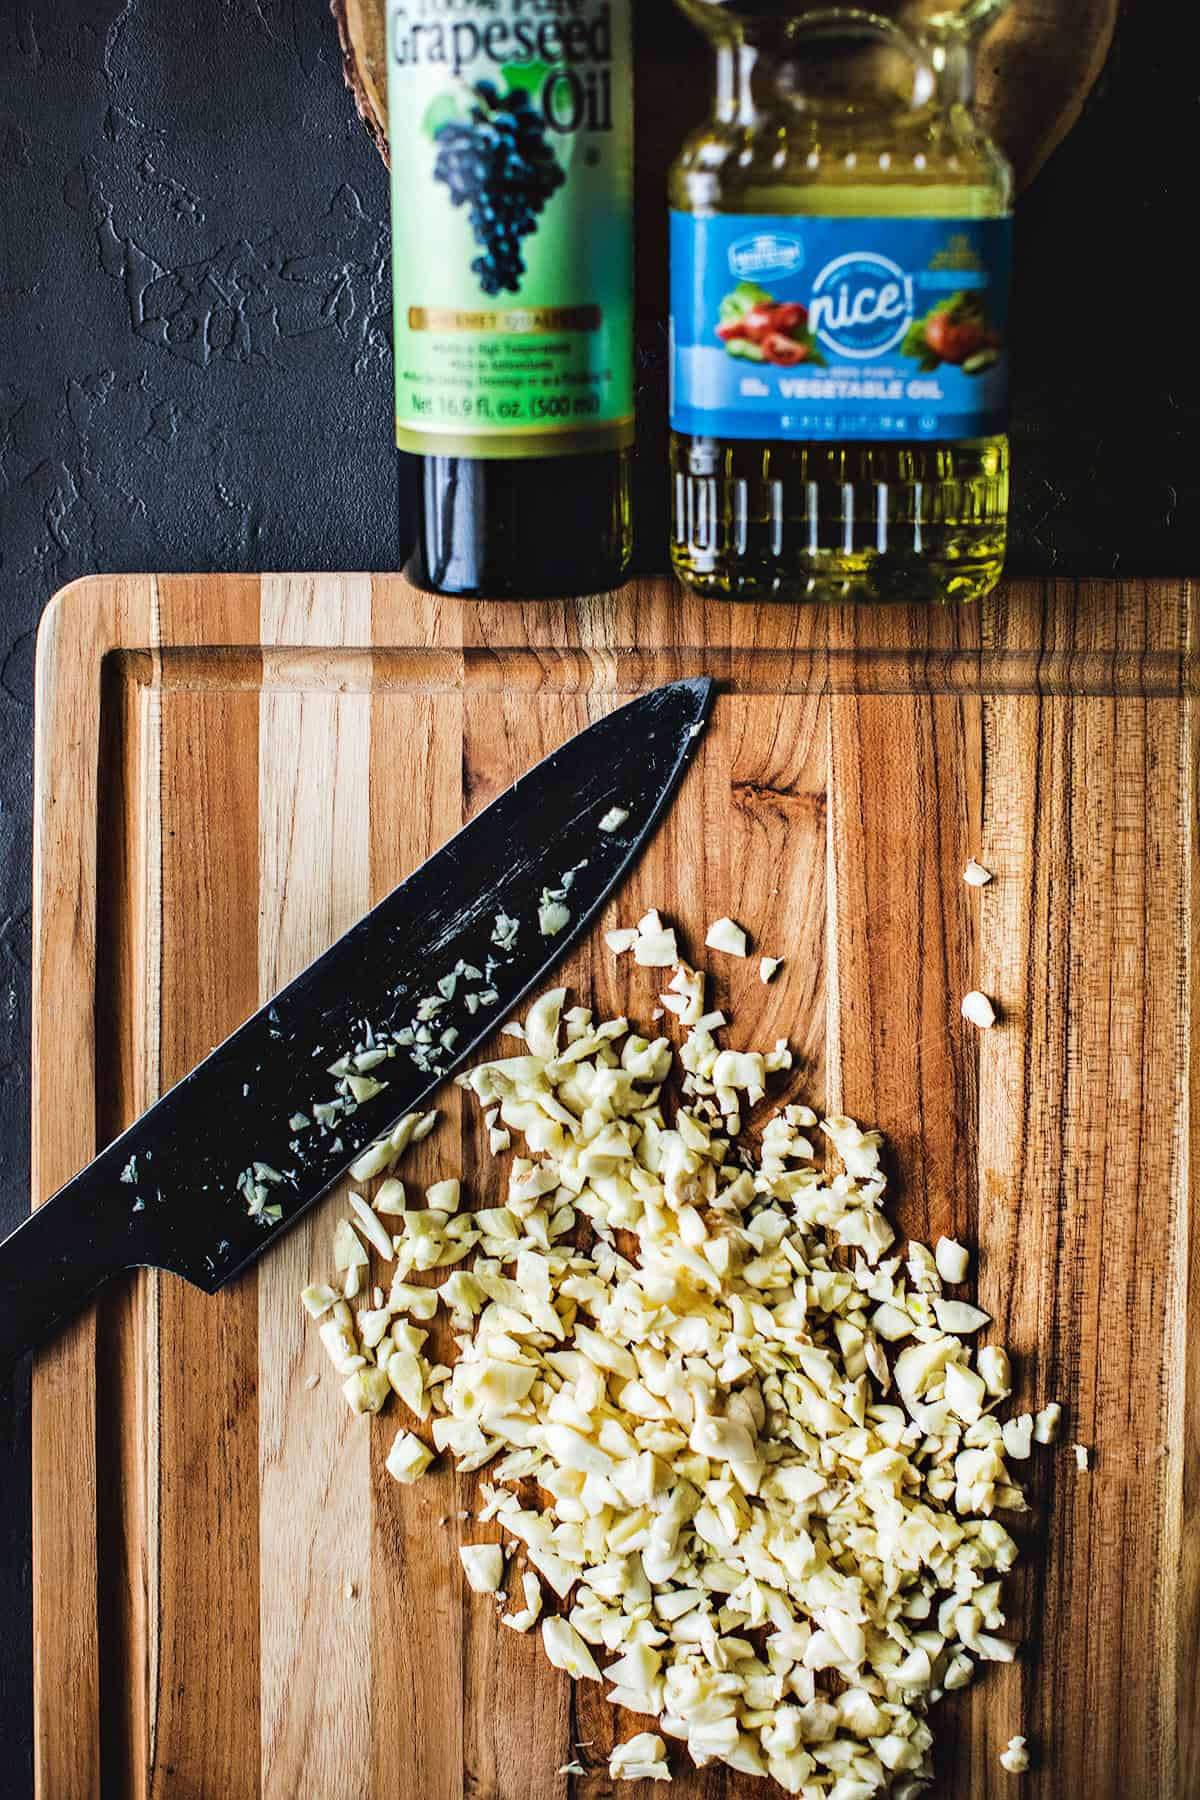
Step 2. While the oil is heating, peel the garlic cloves and slice them into thin pieces. A sharp knife works best for this task. Tips. Peel and crush the garlic cloves with a heavy knife by pressing down on the knife with the palm of your hand. This technique will help with the ease of peeling your garlic cloves. And this method also helps release oil from the garlic, creating an even more fragrant aroma for your fry garlic. Chop the garlic into small pieces and set aside until the oil is ready. Have a plate lined with paper towels ready too.
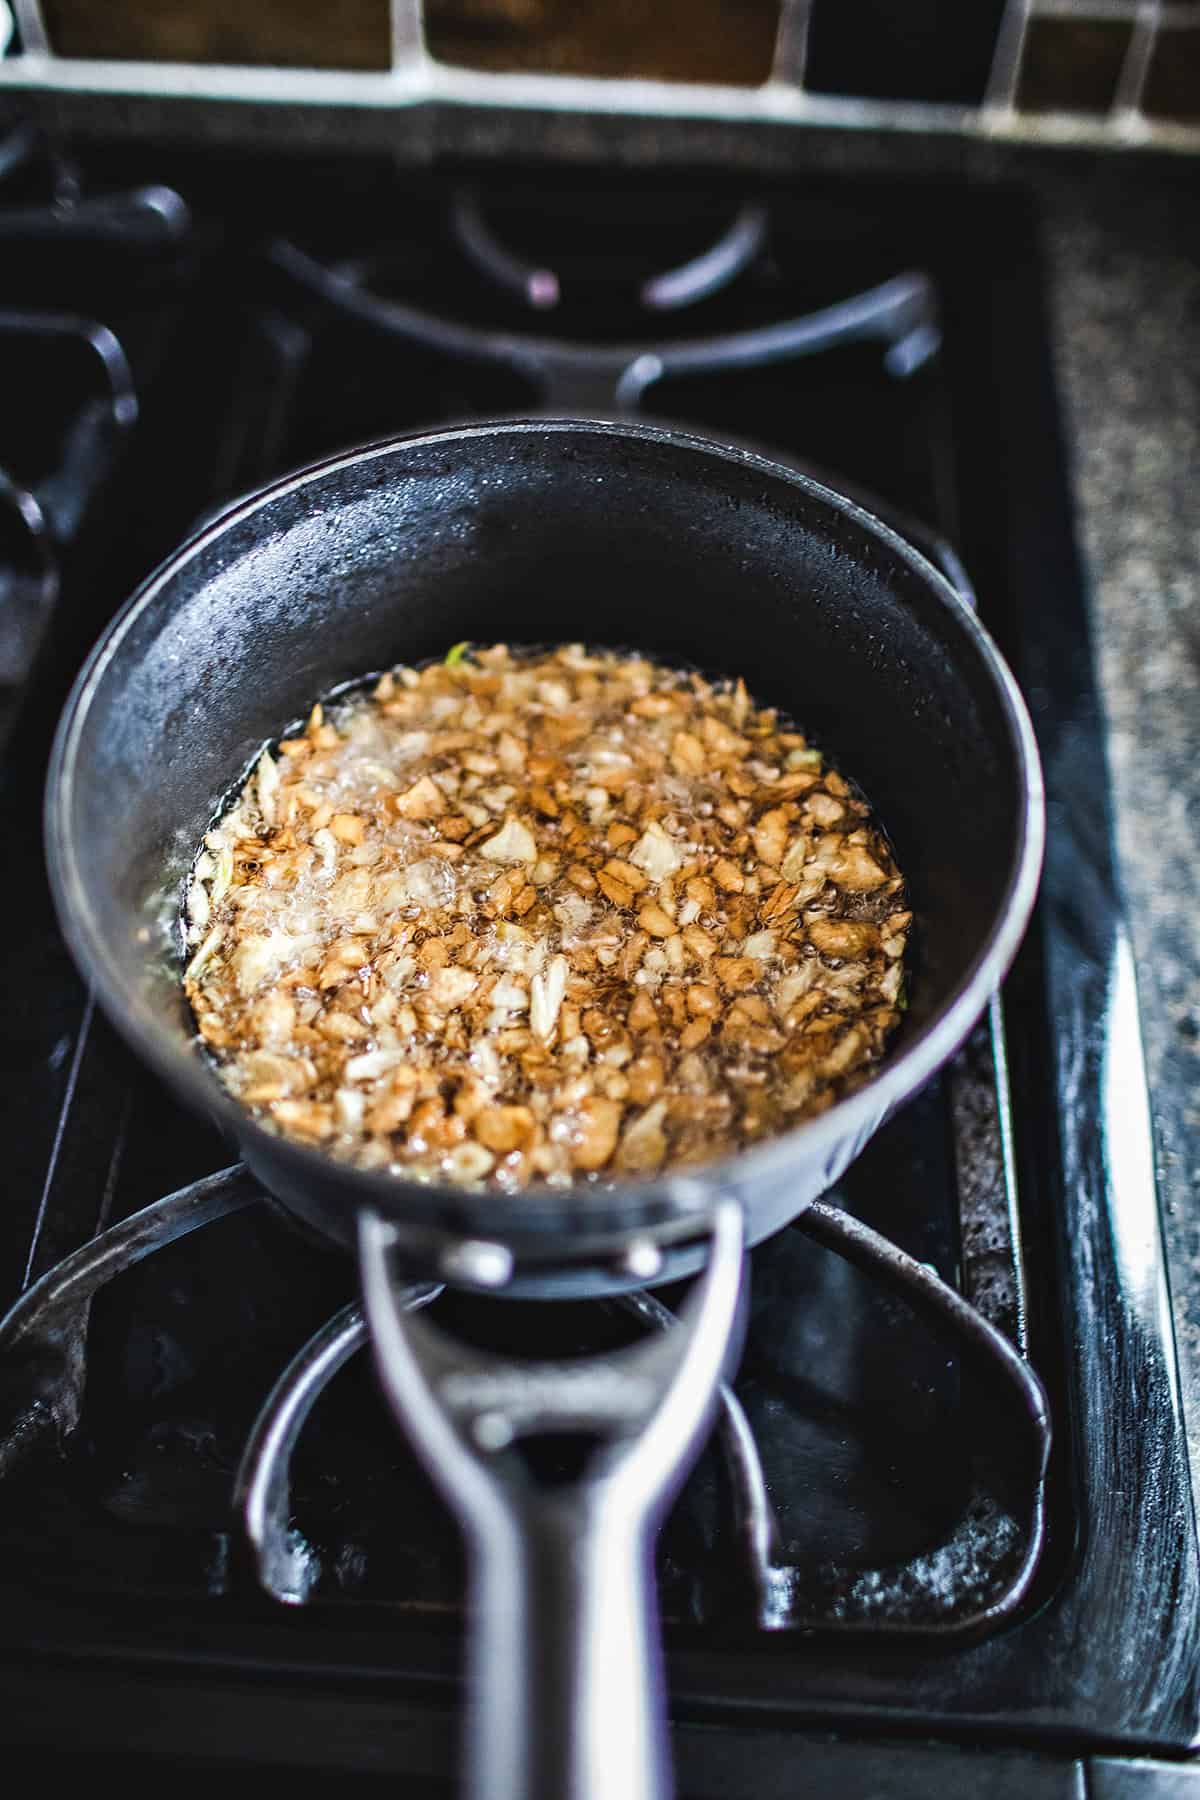
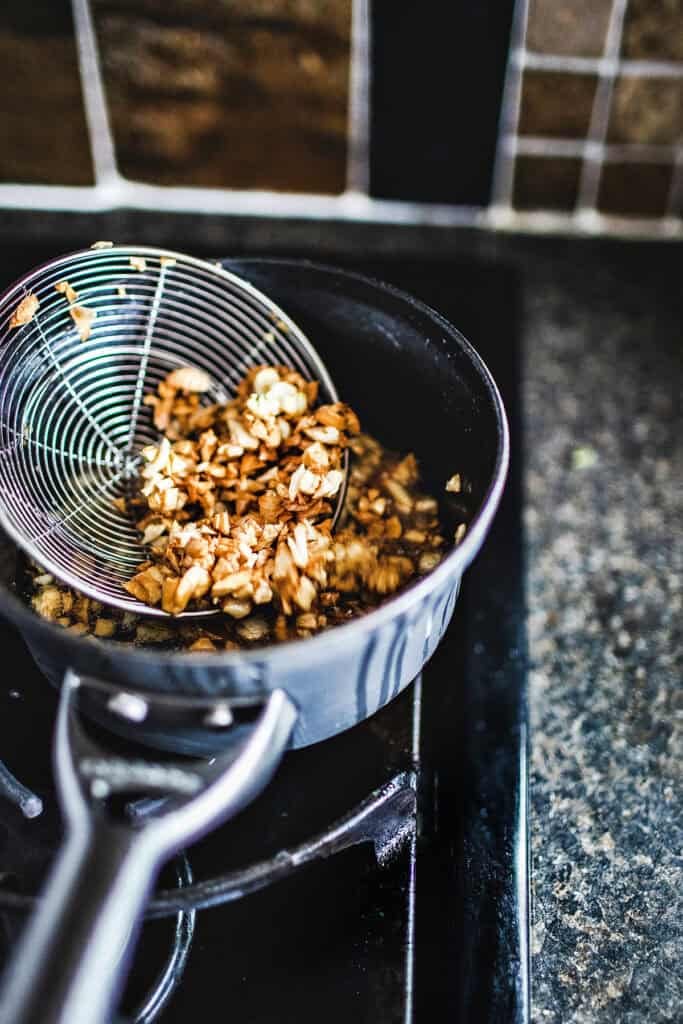
Step 3. Once the oil is hot, carefully add the sliced garlic to the pot. The hot oil should sizzle gently upon contact with the garlic. Adjust the heat to medium-low if the oil starts to bubble vigorously. Fry the garlic until it's light golden brown. It takes 3-6 minutes, depending on your stovetop and what pans you use. Watch for the light golden brown in the garlic pieces. Stir the garlic around a couple of times with a metal-slotted spoon to ensure the pieces are evenly cooked. The best thing to do is to watch the garlic closely. Once it turns golden brown, you must quickly remove all the fried garlic bits. At this point, the garlic will burn FAST and have a bitter taste to it.
Step 5. Once the garlic slices reach a golden color, use the slotted spoon to transfer them to a paper towel-lined plate. Remove the pot from the stove and immediately strain the fried garlic into a paper towel-lined plate with a slotted spoon. The paper towel will absorb any excess oil and help maintain its crispiness. Spread the pieces out thinly on the paper towel. Let cool completely before storing in an airtight or glass container. This is important; your fried garlic will turn soggy if stored while still warm. You can add a dash of salt here, but this is optional.
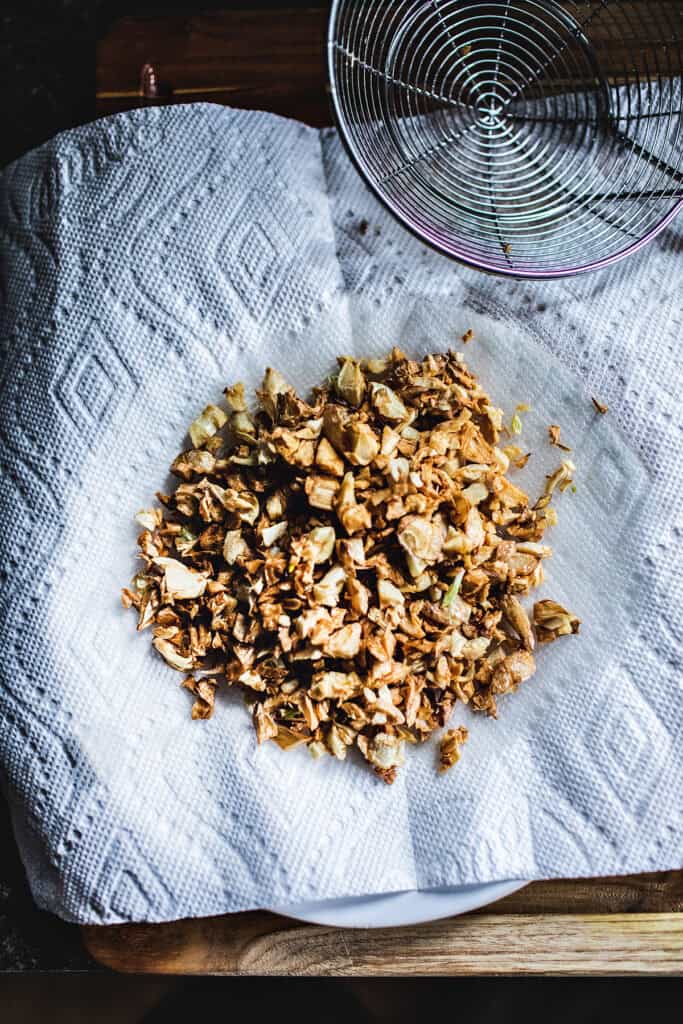
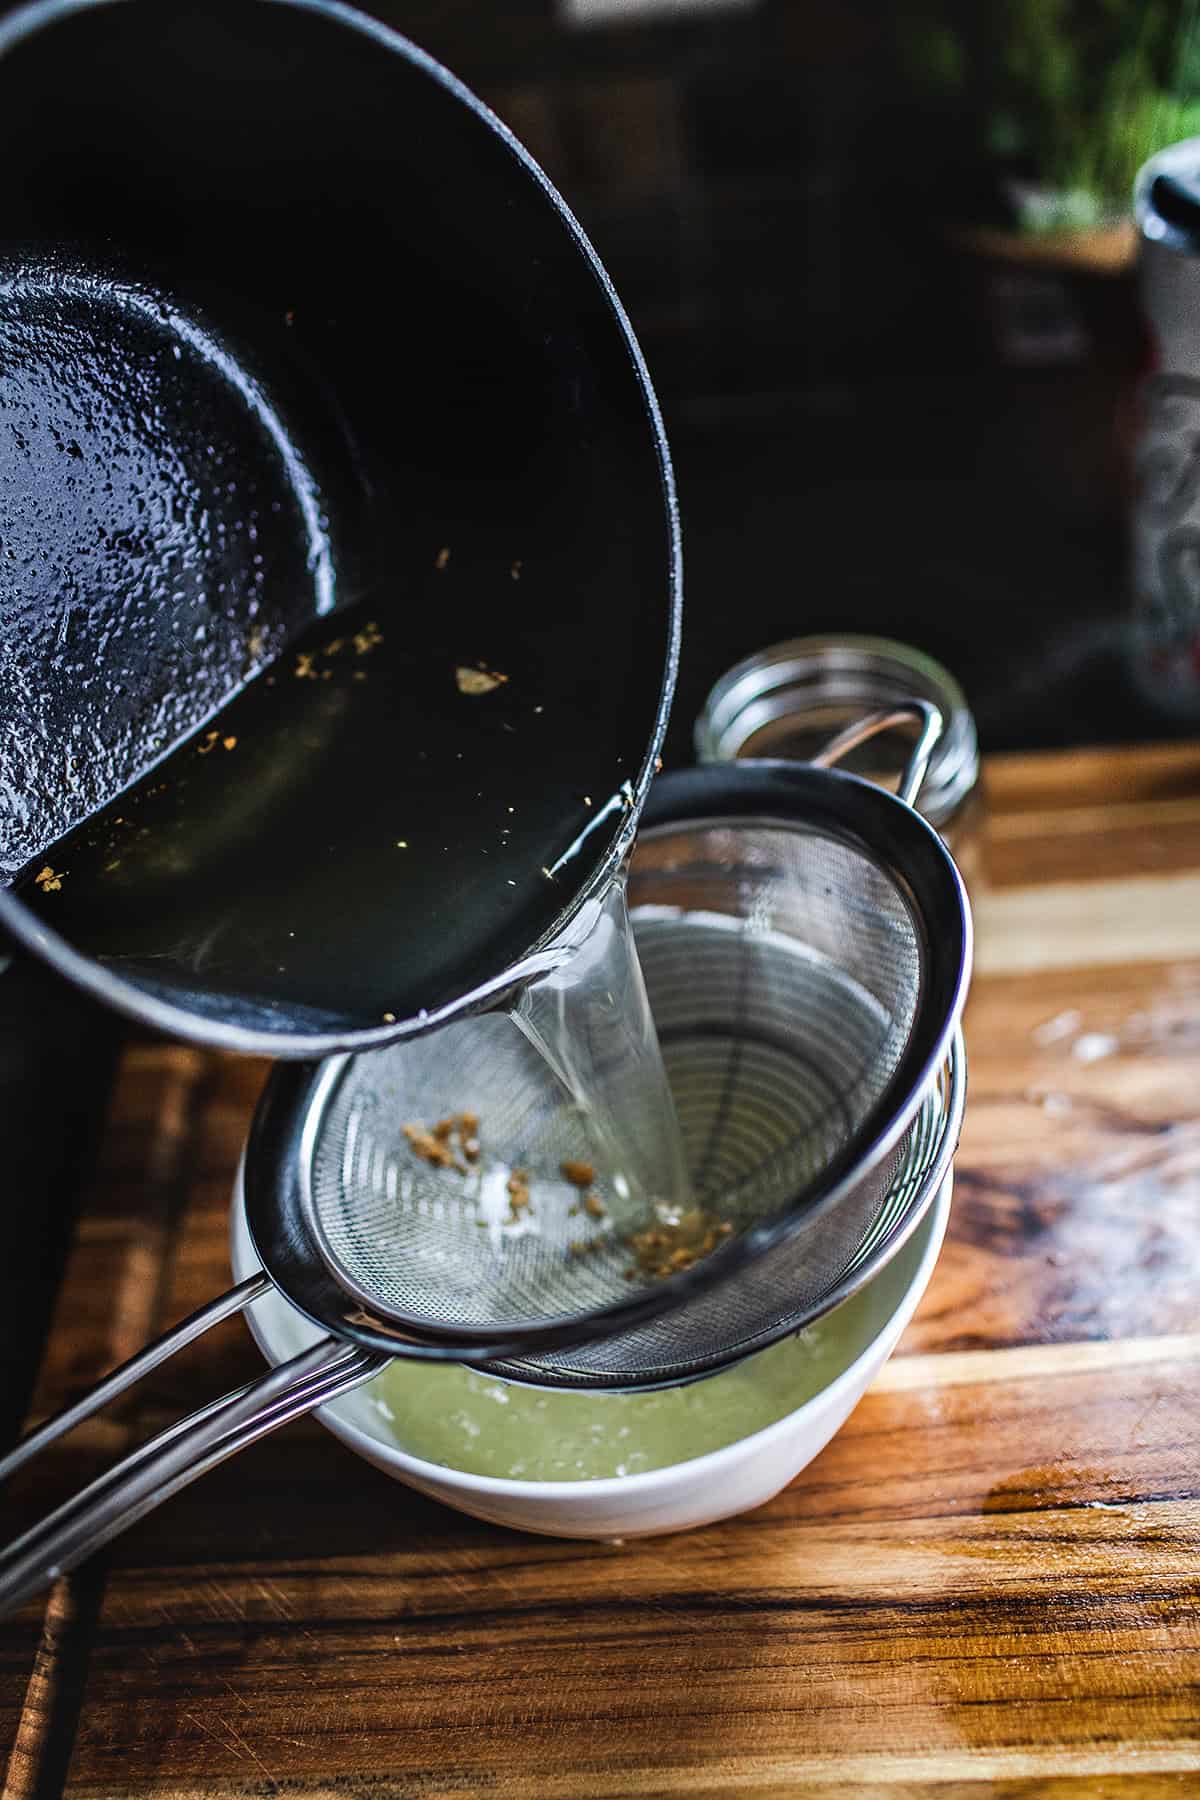
Step 6. For the oil, wait until it's cooled before storing it in a glass mason jar. Store the oil and garlic separately and keep both at room temperature for up to 2 weeks. You now have a garlic-defused oil that you can use for cooking. It adds an amazing aroma to any dish you cook with. It should have a darker yellow color, but it's from being used to fry the garlic, and it's normal. Enjoy!

Helpful Kitchen Notes and Tips
- Be sure to use cooking oil with a high smoking point, which can handle high heat without changing its properties while cooking. I suggest using vegetables, grape seed, avocado, corn, or canola oil. Olive oil is not recommended.
- Be mindful of the heat while frying the garlic. Medium heat is recommended, but adjust it to maintain a gentle sizzle without burning the garlic.
- Use a slotted spoon to stir the garlic slices during frying to ensure even browning and prevent them from sticking together.
- Strain the garlic-infused oil through a fine-mesh sieve to remove any small garlic bits before using or storing it.
- The crispy fried garlic can be stored in an airtight container at room temperature for several weeks.
How to use Thai Crispy Fried Garlic and Oil
- Use the garlic oil to make salad dressings, dipping sauces, or light stir-fries, and take note of the extra aromatic flavors from the infused oil.
- Fried Rice: Stir some crispy fried garlic and oil into cooked rice and other ingredients like vegetables, shrimp, or chicken to elevate the flavors and add a delightful crunch.
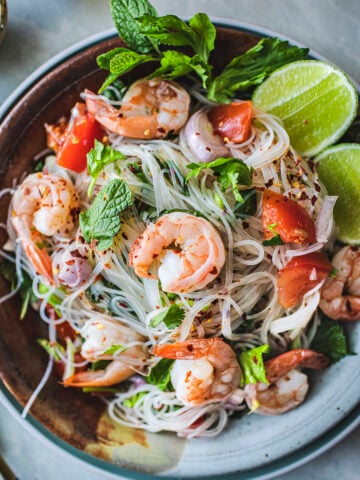
- Thai Noodle Dishes, especially on salads! : Sprinkle crispy fried garlic and oil on top of Pad Mee, Yum Woon Sen, Pad Thai, Pad See Ew, or any other Thai noodle dish for an extra layer of savory goodness.
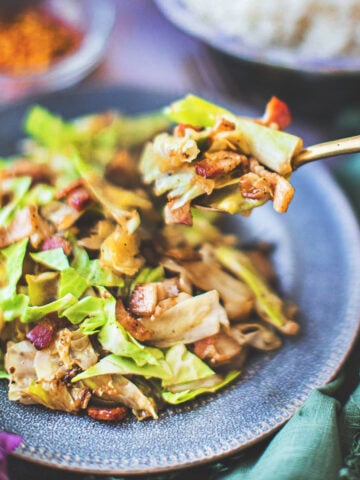
- Stir-Fries. Sprinkle a generous amount of crispy fried garlic and oil over your favorite Thai stir-fries to add a delightful crunch and a burst of flavor.
- Noodle soups. Garnish your noodle soups, such as Thai boat noodle soup or khao tom, with a spoonful of crispy fried garlic and oil. It will elevate the aroma and give your soup an extra layer of deliciousness.
Helpful Kitchen Tools for making Thai crispy garlic
- Small pot or saucepan. A small pot or saucepan with deep sides is ideal for frying the garlic and minimizing oil splatters.
- Fines mesh strainer. Use a slotted spoon to stir and remove the fried garlic from the oil, allowing any excess oil to drain.
- Garlic slicer. It helps with slicing garlic into garlic chips when you want to make a big batch.
- Small Mason jars or airtight containers help store fried garlic oil.
Variations
- Spicy Garlic Oil. Infuse the oil with a spicy kick by adding chili flakes or garlic oil to the pot along with the garlic slices. This will give your crispy fried garlic and oil a fiery flavor.
- Herb-Infused Oil. Add a few sprigs of fresh herbs, such as cilantro or basil, to the oil while frying the garlic for an aromatic twist.
- Seasonings. Sprinkle a pinch of white pepper or your favorite seasoning over the garlic slices while they are still hot to impart additional flavor.
Substitutes
- Oil. If you don't have vegetable oil, canola oil, or sunflower oil, you can use olive oil or any other oil with a high smoke point for frying the garlic.
Storage
Store the crispy fried garlic and oil in air-tight containers at room temperature. It will stay crisp for several weeks.

Frequently Asked Questions
Yes, you can reuse the garlic-infused oil for cooking or as a flavorful addition to dressings and marinades. Strain it through a fine-mesh sieve to remove any leftover garlic bits before storing.
To prevent the garlic from becoming bitter, fry it on medium-low heat. If the garlic starts to brown too quickly or becomes bitter, lower the heat and adjust the cooking time accordingly.
While fresh garlic is recommended for the best flavor and texture, you can use pre-minced garlic or jarred garlic as a substitute. However, keep in mind that the texture and taste may differ slightly.
Absolutely! Scale up the recipe by increasing the amount of garlic and oil while maintaining the ratio. Just make sure to fry the garlic in batches to maintain an even cooking process.
More Thai Recipes You'll Love
** Love a recipe you've tried? Please leave a 5-star rating in the recipe card below and/or a review in the comments section further down the page. Or follow me on Facebook, Pinterest, or Instagram! **
Print
Thai Crispy Fried Garlic and Oil (and How to Use it)
- Total Time: 20 minutes
- Yield: 2 cups 1x
- Diet: Gluten Free
Description
In Thai food, crispy garlic is an ingredient that can take your dishes to the next level. Learn how to make Thai crispy fried garlic and oil (and how to use it). This aromatic and flavorful combination of golden-brown garlic and oil adds a delightful crunch and depth of flavor to various Thai recipes.
Ingredients
- 2 cups oil (vegetable or grape or canola oil)
- 1 cup garlic, roughly chopped
- A tiny dash of salt (optional)
Instructions
The instructions may seem long, but trust me. It's full of helpful tips to make this recipe successful.
- Heat oil in a small pot or saucepan over medium heat. You'll need enough oil to submerge the garlic cloves completely. Make sure the pot is large enough to hold the oil and garlic. A wok is good for this recipe too. Wait until the oil is hot. Test the oil with a chopstick. The oil should bubble. If so, then add garlic to the pan. Another great way to test the oil is to drop a piece of garlic and see how it responds. If it's ready, the oil will bubble over the pieces. If not, it will float to the surface of the oil. Wait for the bubbles.
- While the oil is heating, peel the garlic cloves and slice them into thin pieces. A sharp knife works best for this task. Tips. Peel and crush the garlic cloves with a heavy knife by pressing down on the knife with the palm of your hand. This technique will help with the ease of peeling your garlic cloves. And this method also helps release oil from the garlic, creating an even more fragrant aroma for your fry garlic. Chop the garlic into small pieces and set aside until the oil is ready. Have a plate lined with paper towels ready too.
- Once the oil is hot, carefully add the sliced garlic to the pot. The hot oil should sizzle gently upon contact with the garlic. Adjust the heat to medium-low if the oil starts to bubble vigorously. Fry the garlic until it's light golden brown. It takes 3-6 minutes, depending on your stovetop and what pans you use. Watch for the light golden brown in the garlic pieces. Stir the garlic around a couple of times with a metal-slotted spoon to ensure the pieces are evenly cooked. The best thing to do is to watch the garlic closely. Once it turns golden brown, you must quickly remove all the fried garlic bits. At this point, the garlic will burn FAST and have a bitter taste to it.
- Once the garlic slices reach a golden color, use the slotted spoon to transfer them to a paper towel-lined plate. Remove the pot from the stove and immediately strain the fried garlic into a paper towel-lined plate with a slotted spoon. The paper towel will absorb any excess oil and help maintain its crispiness. Spread the pieces out thinly on the paper towel. Let cool completely before storing in an airtight or glass container. This is important; your fried garlic will turn soggy if stored while still warm. You can add a dash of salt here, but this is optional.
- Add oil to a medium-sized pot over medium heat. Wait until the oil is hot. Test the oil with a chopstick. The oil should bubble. If so, then add garlic to the pan. Another way to test the oil is to drop a couple of pieces of garlic in the oil and see how it responds. If it's ready, the oil will bubble over the pieces. If not, it will just float in the oil and should wait a bit longer. Fry the garlic until it's light golden brown (anywhere from 4-6 minutes, depending on your stovetop). Stir the garlic around several times to ensure the pieces are evenly cooked. The best thing to do is to watch the garlic closely. Once it turns golden brown, you must move fast as the garlic will burn quickly. Remove the pot from the stove and immediately strain the fresh garlic into a plate lined with a paper towel. Spread the pieces out thinly on the paper towel. Let cool completely before storing in an airtight or glass container. This is important; your fried garlic will turn soggy if stored while still warm. You can add a dash of salt here, but this is optional.
- For the oil, wait until it's cooled before storing it in a glass container. Store the oil separately and keep both at room temperature for up to 2 weeks. You now have a garlic-defused oil that you can use for cooking. It adds an amazing aroma to any dish you cook with.
Notes
- Be sure to use cooking oil with a high smoking point, which can handle high heat without changing its properties while cooking. I suggest using vegetables, grape seed, avocado, corn, or canola oil. Olive oil is not recommended.
- Be mindful of the heat while frying the garlic. Medium heat is recommended, but adjust it to maintain a gentle sizzle without burning the garlic.
- Use a slotted spoon to stir the garlic slices during frying to ensure even browning and prevent them from sticking together.
- Strain the garlic-infused oil through a fine-mesh sieve to remove any small garlic bits before using or storing it.
- The crispy fried garlic can be stored in an airtight container at room temperature for several weeks.
** Thank you so much for visiting my blog! This is truly a passion for me. If you have enjoyed these recipes and appreciate the hard work I put into them, I would love it if you would share them with your friends! Your recommendation is the highest review I could hope for, and I’d appreciate it! **
- Prep Time: 15
- Cook Time: 5
- Category: Recipes, Easy recipes
- Method: Deep frying
- Cuisine: Thai
Keywords: Thai fried garlic recipe, thai fried garlic oil, fried garlic, crispy fried garlic, Thai fried garlic oil
Recipes to use fried garlic with
Sprinkling a handful of your crispy fried garlic on these recipes
More Thai recipes
More easy Thai recipes you'll love!



Leave a Reply