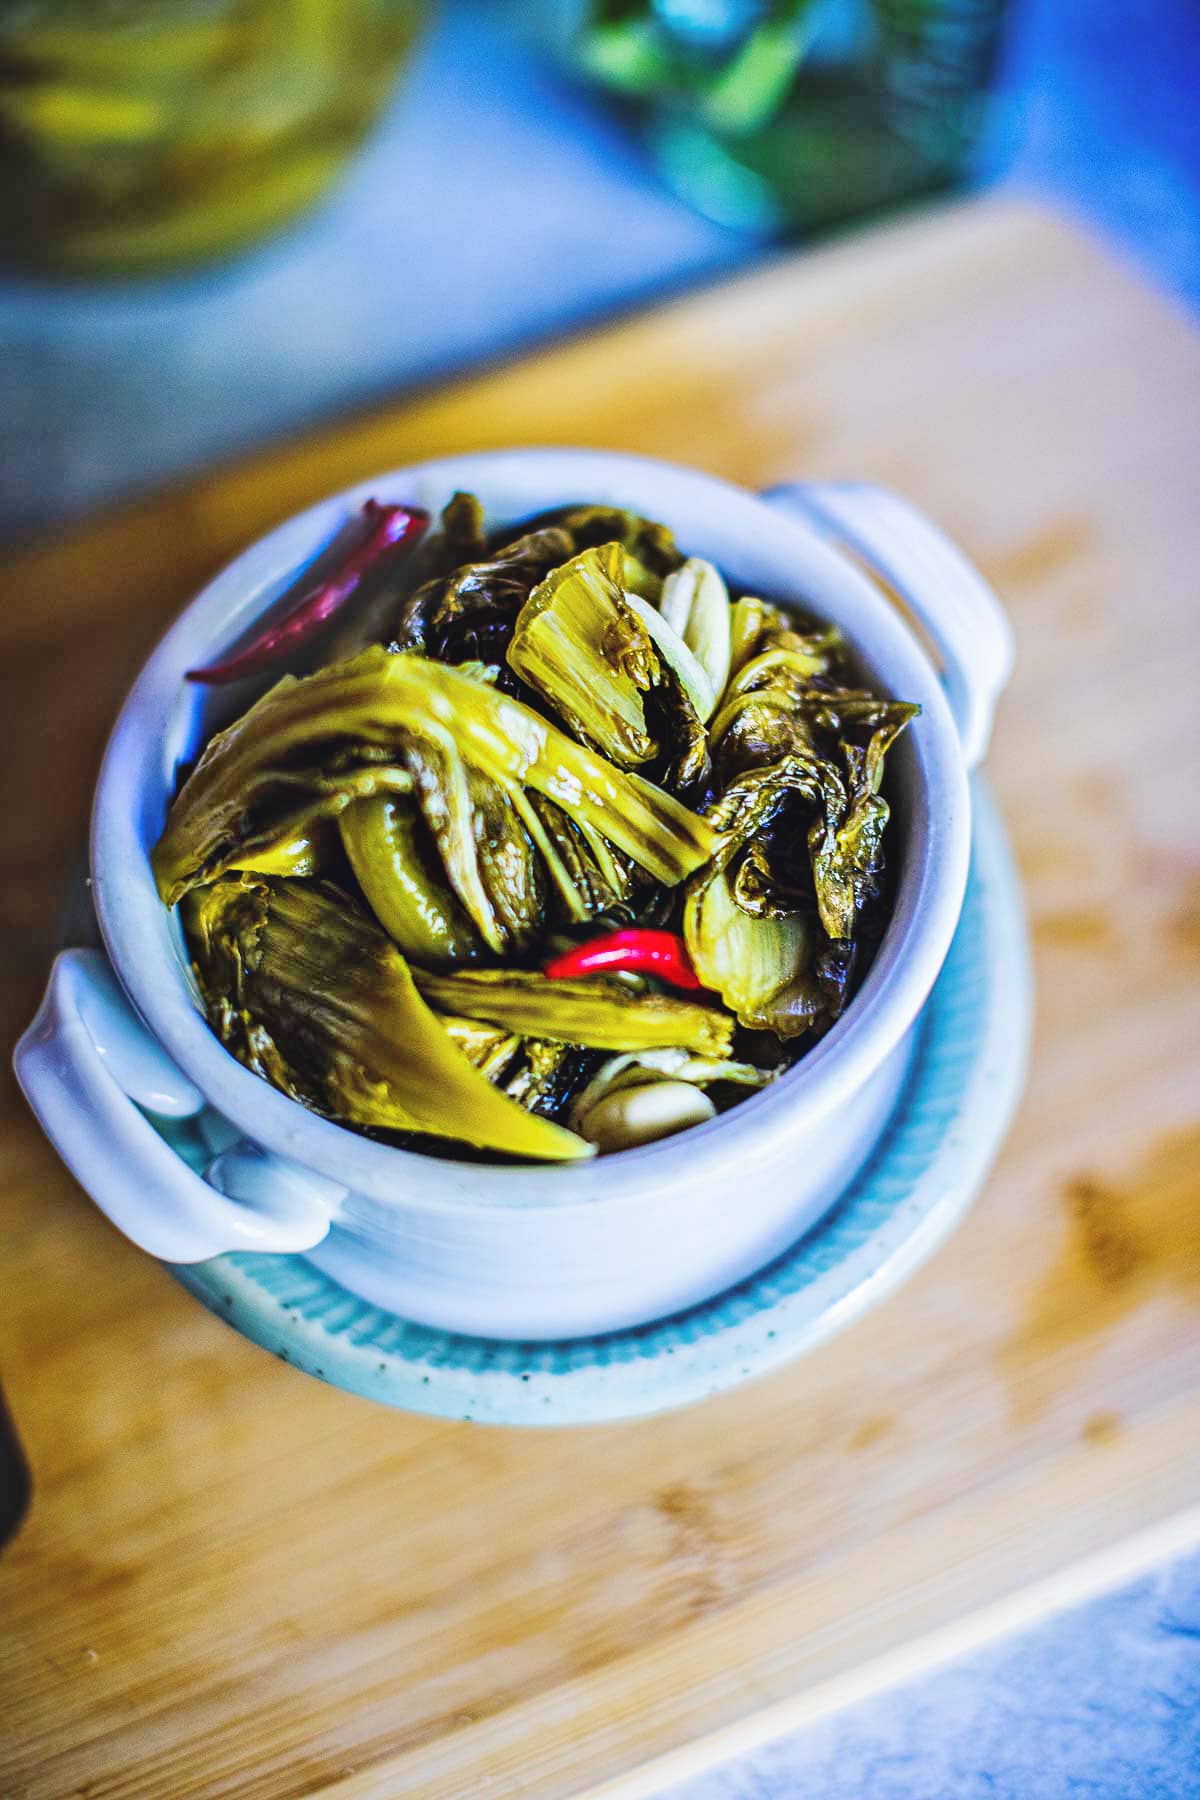
Thai pickled mustard greens (Pak Gad Dong) are a delicious pickle vegetable used in many Thai dishes as a tasty side dish to boost flavors. If you love the strong taste of pickles, olives, capers, or any tasty pickled vegetables, you’ll love this recipe!
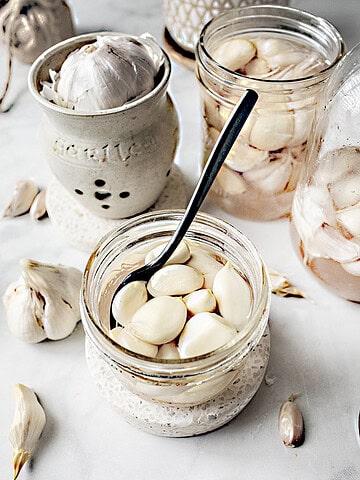
For more delicious Thai pickling condiments, check out this easy Thai Pickled Garlic, Prik Nam Som Thai chilies in vinegar, and Thai pickling cucumbers for Saturday.
Check out this popular Thai cucumber salad for satay and more light and tasty recipes. Also, these sweet, sour, salty Thai crispy egg salads yum kai dao, and my favorite are the Easy Thai beef salad recipes.
Pak Gad Dong in Thailand
This is one of my Thai mom’s favorite Thai side dishes. I remember walking around Thailand markets with her, and she would always look for her beloved Pak Gad Dong while I scrunched my nose at her for loving such a strong-tasting pickling vegetable. One of the simple and total comfort foods brought me fond memories of her.
Now that my taste buds have developed and grown, I realize what a fun and tasty side dish it is. My 7-year-old daughter is obsessed with it and can crush an entire jar alone in 2-3 days. I’m not kidding! Wozer!
What Is Thai Pickled Mustard Green (Pak Gad Dong)?
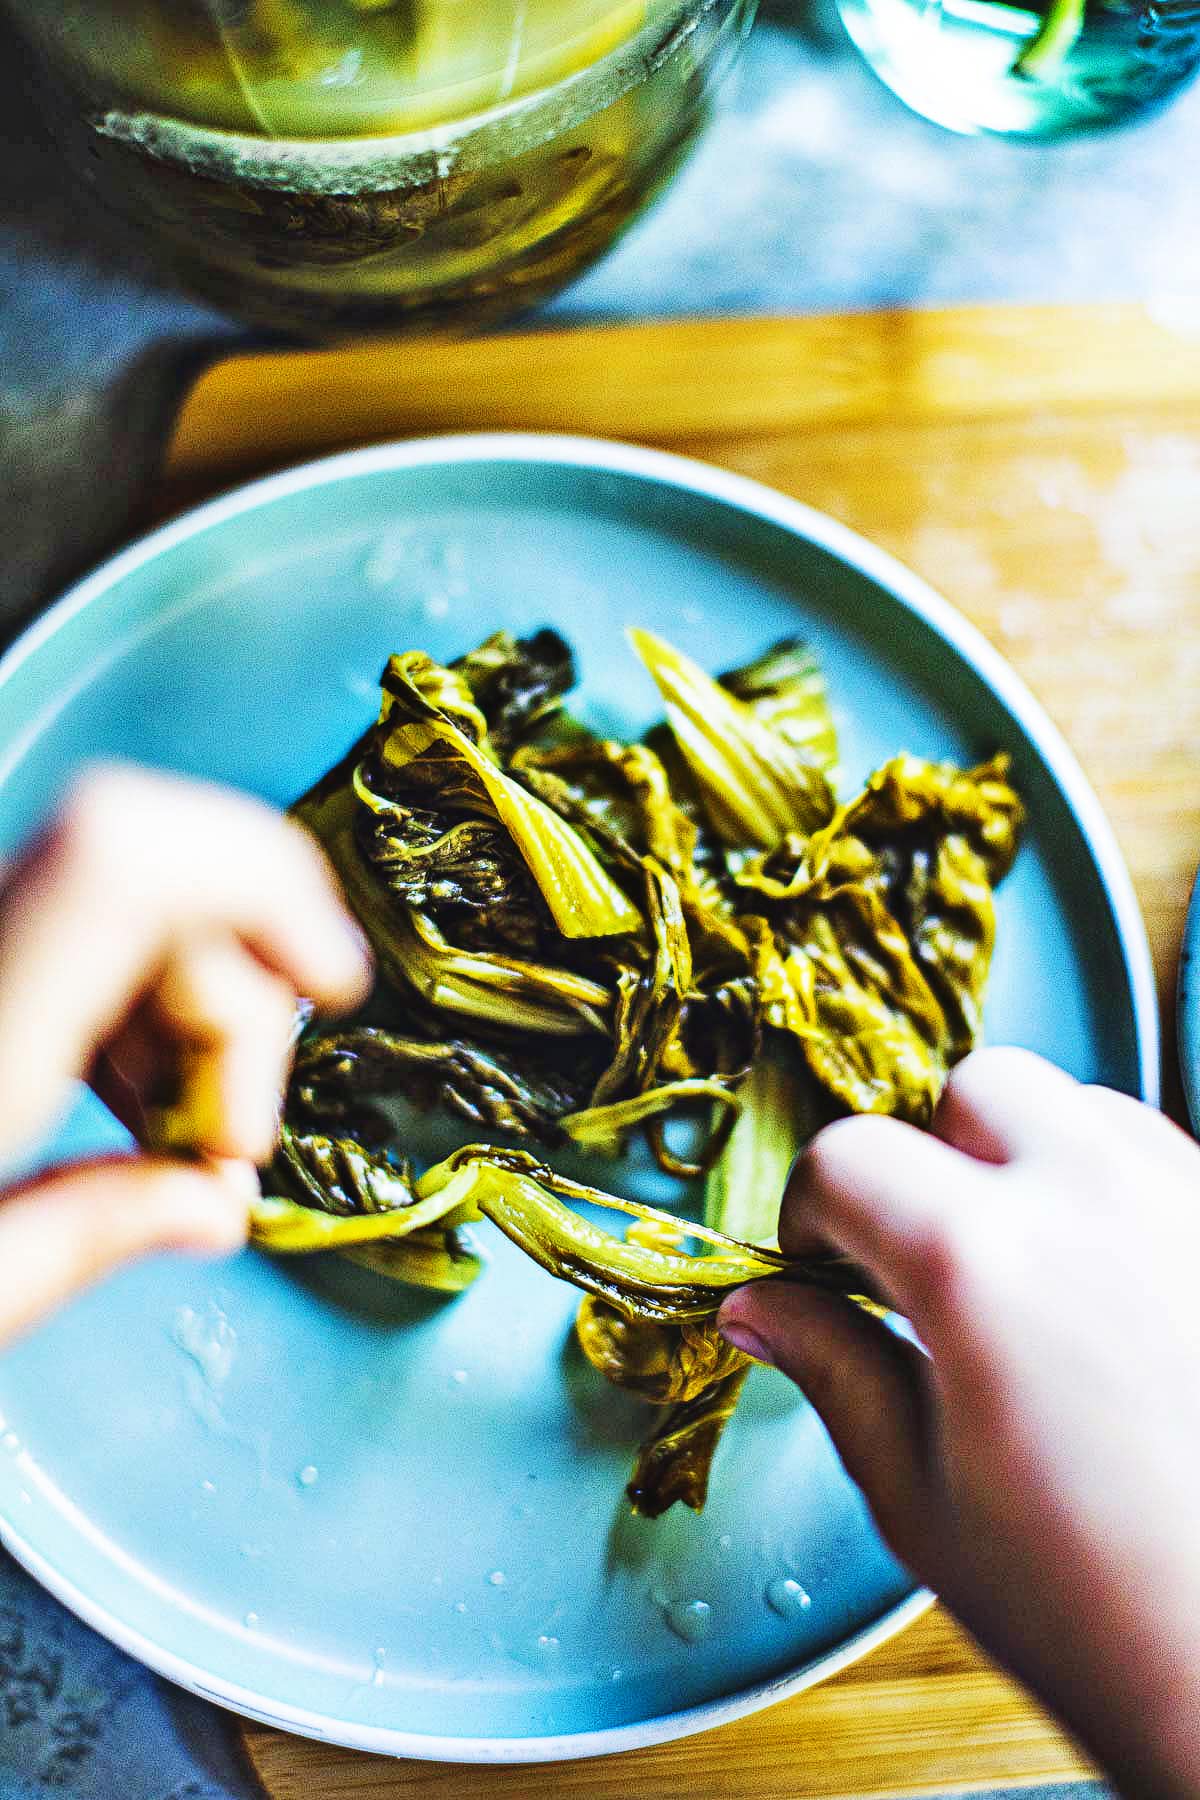
Thai pickled mustard greens (Pak Gad Dong) are made by pickling Chinese mustard greens in sticky rice water, distilled vinegar, and salt. Once the pickling process is complete, the mustard greens turn sour and salty with a slightly crunchy texture the leafy mustard greens.
It’s a simple recipe with bold flavors when added to the main dish. Pad Gad Dong is typically used in stirfry, soups, and salads or as a garnish in dishes like scrambled eggs, curries, or pork soups. There are many different ways to use this pickled greens recipe.
You'll find many versions of the Pickled mustard greens recipe in many Asian cuisines. This sour vegetable is similar and is used in stir-fries, soups, and curries. In China, it’s called Haam Cho. In Vietnam, it’s Dua Cai Chua. In Laos and Isaan Thailand, it is called Som Pak Gaat. In Thailand, it is called Pak Gad Dong. (I grew up with both the Laos and Thai names!)
Store-bought mustard greens are typically sold in small vacuum-sealed packages. I almost always find the flavors too strong to overpower any dish used. The food coloring is also unsettling, so I prefer to make my own at home. I can adapt and adjust as needed, and it's much healthier without all the preservatives.
Why This Recipe Works
- You can make a large batch of this recipe and use it for weeks!
- It’s so versatile. You can use it for many dishes, eat plain, or chop up a few pieces for a hamburger or salad.
- Add these pickled greens to jazz up any simple dish. There are many various ways to use them. Get creative!
- It’s much healthier and cheaper than the small store-bought mustard greens in a package.
- You can modify the taste and flavors with spices and herbs options. The store-bought version only comes in one flavor.
Ingredients needed to Pickle Mustard Greens
The traditional Thai Pak Gad Dong recipe does not add additional herbs or spices. This is just my little twist on a classic Thai dish. I've done both, with and without, and loved both equally. I want to share that nugget of tips here to help jazz up your Thai cooking even more. All these are entirely optional, of course!
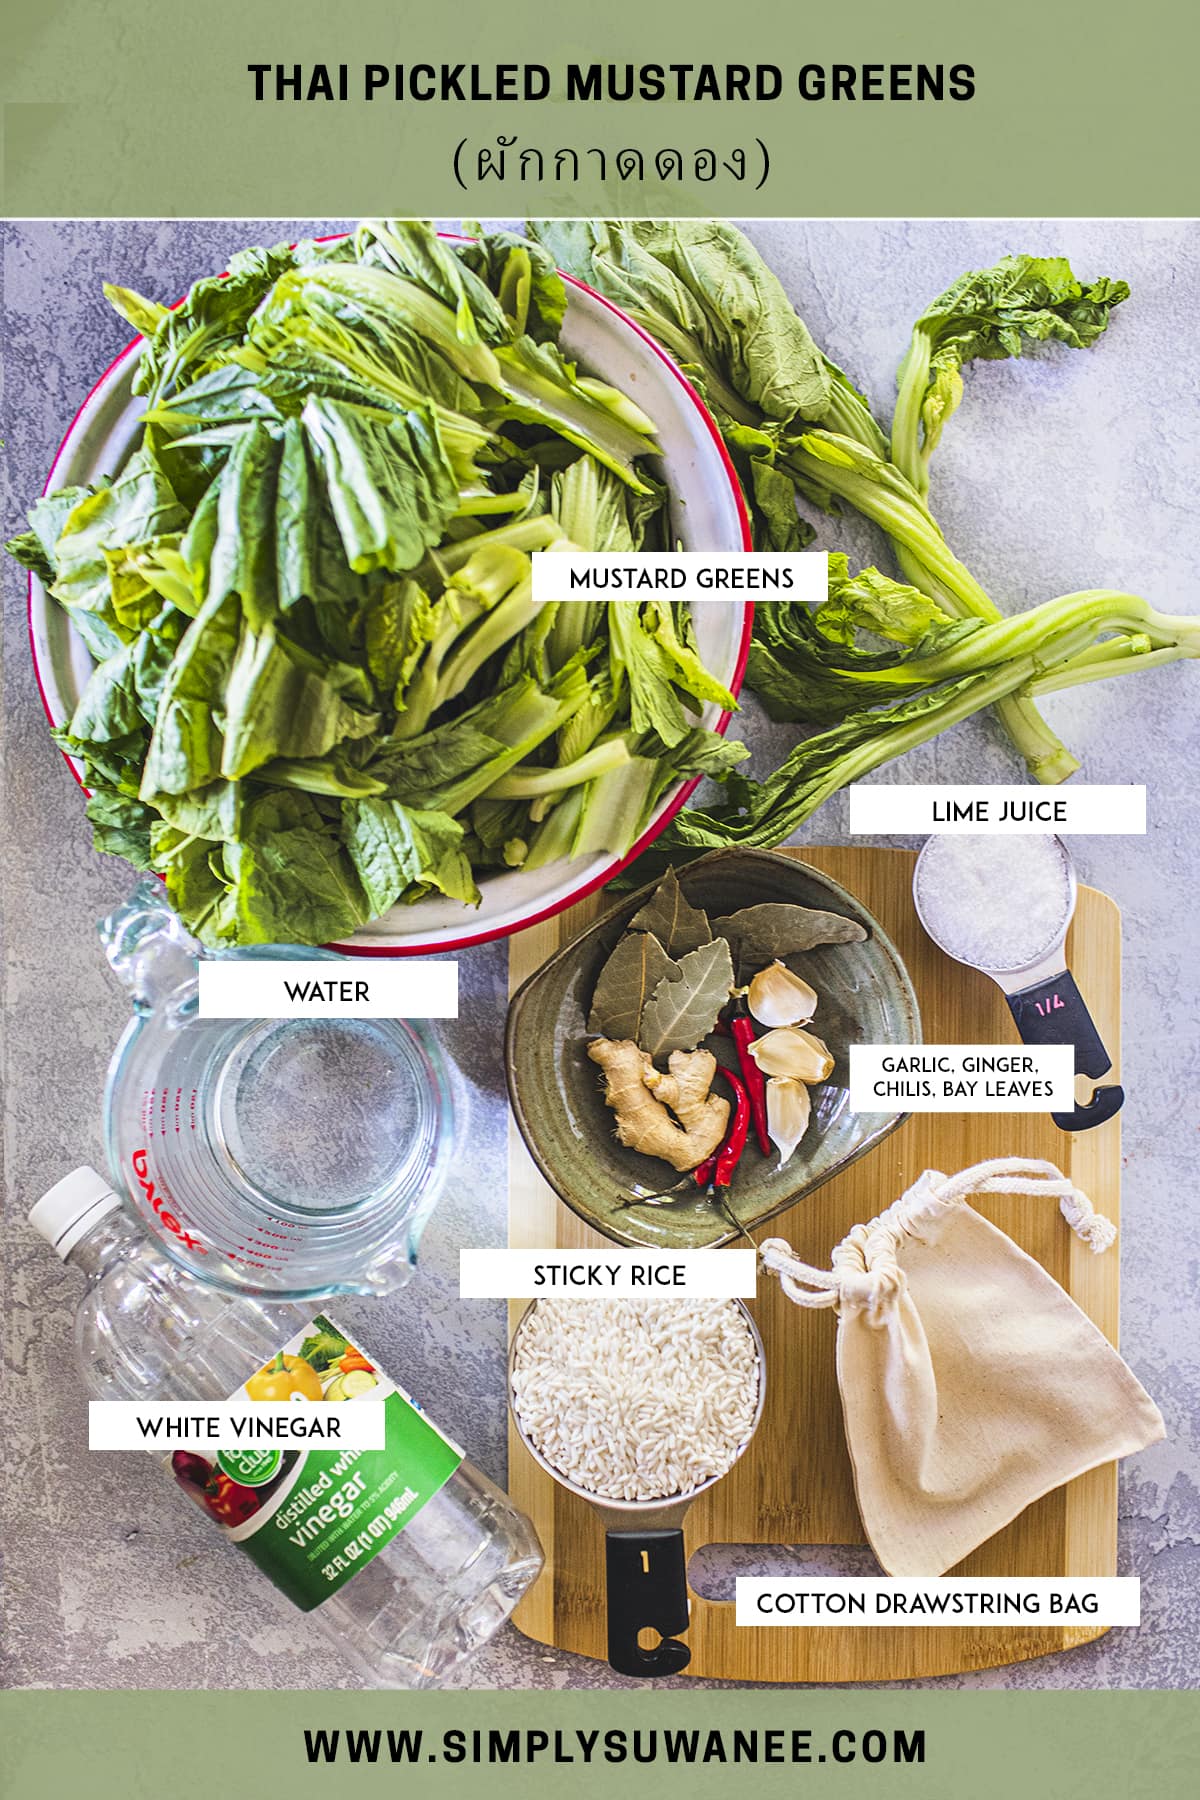
- Mustard greens. The main ingredient for this sour vegetable recipe. You can find them at most Asian grocery stores. Look for signs that read mustard greens, Gai Choy, or green mustards. They are typically grouped near other leafy salad green vegetables like Bok Choy, Chinese broccoli, water spinach, etc. Ask for help if you can’t identify them.
- Sticky Rice. Also called glutinous rice or sweet rice, sticky rice is what we will use to help ferment the mustard greens. If you don’t have sticky rice, use jasmine rice. The rice water will help ferment, giving this easy recipe its sour flavor. Read more about different types of Thai rice here.
- Water. Use clean, fresh water. Approximately 6-7 cups of water are used to soak the rice. Save the excess water until you finish the recipe to ensure you have enough to cover the mustard greens.
- Salt. Use good quality sea salt rather than table salt. Sea salt is a great option.
- Vinegar. Use distilled white vinegar. It helps speed up the pickling process and adds that little extra oomph of sour taste, but not too strong.
- Herbs. Garlic, ginger, fresh or dried chilis, chives, bay leaf, or green onions—all optional! Read more about Thai herbs here.
Tools needed for making Pickled Greens
- Large glass jar with lid
- Fermentation glass weight.
- Cotton nut milk bags or cheesecloth
- Ziplock bags for use with cooking twine or rubber bands.
How To Make Thai Pickled Mustard Greens
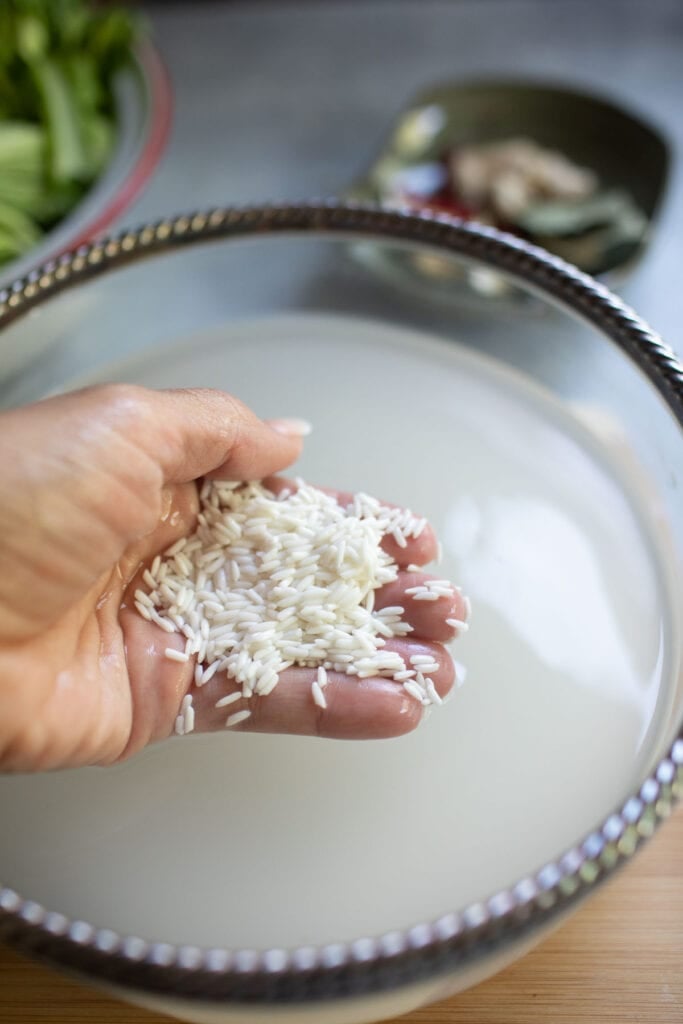
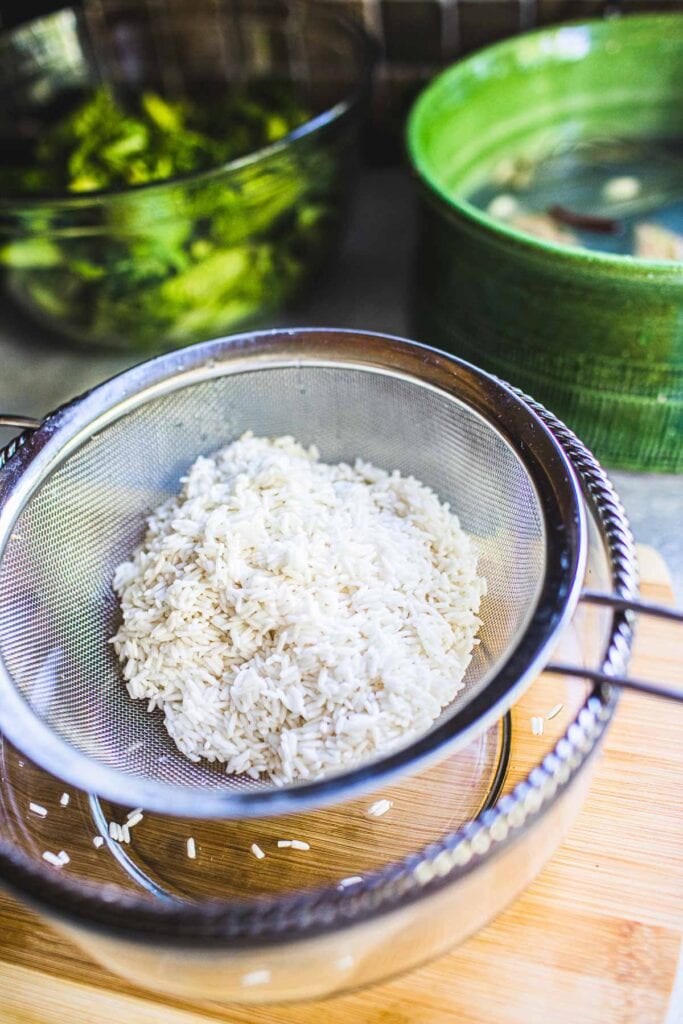
Step 1. Make the rice water. Soak the sticky rice in water in a large bowl for 15-20 minutes. Drain the milky-looking rice water and save it for pickling the mustard greens.
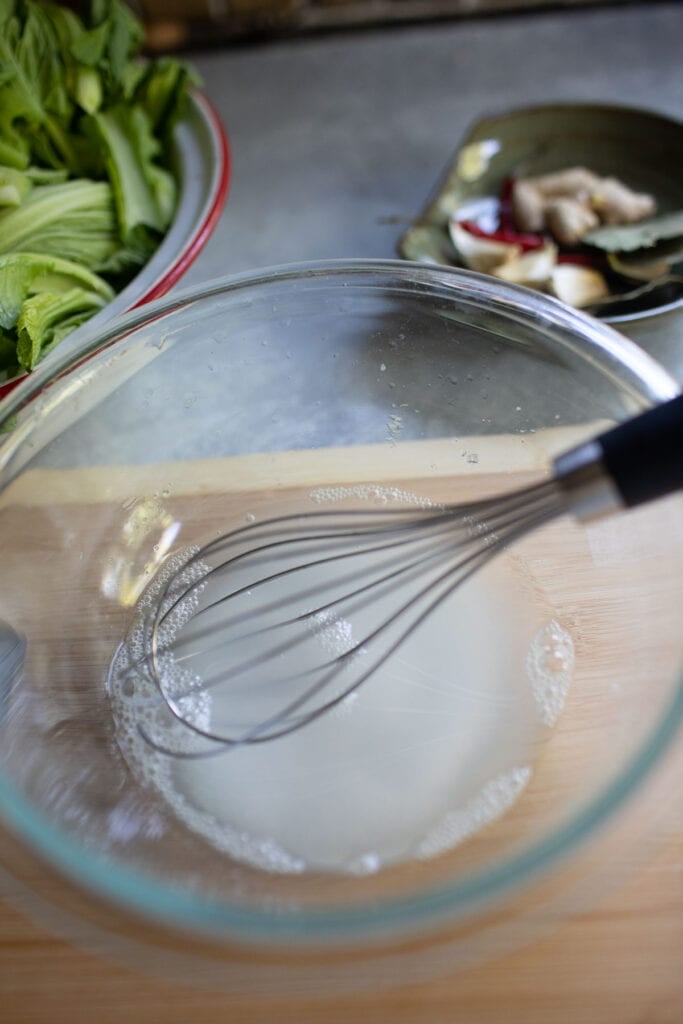
Step 2. Make the salt and vinegar brine. Add salt and vinegar to a medium-sized bowl and stir vigorously until the salt is mostly dissolved. Set aside for mixing in the jar later.
Step 3. Smash the herbs. Then lightly smash the garlic and ginger (or any of your favorite herbs) to release the oil and add to the rice water.
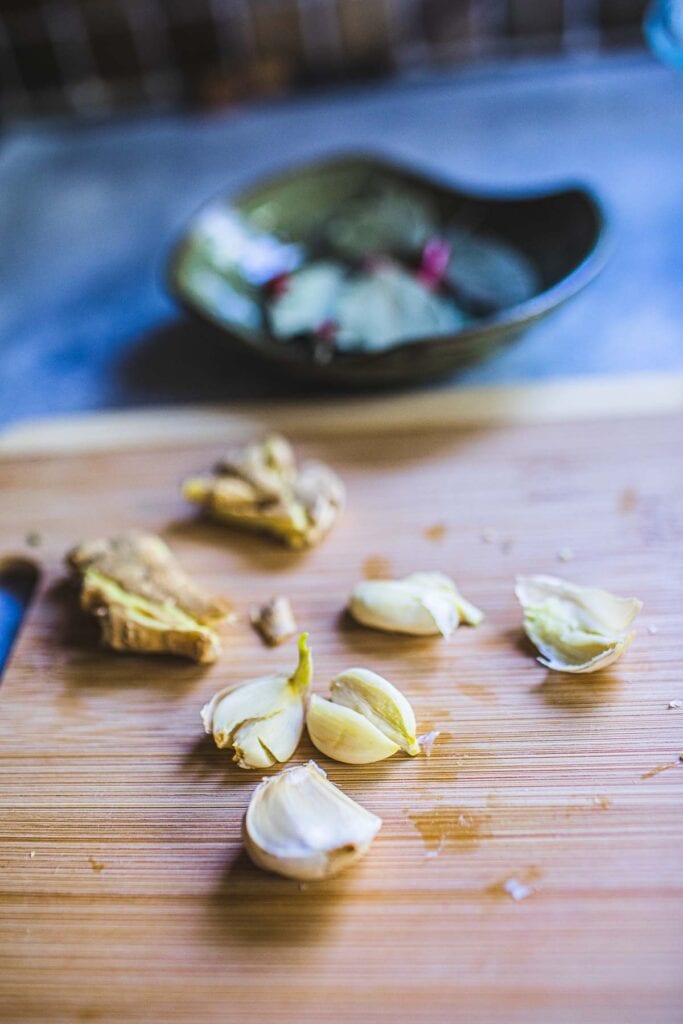
Step 4. Prep your mustard greens. Wash the mustard greens in cold water and let them dry, then cut them into large pieces, 3-4 inches long. Cut the thicker stems into thin pieces about ¼ inch thick and 3-4 inches long, and place in a large bowl.
Step 5. Massage your leafy greens. Add ½ tablespoon salt to the mustard greens and massage them with your fingers for 2-3 minutes. Rub salt into the greens until they look bruised and wilted.
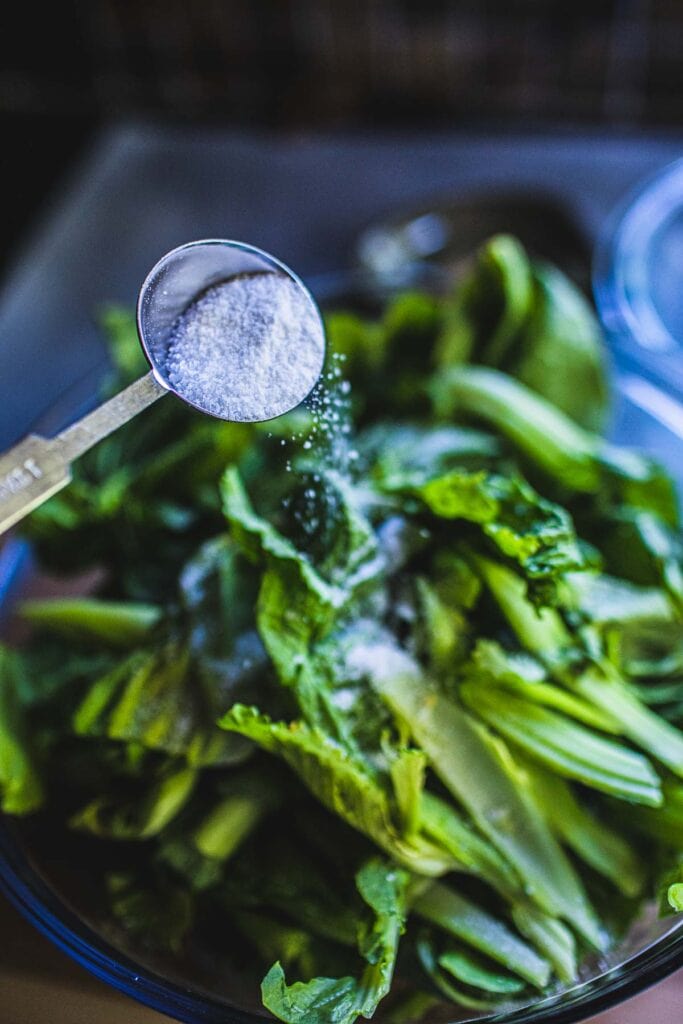
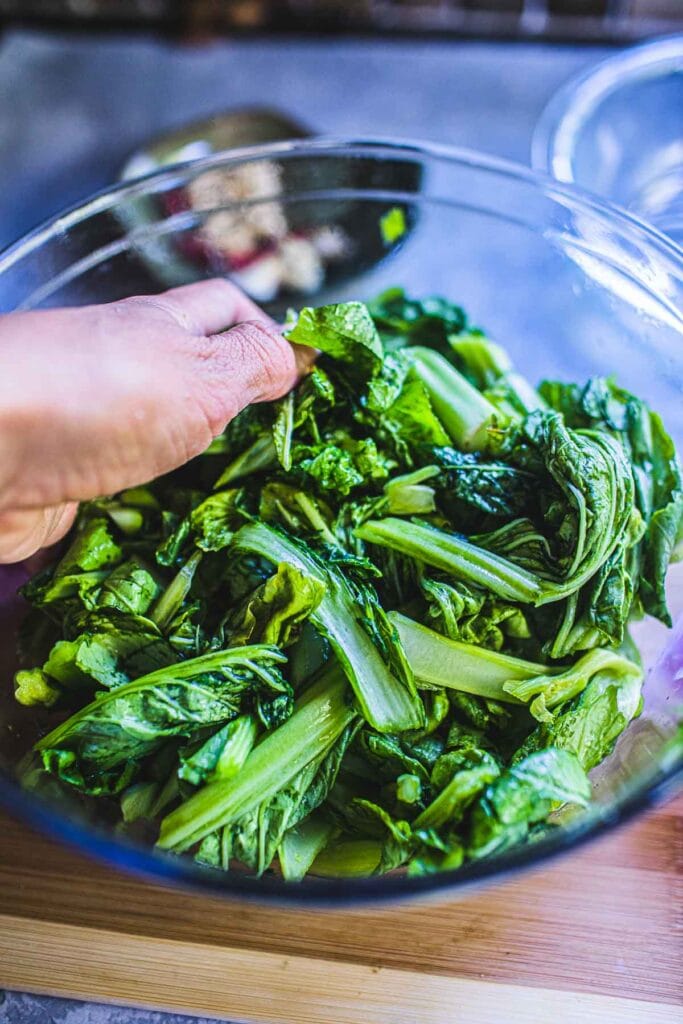
Step 6. Place in jars for fermenting. Wash your glass container, towel dry, and add the chopped-up mustard greens to the jar. Layer the leaves with herbs of choice and tuck them in between. Pack it in tight.
Step 7. Add the liquid to the jar. Pour the cool, salty brine with vinegar into the jar, then add the reserved rice water until wholly covered with the mustard greens.
*Make sure there's enough brine to cover the top of the jar, or mold will form.*
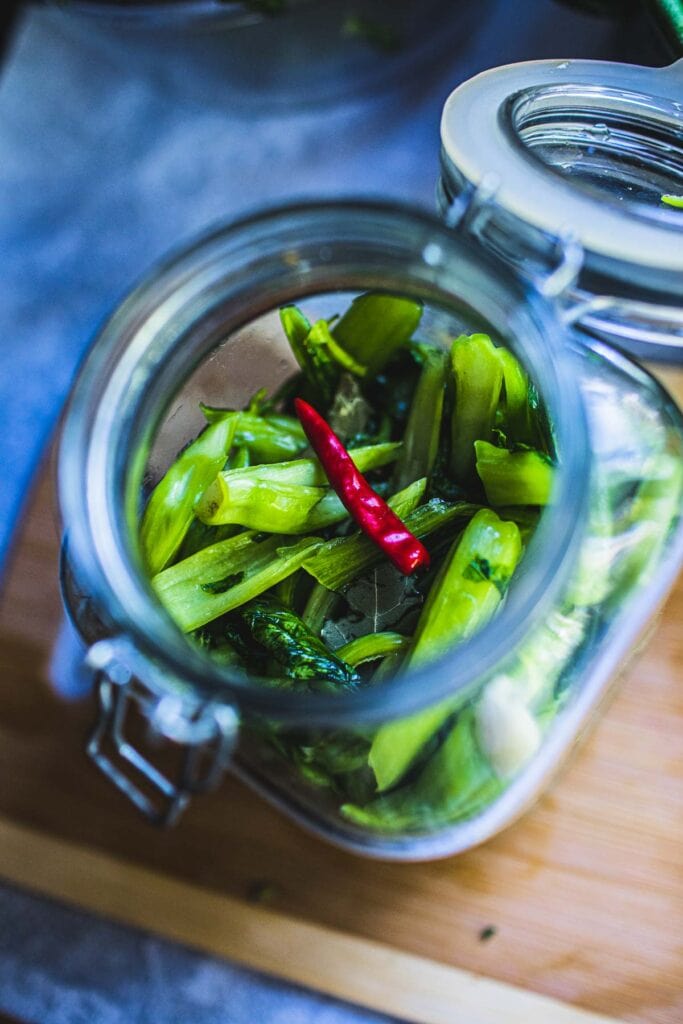
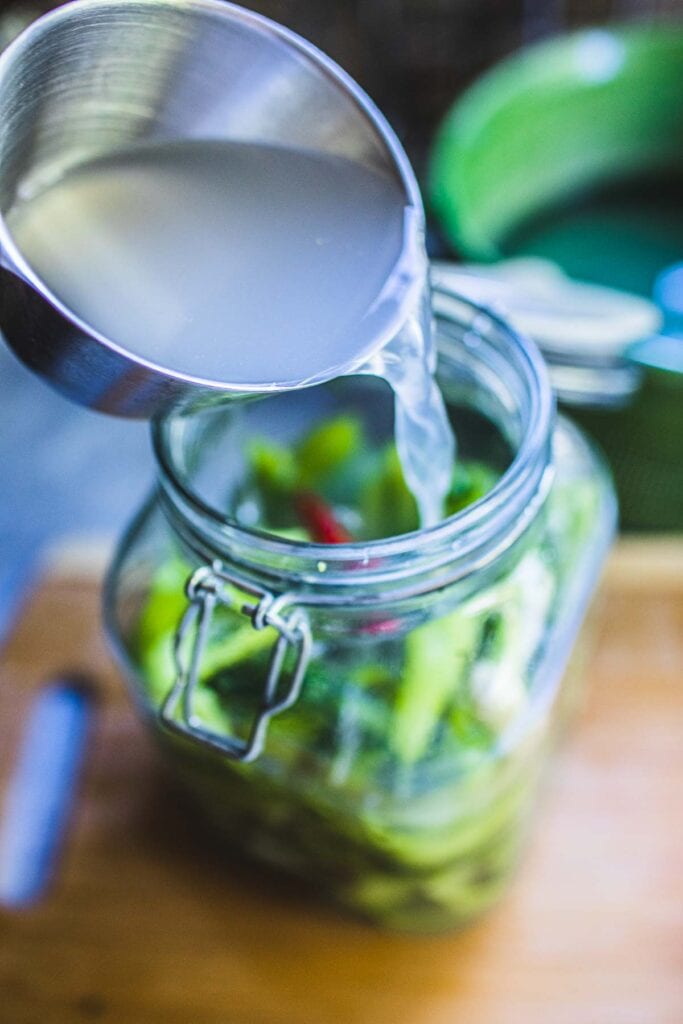
Step 8. Make the fermenting weight. Pour the soaked rice into a cotton cloth sack, synch the string tight, tie a knot, and place the sack over the mustard greens in the glass jar. This weight will help keep the mustard greens under brine water.
It’s ok if the top of the sack is not completely submerged, but be sure all the mustard greens are.
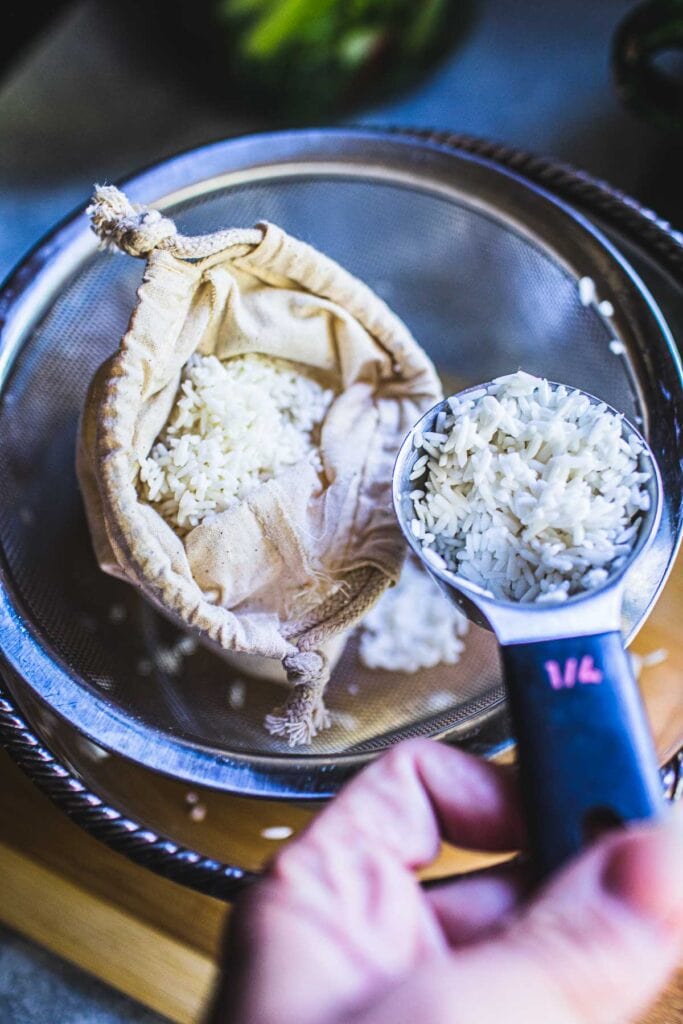
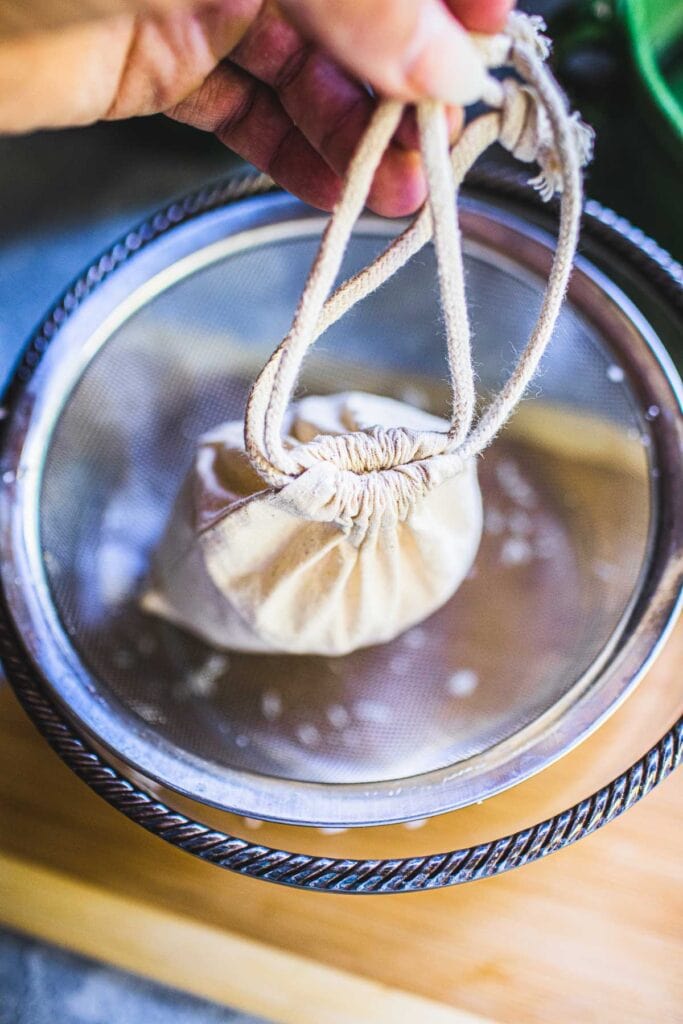
Step 9. Fermentation time! Close the lid and keep the glass jar at room temperature. For a quicker fermentation, keeping it in a sunny spot is fine, too. This recipe is fast and easy and doesn't require a long time for the mustard greens to be pickled.
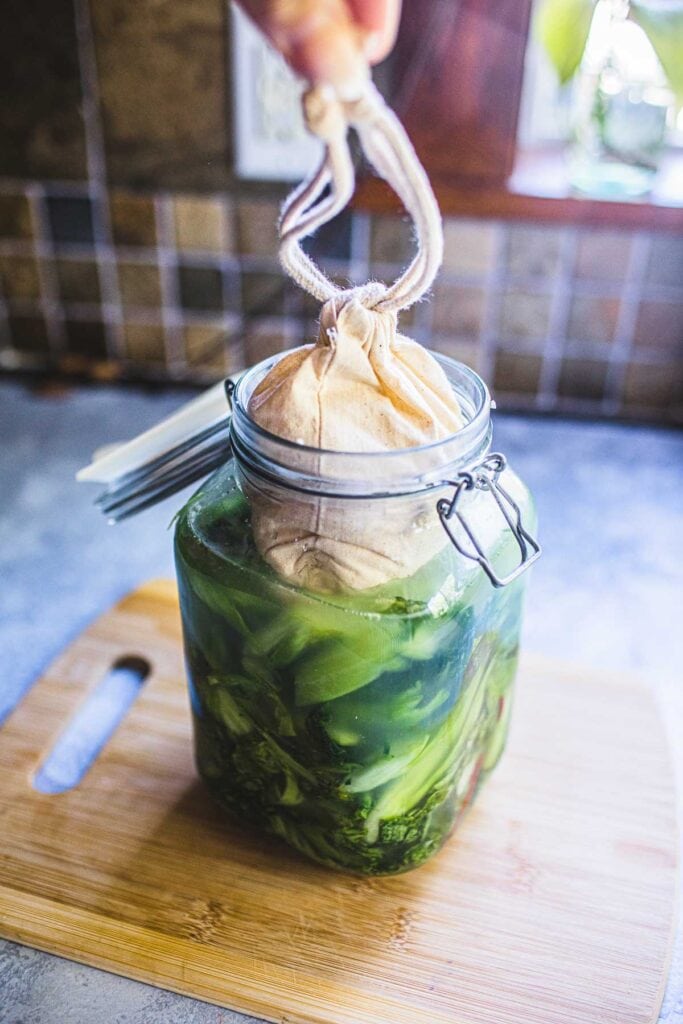
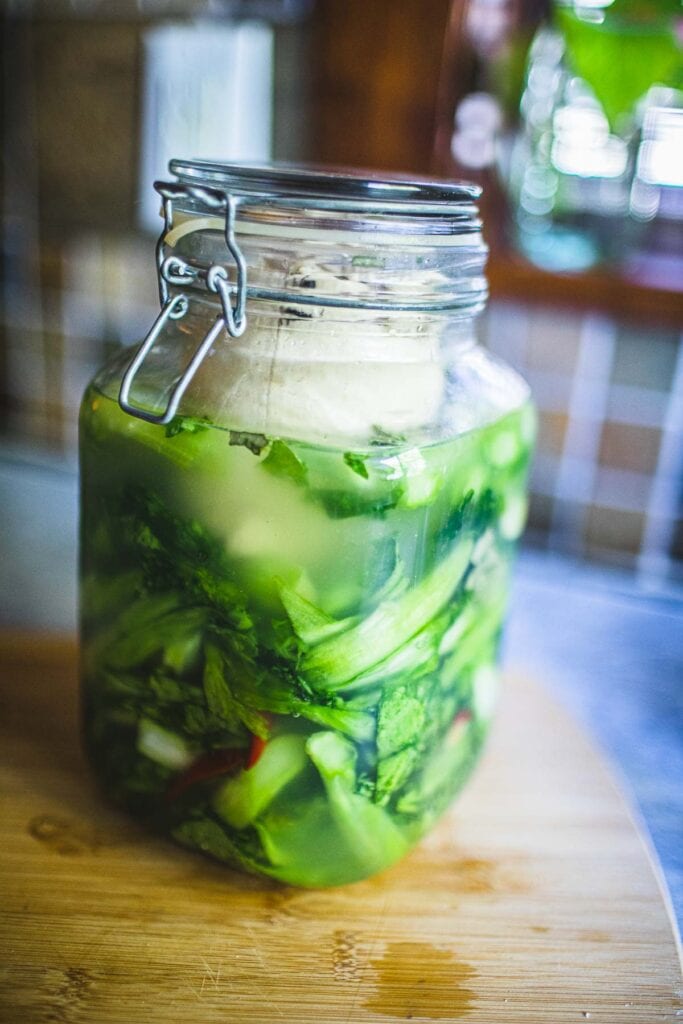
Step 10. The color of the mustard greens will change from bright green to yellow as time passes. Check the mustard greens on day two and taste a small piece to see if you like the flavors.
If your mustard greens are getting spicy, remove the chilis. If the flavors fit your liking, you can do it here or pickle them for 2-4 more days for a more robust flavor. Once you are happy with the flavors, place the glass jar in the fridge.
They stay good for up to 4-6 weeks! Enjoy them daily—with your omelet, fried rice, salads, soups, or by themselves!

Helpful Kitchen notes
- When cutting the mustard greens, cut the stems into small ones rather than leaving them in large chunks. Leave the top of the greens large or uncut as they wilt into smaller pieces in the pickling process.
- Don’t throw away the rice in the rice sack once you pick the mustard greens. I steam or cook the rice and TASTE the BOLD and DELICIOUS pickled rice!
- Jasmine or Japanese rice is ok as a substitute for sticky rice.
- If you don't have a tall glass jar, use a large empty pickle jar. Wash it well with soap and hot water before use.
Options for Fermenting Weights
- Use cotton nut milk bags (as seen in the pictures above.)
- Use fermentation glass weight.
- Use cheesecloth to wrap the sticky rice as weight, then place that on top of the glass jar.
- Make 1-2 water balloons with zip-lock bags. Tie the ziplock balloons tightly with rubber bands or twine.
How to store Pickled Greens
Pickled mustard greens can be kept in the refrigerator for 4-6 weeks. Once you are pleased with the taste, remove the weight off the top of the glass jar and put the rest in the fridges for 4-6 weeks.
Frequently Asked Questions
You can find mustard greens at most Asian markets. There are many breeds of mustard greens. I used the longed steams and large leaf kind. If you find the large steamed with short leaf kind, chop them into smaller pieces before pickling to help with ease of use in pickling and eating.
Yes! Pickled mustard greens are very healthy. The pickling process uses all-natural ingredients with no added sugar or preservatives.
Pickled mustard greens taste like kimchi without the spicy gochujang peppers. It’s salty, sour, and crunchy, with a slight taste of the bitterness of the mustard greens. The leafy part looks and tastes like pickled napa cabbage too. T
More Thai Recipes You’ll Love!
** Love a recipe you've tried? Please leave a 5-star rating in the recipe card below and a review in the comments section further down the page. Or follow me on Facebook, Pinterest, or Instagram! **
Print
Thai Pickled Mustard Greens (Pak Gad Dong)
- Total Time: 0 hours
- Yield: 12
- Diet: Low Calorie
Description
Thai pickled mustard greens (Pak Gad Dong) are a delicious pickle vegetable used in many Thai dishes as a tasty side dish to boost flavors. If you love the strong taste of pickles, olives, capers, or any tasty pickled vegetables, you’ll love this recipe!
Ingredients
- 2 pounds mustard greens, chopped into 3-4 inch pieces
- 1 cup sticky rice. Jasmine rice is fine, too
- 6 cups water
- ¼ cup salt
- ½ cup distilled white vinegar
- 1-3 pieces of herbs. Choose garlic, ginger, fresh or dried chilis, chives, bay leaf, or green onions. All are optional and customized as needed.
Helpful Tools:
- Large glass jar with lid
- Fermentation glass weight.
- Cotton nut milk bags or cheesecloth
- Ziplock bags are to be used with cooking twine or rubber bands.
Instructions
Step 1. Make the rice water. Soak the sticky rice in water in a large bowl for 15-20 minutes. Drain the milky-looking rice water and save it for pickling the mustard greens.
Step 2. Make the salt and vinegar brine. Add salt and vinegar to a medium-sized bowl and stir vigorously until the salt is mostly dissolved. Set aside for mixing in the jar later.
Step 3. Smash the herbs. Then lightly smash the garlic and ginger (or any of your favorite herbs) to release the oil and add to the rice water.
Step 4. Prep your mustard greens. Wash the mustard greens in cold water and let them dry, then cut them into large pieces, 3-4 inches long. Cut the thicker stems into thin pieces about ¼ inch thick and 3-4 inches long, and place in a large bowl.
Step 5. Massage your leafy greens. Add ½ tablespoon salt to the mustard greens and massage them with your fingers for 2-3 minutes. Rub salt into the greens until they look bruised and wilted.
Step 6. Place in jars for fermenting. Wash your glass container, towel dry, and add the chopped-up mustard greens to the jar. Layer the leaves with herbs of choice and tuck them in between. Pack it in tight.
Step 7. Add the liquid to the jar. Pour the cool, salty brine with vinegar into the jar, then add the reserved rice water until wholly covered with the mustard greens.
*Make sure there's enough brine to cover the top of the jar, or mold will form.*
Step 8. Make the fermenting weight. Pour the soaked rice into a cotton cloth sack, synch the string tight, tie a knot, and place the sack over the mustard greens in the glass jar. This weight will help keep the mustard greens under brine water.
*It’s ok if the top of the sack is not completely submerged, but be sure all the mustard greens are.*
Step 9. Fermentation time! Close the lid and keep the glass jar at room temperature. For a quicker fermentation, keeping it in a sunny spot is fine, too. This recipe is fast and easy and doesn't require a long time for the mustard greens to be pickled.
Step 10. The color of the mustard greens will change from bright green to yellow as time passes. Check the mustard greens on day two and taste a small piece to see if you like the flavors.
If your mustard greens are getting spicy, remove the chilis. If the flavors fit your liking, you can do it here or pickle them for 2-4 more days for a more robust flavor. Once you are happy with the flavors, place the glass jar in the fridge.
They stay good for up to 4-6 weeks. Enjoy!
Notes
- When cutting the mustard greens, cut the stems into small ones rather than leaving them in large chunks. Leave the top of the greens large or uncut as they wilt into smaller pieces in the pickling process.
- Don’t throw away the rice in the rice sack once you pick the mustard greens. I steam or cook the rice and TASTE the BOLD and DELICIOUS pickled rice!
- Jasmine or Japanese rice is ok as a substitute for sticky rice.
- If you don't have a tall glass jar, use a large empty pickle jar. Wash it well with soap and hot water before use.
There are four options for placing the weight over the glass jar.
-
-
- Use cotton nut milk bags (as seen in the pictures above.)
- Use fermentation glass weight.
- Use cheesecloth to wrap the sticky rice as weight, then place that on top of the glass jar.
- Make 1-2 water balloons with zip-lock bags. Tie the zip-lock balloons tightly with rubber bands or twine.
-
- Prep Time: 45 minutes
- Cook Time: 2-5 days
- Category: Side dish
- Method: pickling
- Cuisine: Thai
** Thank you so much for visiting my blog! This is truly a passion for me. If you have enjoyed these recipes and appreciate the hard work I put into them, I would love it if you would share them with your friends! Your recommendation is the highest review I could hope for, and I’d appreciate it! **

Alice says
Suwanee! You've made this kiam chai (in Chinese Hokkiean dialect) recipe so easy to follow! I love the natural taste to the store bought ones. Thank you.
Suwanee says
That's fantastic, Robin! Nothing is more satisfying and healthier than fresh garden veggies to homemade recipes! Thank you for sharing your experience and comment here. (:
Robin says
This is wonderful. My first batch came out of my garden (except the ginger). 2 nd batch just went into jars tonight. My tummy feels so much better with this particular ferment and I love being able to use my garden produce. This batch includes some seshuan pepper. Looking forward to he tweak. Thanks for the medicine ❤️
Suwanee says
I’ve included it at the end because I want to ensure the brine measurements (salt and vinegar) are spot on for the recipe. The 6 cups of rice water can vary a bit based on the fermentation jar and how plump the mustard greens are. Hope that clears things up! Let me know if you have any more questions.
Anonymous says
Do you mix all 6 cups of rice water with the salt+vinegar mixture? Or add it at the end just enough to fill the jar? I don't see in the instructions where the rice water comes in. Thank you!
Suwanee says
Yes!
Gloria Storey says
Are these what's traditionally served with khao soi?
Teresa says
My husband and I loved the extra flavors from the garlic and spicy pepper! We ate almost the entire jar in one setting! (Small jar!)
Thank you for the recipe.
Gretchen J. says
Tasty, healthy and a perfect garnish.
Josie says
Simple, healthy, and delicious. Loved the flavors.