Thai pickled garlic, or Kratiem Dong, is a tangy, aromatic, and flavorful condiment that’s a must-have in Thai cuisine. This popular condiment is a staple in Southeast Asian communities, adding bold flavors to soups, curries, and salads. An easy recipe in 5 simple steps!
With my love for authentic Thai cooking, I’ve created this easy pickled garlic recipe for both traditional Thai dishes and much more.
Use your pickled garlic to elevate dishes like Thai boat noodles soup, Gaeng Hung Lay curry, Jok Thai rice porridge, or Moo Hong. It also works wonders in Thai beef Massaman curry, yellow curry with pork belly, or Thai stuffed bitter melon soup, giving these great recipes an extra layer of flavor.
Love pickling? Don’t miss my pickled mustard greens recipe and Thai chili in vinegar—both are super easy and delicious!
Jump to:
- Kratiem Dong- In Thailand
- What to Do with Thai Pickled Garlic
- Ingredients for Pickled Garlic (Kratiem Dong)
- Optional Add-Ins for Extra Flavor
- How to Make Thai Pickled Garlic (Kratiem Dong)
- Easy Way to Peel Garlic
- Tips for Pickling Garlic
- Storing Pickled Garlic
- Benefits of Pickled Garlic
- More Recipes from Simply Suwanee
- Frequently Asked Questions
- Thai Pickled Garlic (Kratiem Dong)
- More Thai Condiments
Kratiem Dong- In Thailand
Growing up in Thailand, pickled garlic was a staple, especially when my family made giant batches of Thai boat noodles to feed 20 or more people. Jars of whole pickled garlic—skins and all—were always on hand to flavor the broth. I loved sneaking pieces and peeling them like candy. Now, my 10-year-old daughter enjoys them just as much—it’s fun to see the tradition live on!
In Thailand, pickled garlic is cheap and easy to find, but after moving to the US at 13, I realized cooking authentic Thai food here takes creativity. Ingredients like Thai garlic, sauces, and pastes aren’t always available, and finding the right flavors can be tricky. That’s why I created this recipe—perfect for bringing real Thai flavors to your kitchen and enjoying this versatile, flavorful condiment!
What to Do with Thai Pickled Garlic
- Add to Thai soups like boat noodles or Gaeng Hung Lay for extra tang.
- Use in glass noodles, salads, or sandwiches for a bold kick.
- Pair with a charcuterie board or enjoy as a snack—think stuffed olives, but all garlic.
- I use it in my cocktails, such as Tom Yum cocktails, spicy tamarind vodka, dirty margaritas, and Bloody Marys.
Ingredients for Pickled Garlic (Kratiem Dong)
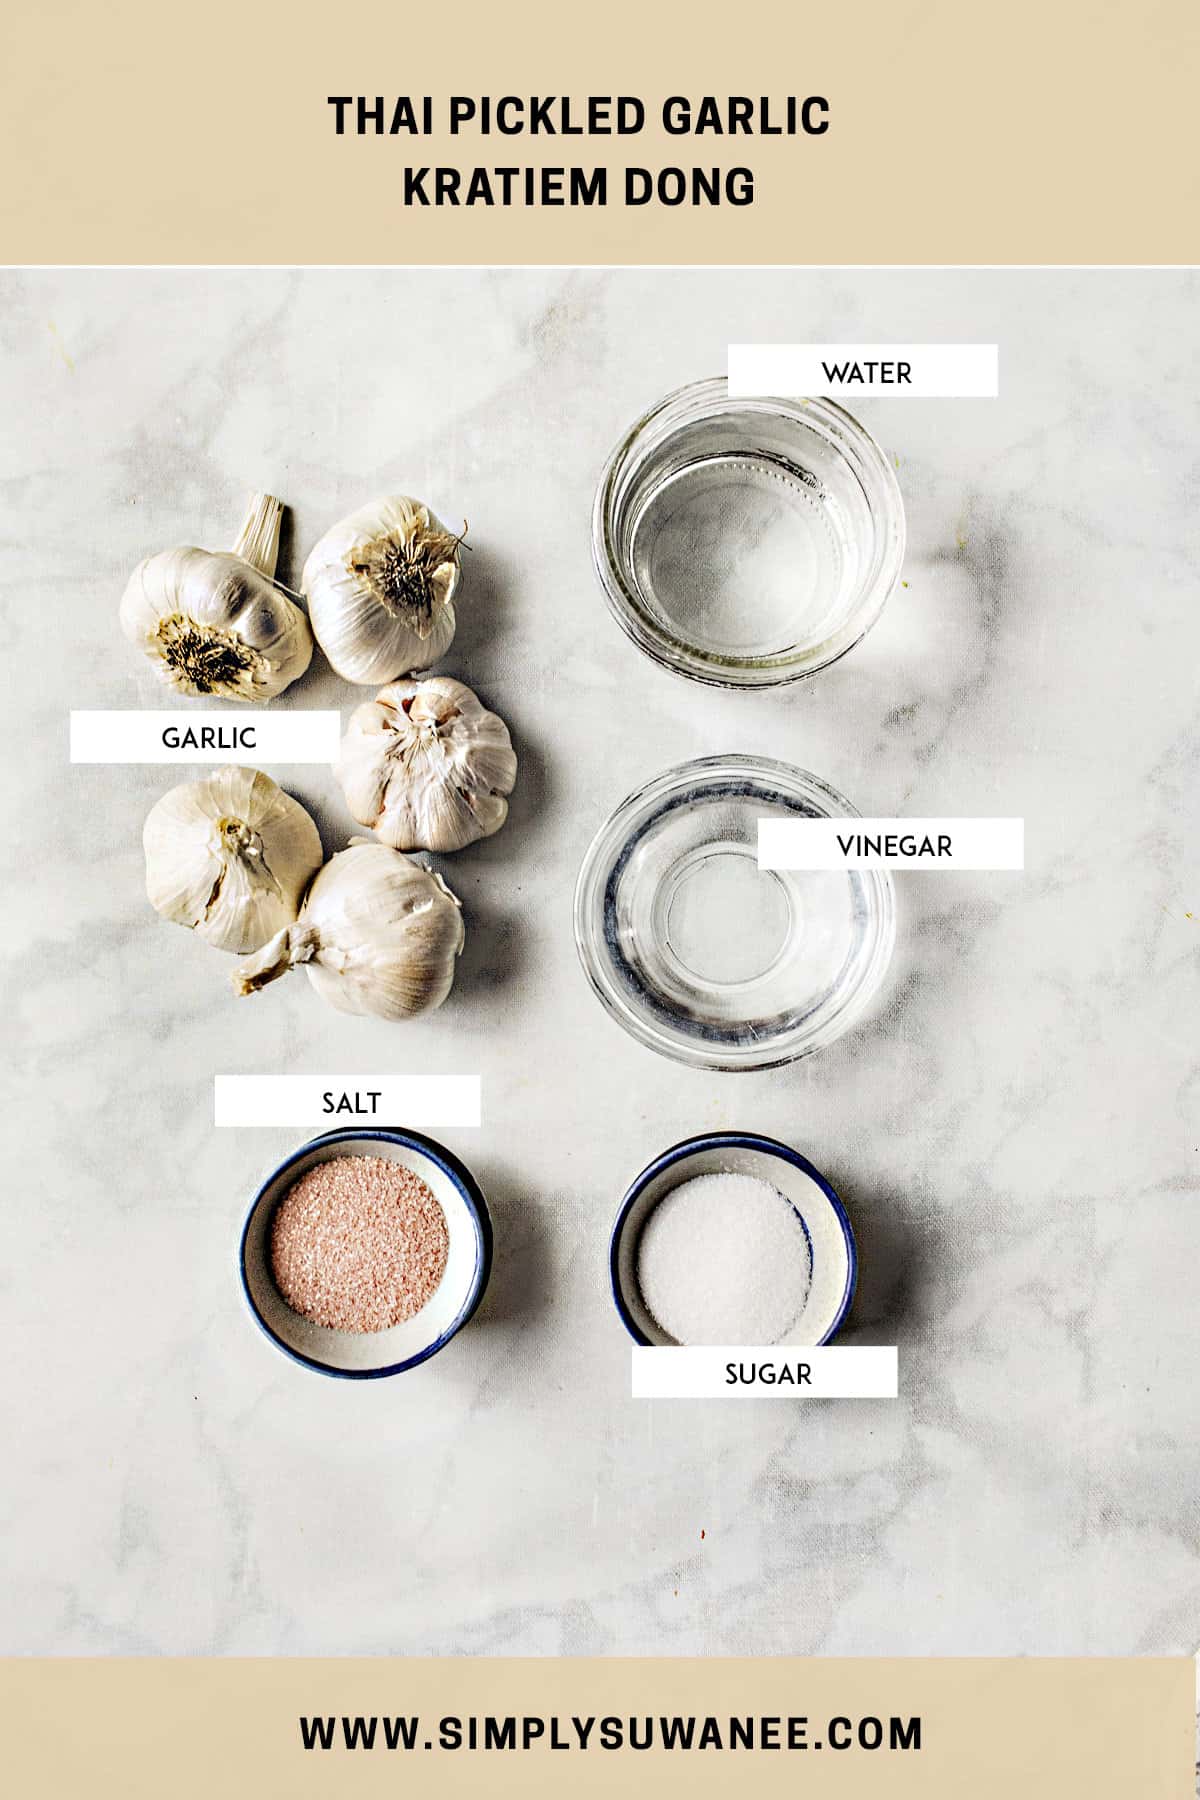
- Fresh Garlic: The star ingredient, whether you use raw garlic cloves or whole heads. Thai garlic is smaller and more aromatic, perfect for pickling.
- White Rice Vinegar: The key to a tangy, preservative brine. Distilled white wine vinegar is also fine.
- Salt: Use kosher or Himalayan salt for better preservation and a cleaner flavor.
- Sugar: Granulated sugar balances the tanginess with a touch of sweetness.
- Water: Filtered water helps maintain the purity of the brine.
- Thai Garlic: Its smaller size and aromatic quality make it ideal for this recipe.
Optional Add-Ins for Extra Flavor
- Bay leaves
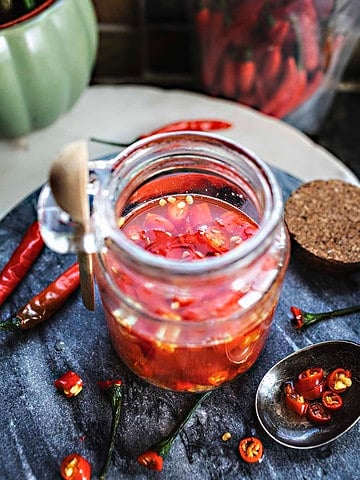
- Thai chili peppers for a spicy pickled garlic recipe. Fresh or dried
- Whole white or black peppercorns
How to Make Thai Pickled Garlic (Kratiem Dong)
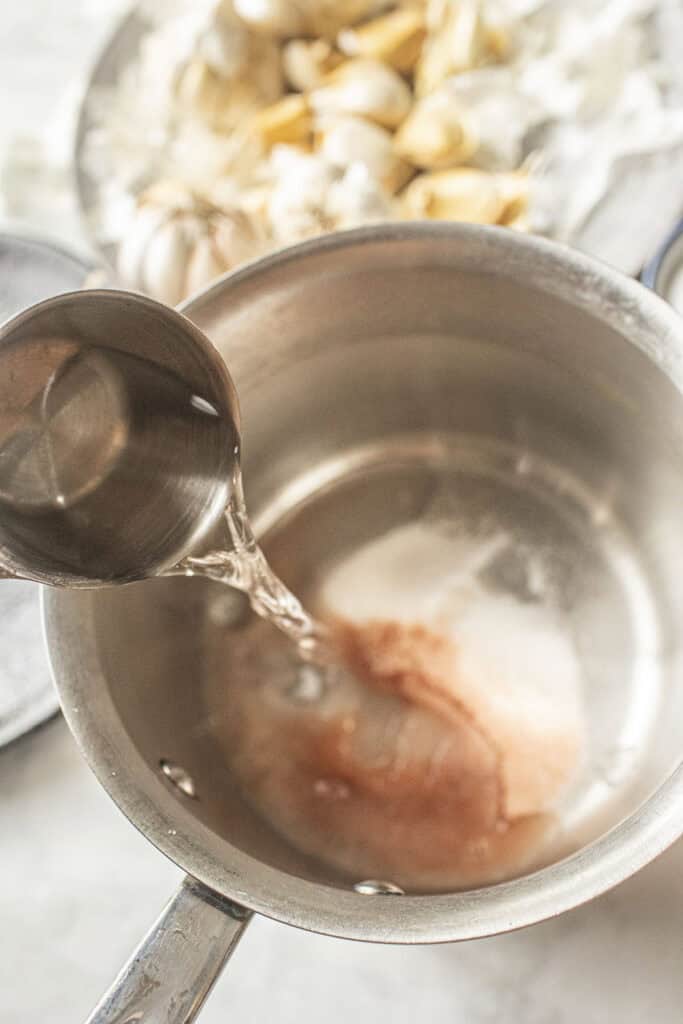
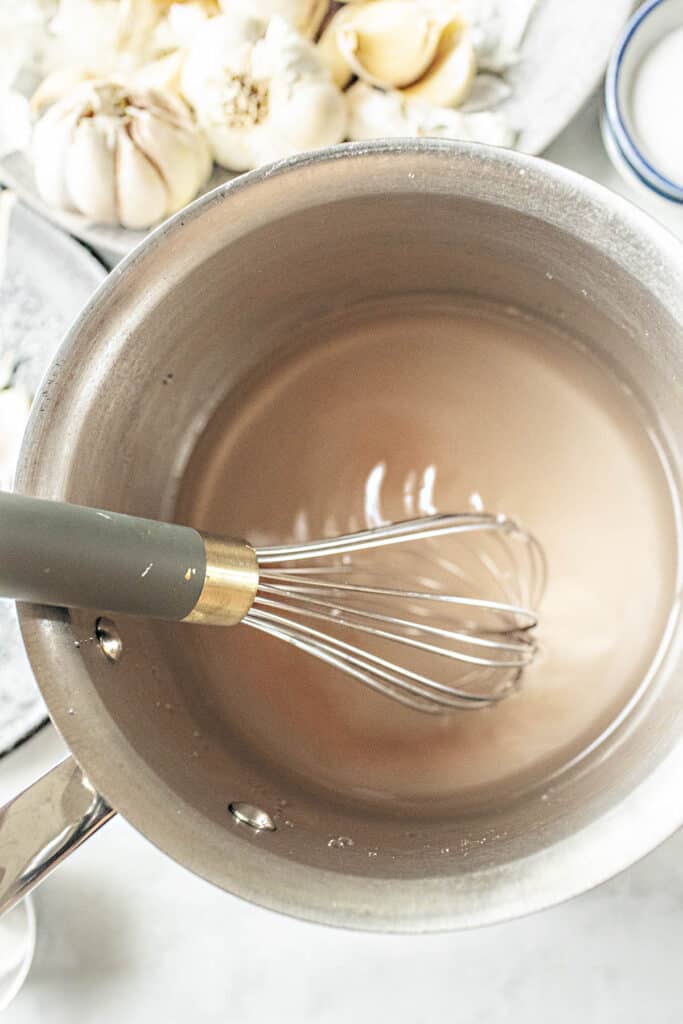
1. Prepare the Brine: In a medium saucepan, combine vinegar, sugar, salt, and enough water. Bring to a boil over high heat, whisking until the sugar and salt dissolve. Remove from heat and let cool.
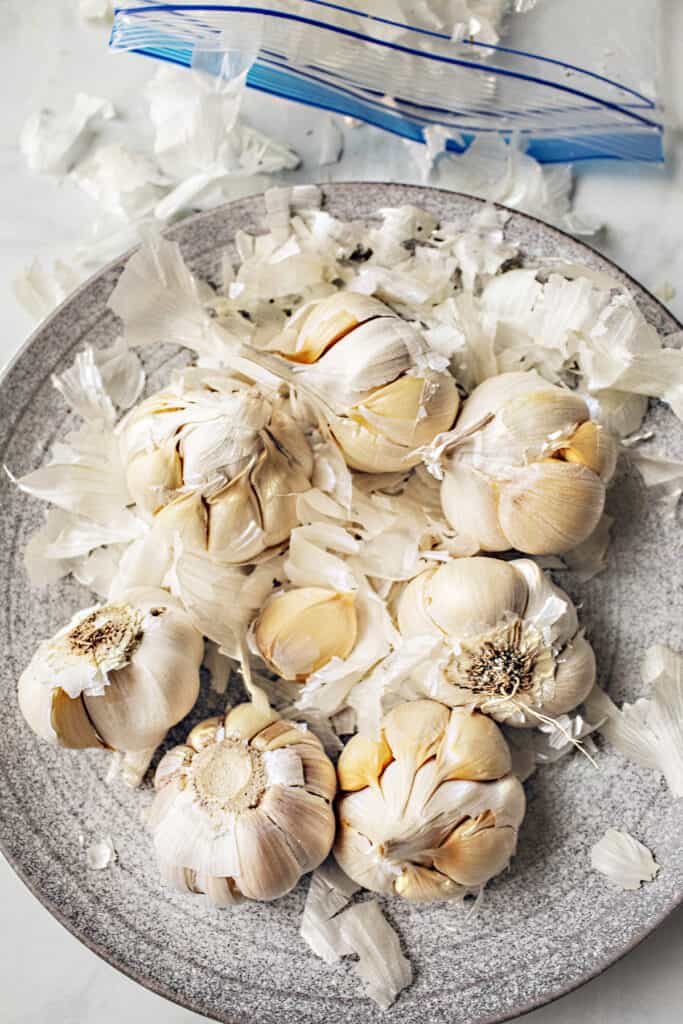
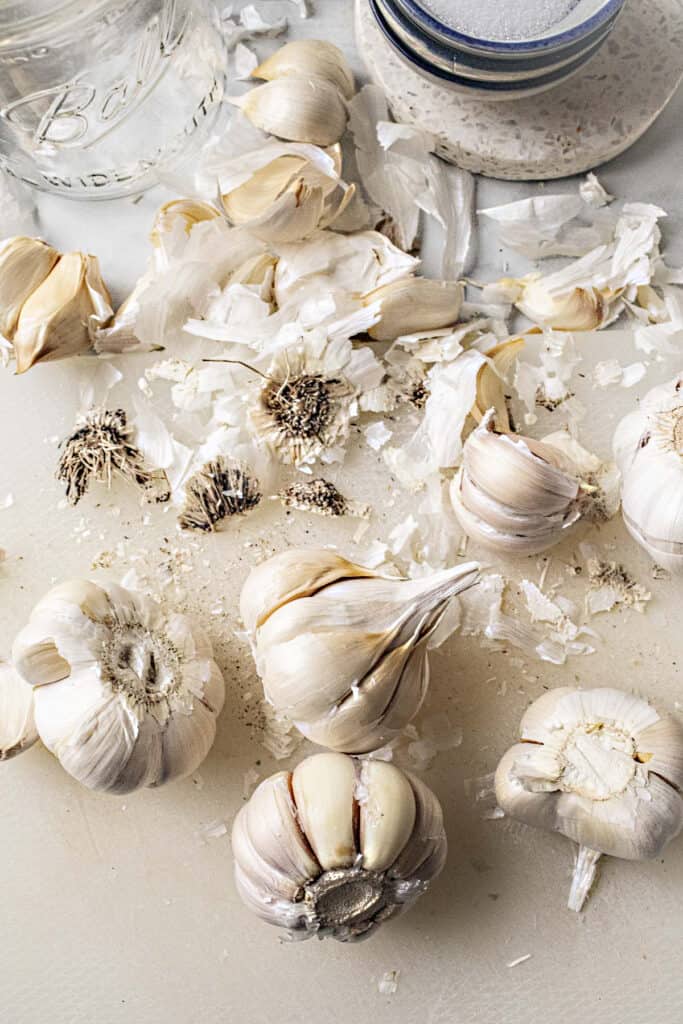
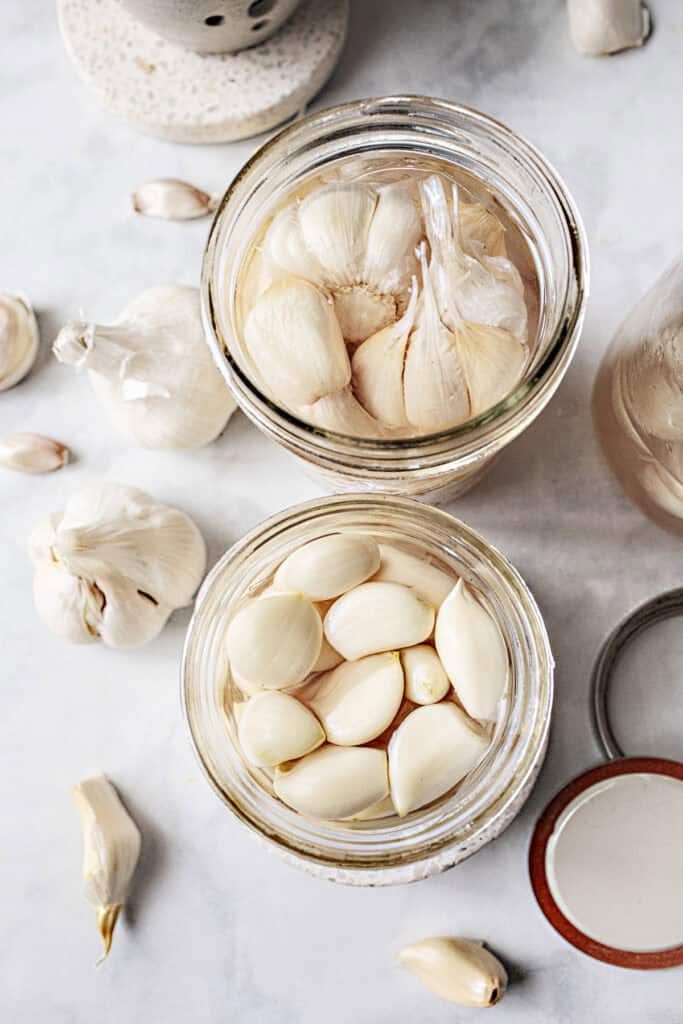
2. Peel the Garlic: Depending on your preference, you can peel the garlic cloves or leave the skins on. For young garlic heads, leaving the skin on is ideal for soups and curries. Trim the crusty brown bottom parts off, too.
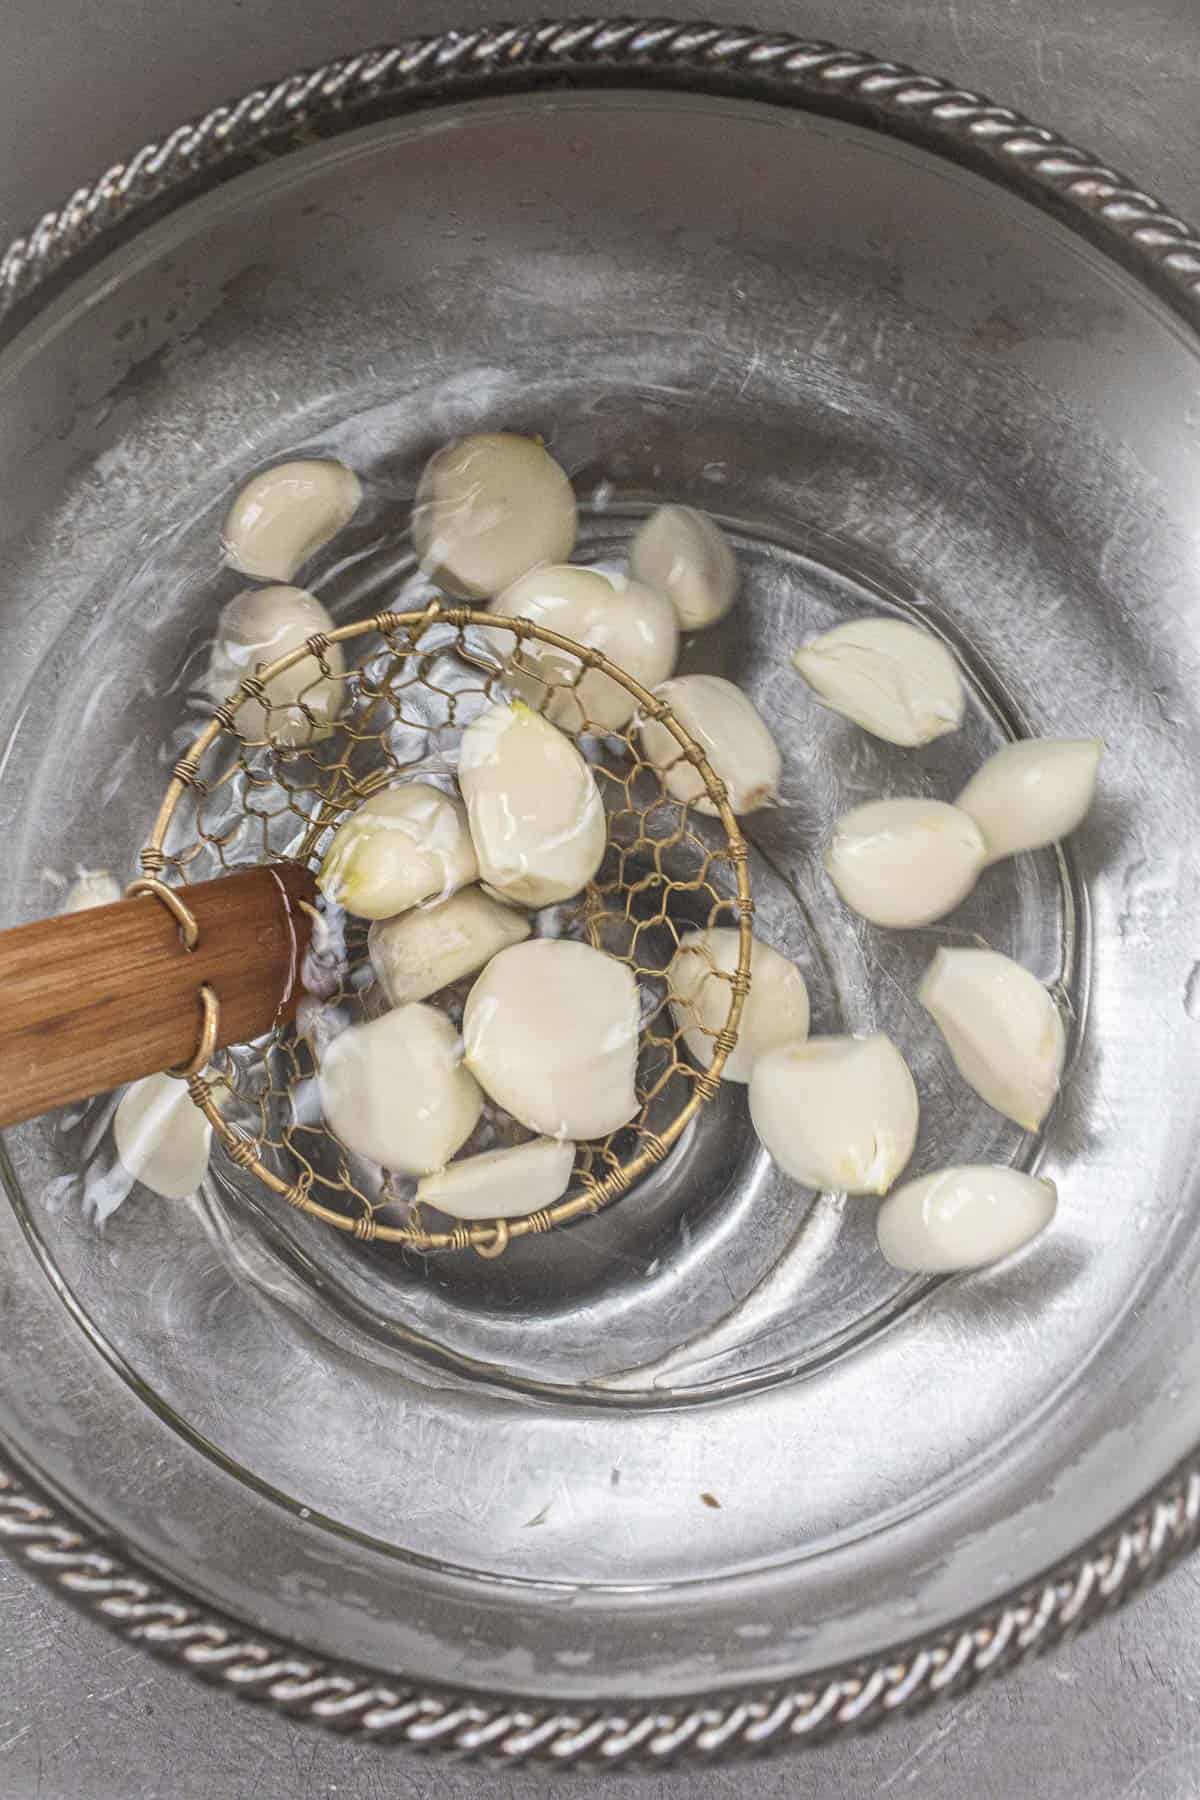
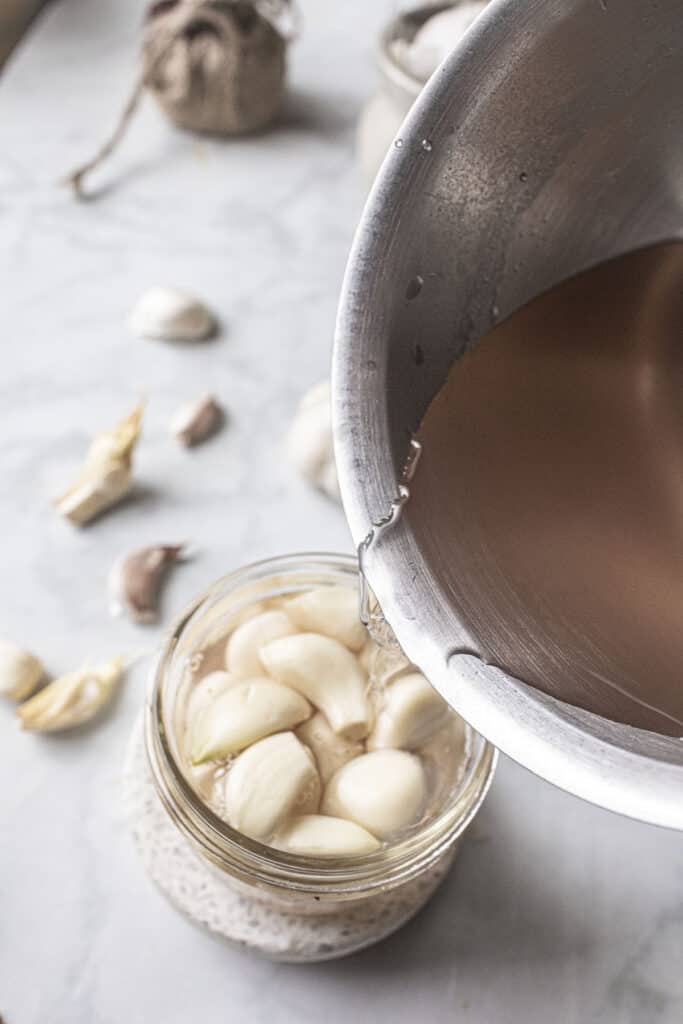
3. Blanch and Pack the Jar. Blanching the garlic in hot water helps reduce its sharpness, prevents it from turning blue, and kick-starts the fermentation process. For peeled garlic, blanch for 1 minute, and garlic with the peels on, blanch for 2-3 minutes. I like to use 3 small jars: one for peeled garlic, one for cloves, and one for whole heads. Pour the brine into each jar, dividing it as needed.
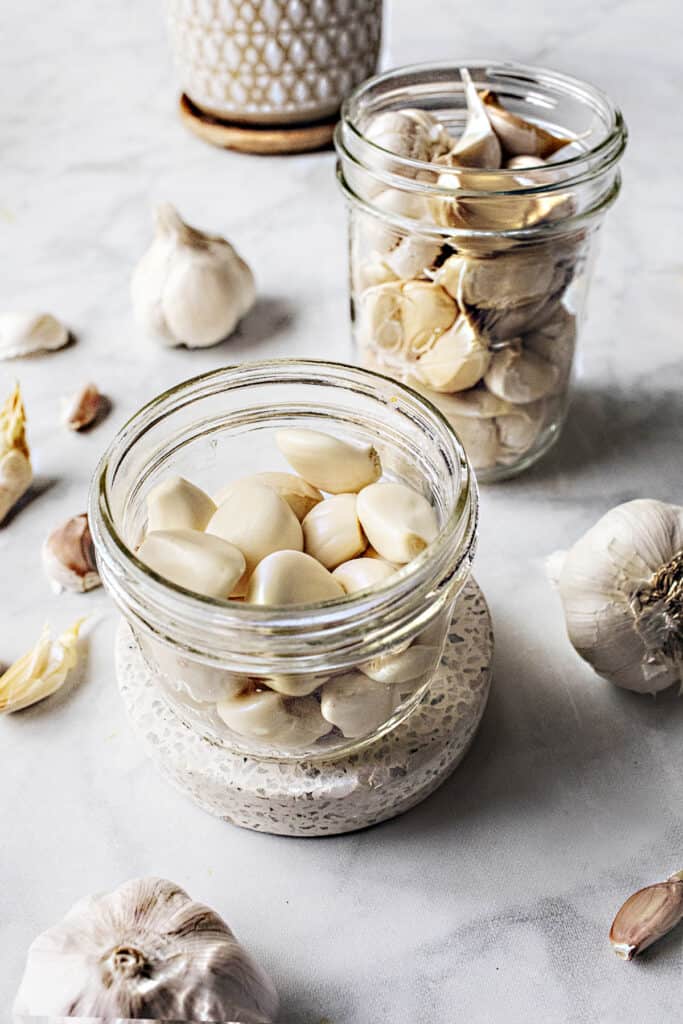
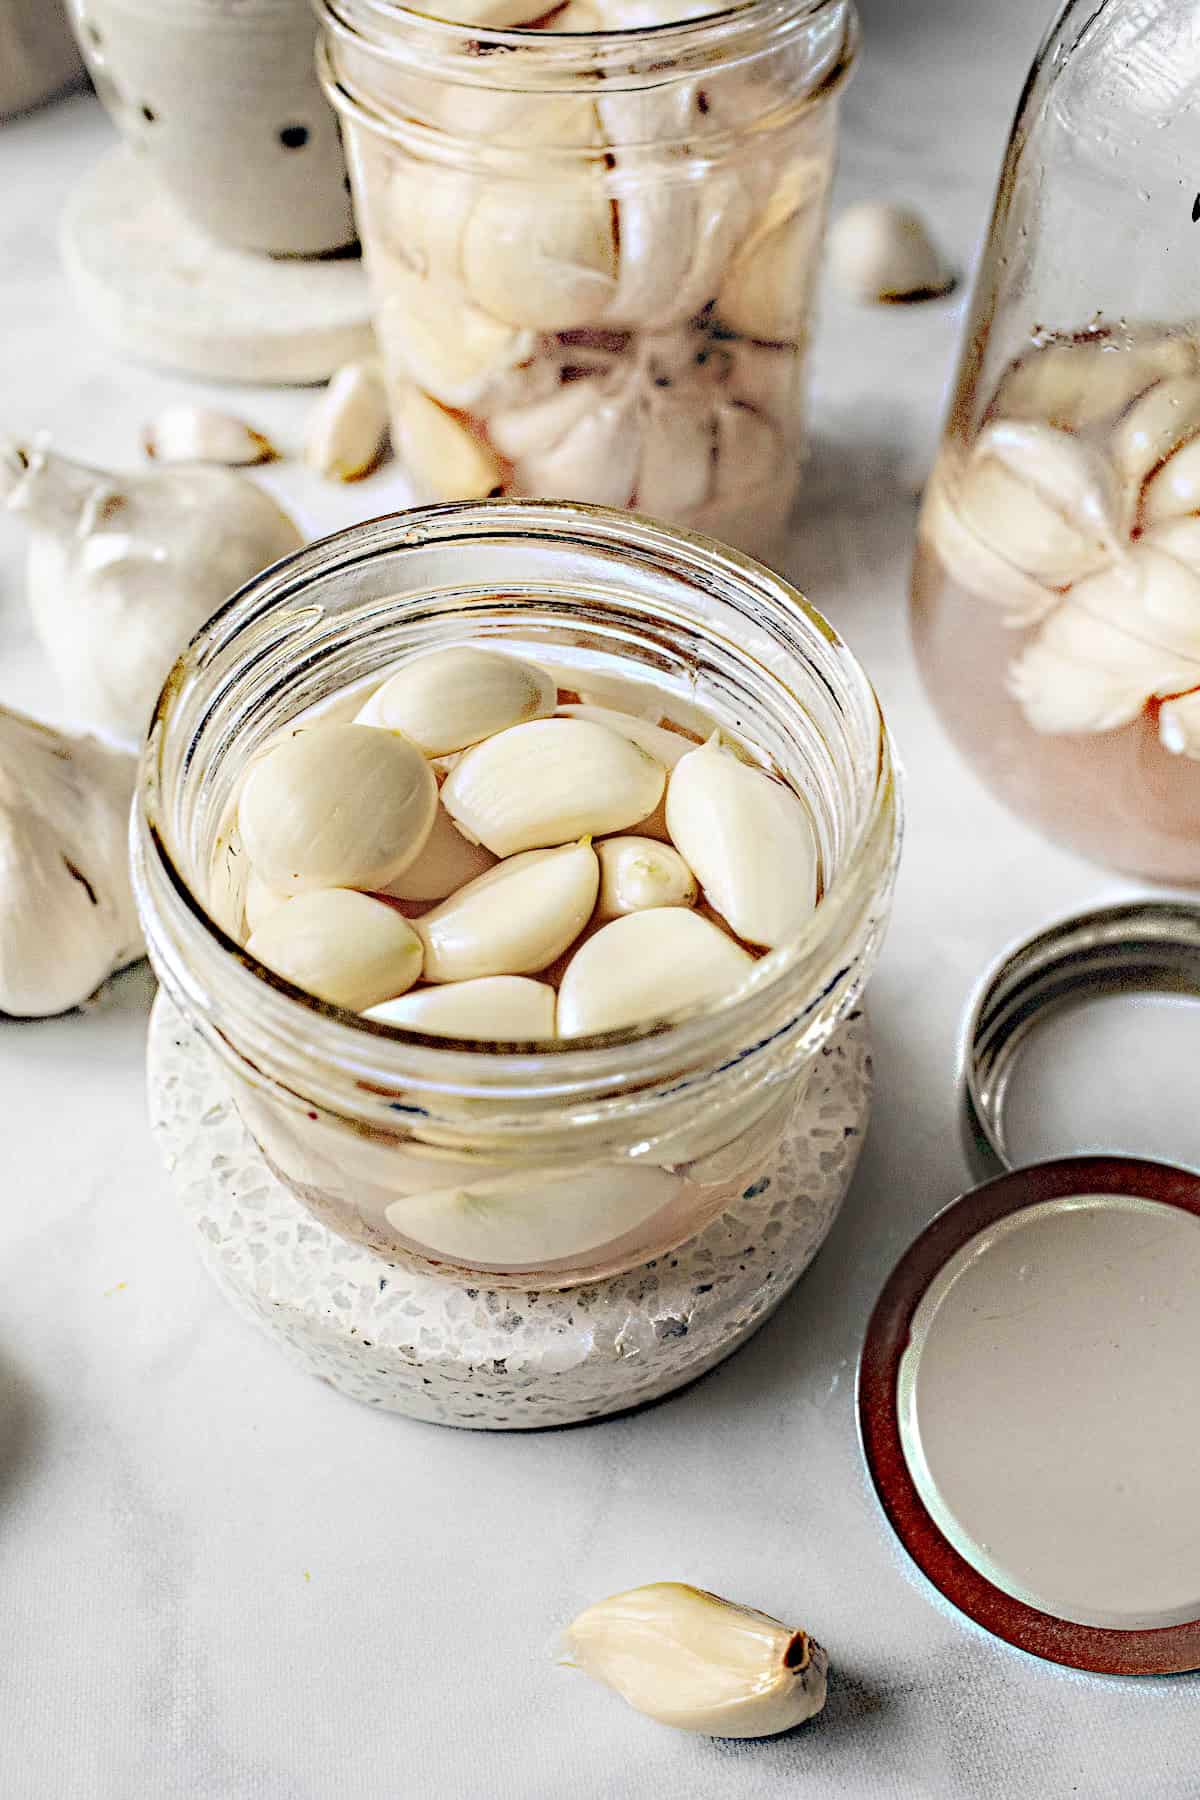
4. Add the Pickling Liquid. Place the garlic in a clean glass jar or pint jar. Pack the garlic tightly, and pour the cooled pickling liquid over it, leaving about 1 inch of space at the top.
5. Refrigerate: Seal the jars and store them in the refrigerator for up to 3 months. Let them sit for at least 1 week before enjoying. Always keep the jars at room temperature before refrigerating to ensure even flavor development.
Easy Way to Peel Garlic
- Rolling Pin Method: Place garlic cloves in a small plastic bag or glass container, lightly crush them with a rolling pin, and shake the bag to loosen the skins. Remove the peeled garlic.
- Soaking Method: Soak garlic cloves in water for a few minutes, then rub them against a kitchen towel. The peels will slide right off!
Tips for Pickling Garlic
- Why Garlic Turns Blue: A natural reaction between sulfur compounds and vinegar. It’s safe to eat, but avoid iodized salt to prevent this.
- Peels On or Off: Leaving the garlic skin on is great for whole heads used in curries and soups. Peeling is best for quick snacking or cooking.
- Garlic Variety: Thai garlic is difficult to find in America. Young, elephant or Western garlic also works well.
Storing Pickled Garlic
Store your marinated garlic in clean, airtight glass jars in the refrigerator for up to 3 months. If freezing, do so while the liquid is still loose to maintain texture. Reheat gently if needed, adding enough water to restore the brine.
Benefits of Pickled Garlic
Pickled garlic offers natural antibacterial properties, boosts immunity, and supports digestion, making it as healthy as it is flavorful.

More Recipes from Simply Suwanee
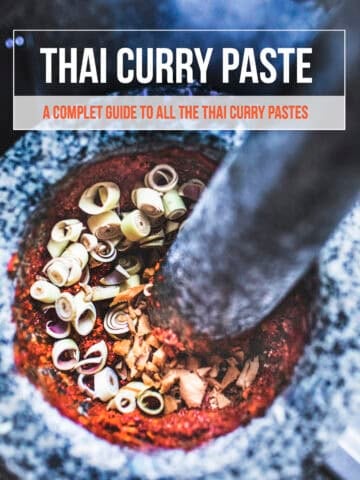
- Gaeng Hung Lay is a Northern Thai curry with spices, fresh ginger, and herbs.
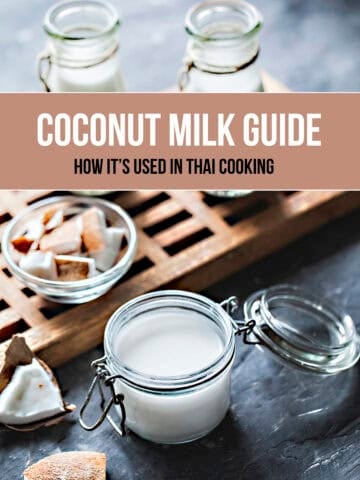
- Khao Soi, a rich, creamy Thai curry with egg noodles and coconut milk
- Easy Thai chili flakes recipe
- How to make sticky rice
Frequently Asked Questions
This is caused by a sulfur-vinegar reaction. It’s safe to eat, but it can be avoided with distilled vinegar and kosher salt.
Start with 1-2 cloves a day for health benefits.
Pickling reduces raw garlic’s antibiotic properties but retains many health benefits.
Love this recipe? Please leave a 5-star rating below and share your experience in the comments. Your feedback helps me improve and inspires others to try these recipes. Thank you for supporting Simply Suwanee!
Print
Thai Pickled Garlic (Kratiem Dong)
- Total Time: 30 minutes
- Yield: 2 cups 1x
- Diet: Gluten Free
Description
Thai pickled garlic, or Kratiem Dong, is a tangy, aromatic, and flavorful condiment that’s a must-have in Thai cuisine. This popular condiment is a staple in Southeast Asian communities, adding bold flavors to soups, curries, and salads. An easy recipe in 5 simple steps!
Ingredients
- 8 ounces (½ pound) fresh garlic. Use elephant or young garlic if possible.
- 1 tablespoon Salt: Use kosher or Himalayan salt for better preservation and a cleaner flavor.
- ⅓ cup white granulated sugar
- ¼ cup rice vinegar. Regular distilled vinegar is fine.
- 2 cups water. Filtered water is best
Instructions
- Prepare the Brine: In a medium saucepan, combine vinegar, sugar, salt, and enough water. Bring to a boil over high heat, whisking until the sugar and salt dissolve. Remove from heat and let cool.
- Peel the Garlic: Depending on your preference, you can peel the garlic cloves or leave the skins on. For young garlic heads, leaving the skin on is ideal for soups and curries. Trim the crusty brown bottom parts off, too.
- Blanch and Pack the Jar. Blanching the garlic in hot water helps reduce its sharpness, prevents it from turning blue, and kick-starts the fermentation process. For peeled garlic, blanch for 1 minute, and garlic with the peels on, blanch for 2-3 minutes. I like to use 3 small jars: one for peeled garlic, one for cloves, and one for whole heads. Pour the brine into each jar, dividing it as needed.
- Add the Pickling Liquid. Place the garlic in a clean glass jar or pint jar. Pack the garlic tightly, and pour the cooled pickling liquid over it, leaving about 1 inch of space at the top.
- Refrigerate: Seal the jars and store them in the refrigerator for up to 3 months. Let them sit for at least 1 week before enjoying. Always keep the jars at room temperature before refrigerating to ensure even flavor development.
Notes
- Why Garlic Turns Blue: A natural reaction between sulfur compounds and vinegar. It’s safe to eat, but avoid iodized salt to prevent this.
- Peels On or Off: Leaving the garlic skin on is great for whole heads used in curries and soups. Peeling is best for quick snacking or cooking.
- Garlic Variety: Thai garlic is difficult to find in America. Young, elephant or Western garlic also works well.
- Save the brining liquid! This liquid is important in many Thai dishes, like Thai boat noodles and Gaeng Hung Lay curry.
- Prep Time: 20
- Cook Time: 10
- Category: Side dishes
- Method: Pickling
- Cuisine: Thai
More Thai Condiments
Try these other tasty and easy Thai condiments to add bold flavors to your dishes!

Anna says
I had fresh young garlic from my local community garden group and made this recipe 3 weeks ago. I love the flavors so far! On the sweet side but I think it’s supposed to be like that. Can’t wait to use it in recipes. Thank you.