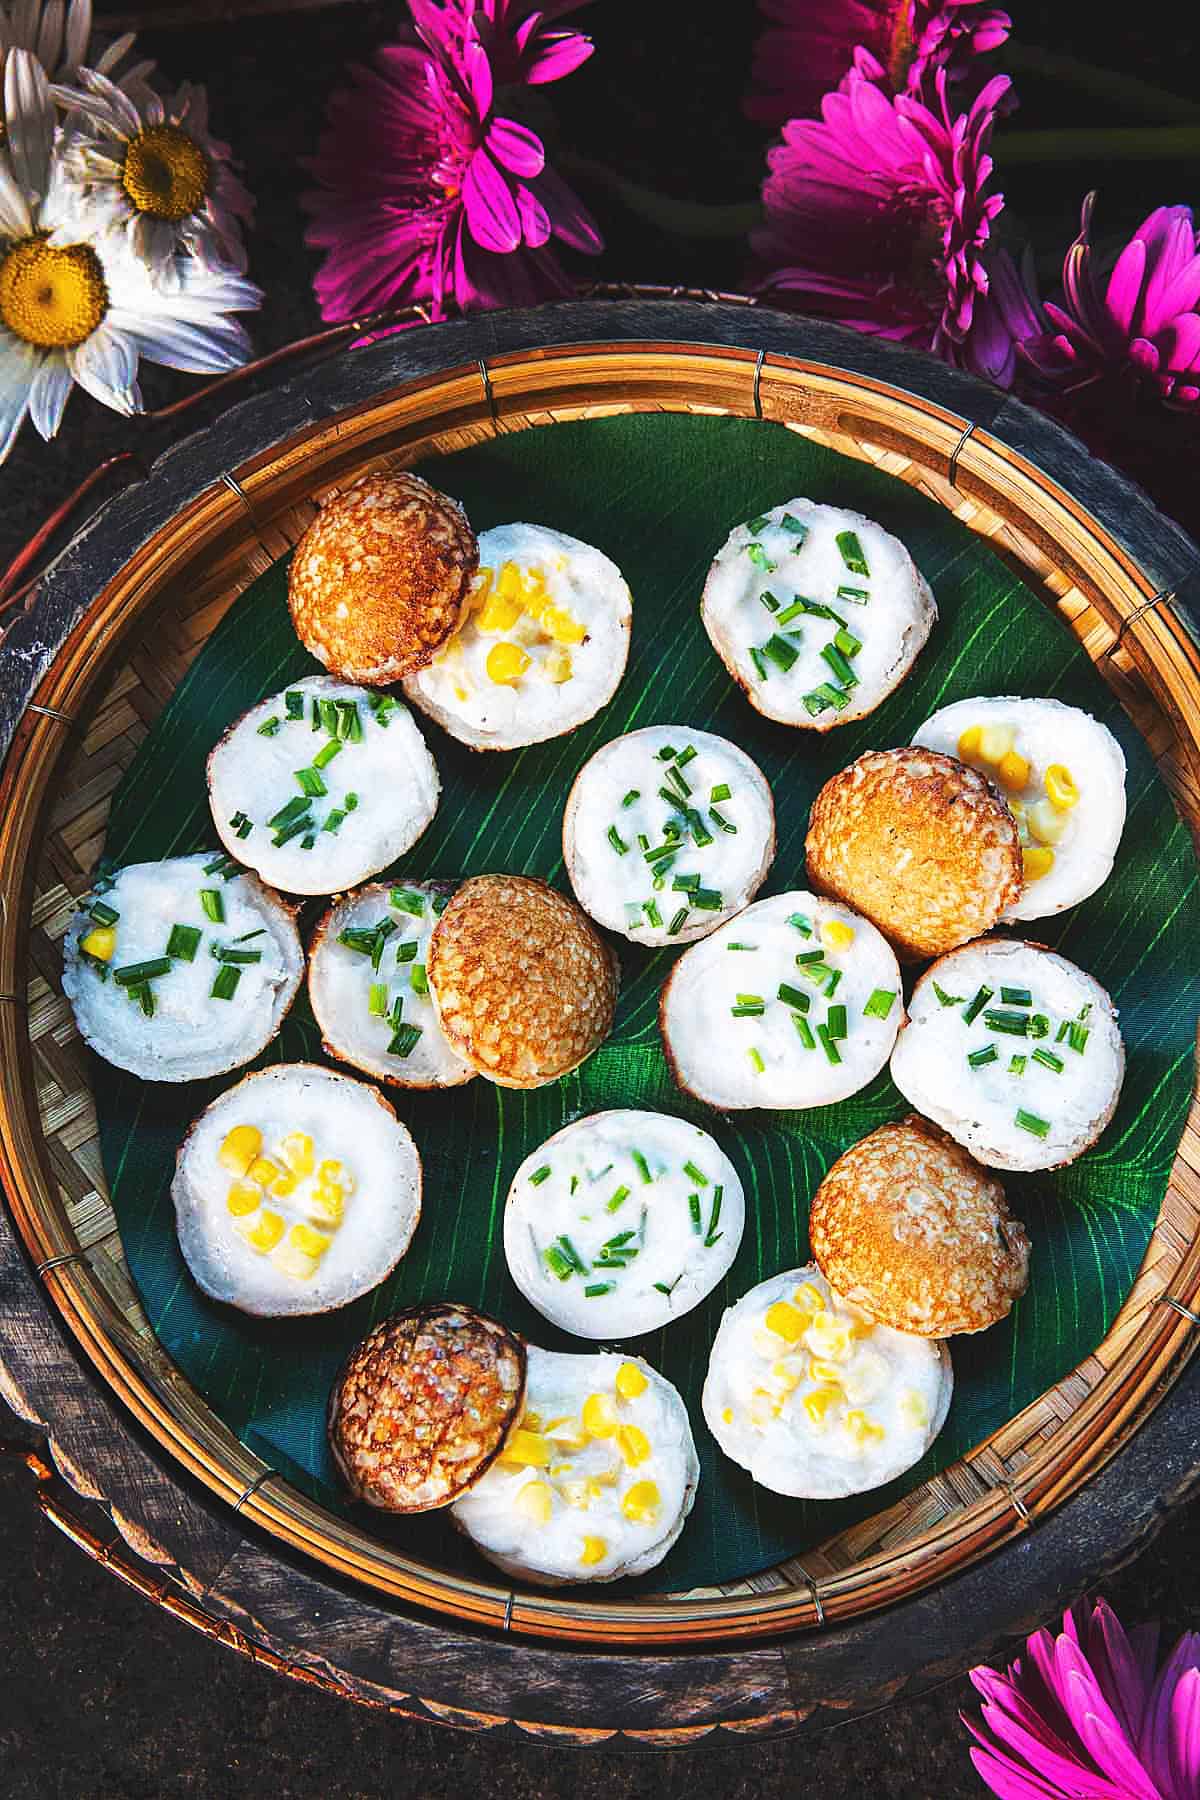
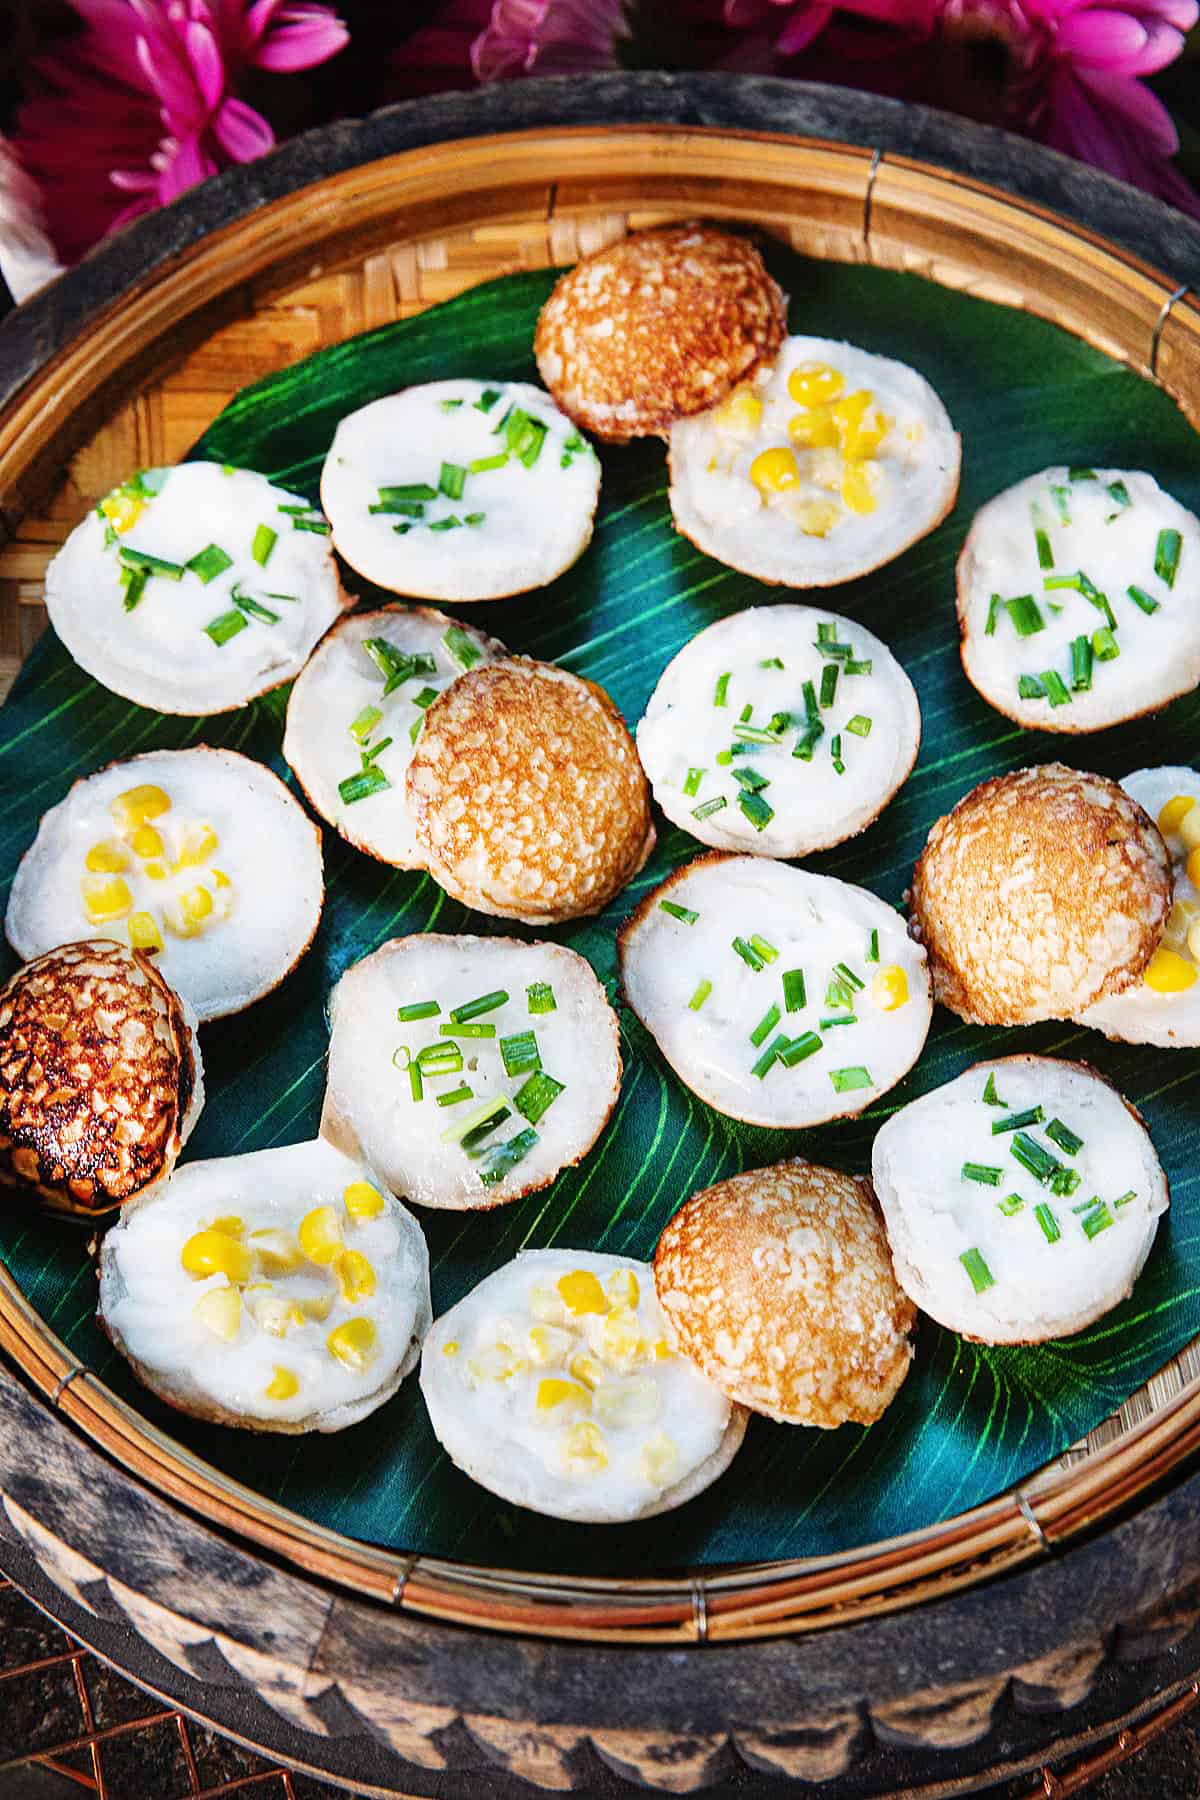
These Thai coconut pancakes kanom krok are crispy on the bottom, creamy on top, and filled with sweet pops of corn, coconut, or chives. They cook in minutes and taste just like the ones from Thai street markets.
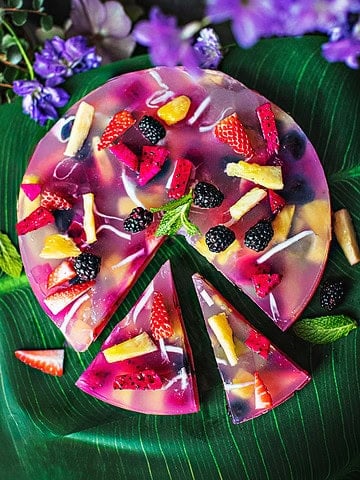
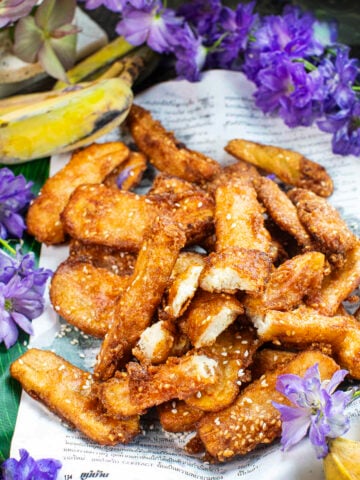
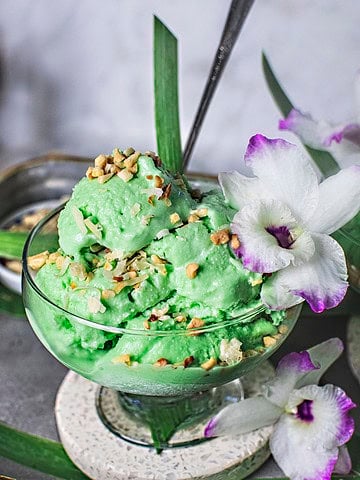
If you love Thai sweets, try my mango coconut sticky rice, pandan sticky rice, panda custard, red rubies (Tub Tim Krob), Thai fried bananas (Kluai Kaejk) and kabocha in coconut milk.
Jump to:
A Simple Dessert
Khanom krok is my mom’s favorite dessert. Every time I flew home from the US to visit my family in Surin, we would stop at the Prasat market and grab a few orders of these coconut pancakes, still hot and fresh from the pan. I always brought extra back to the village for her, and we would sit together, eat a few, and catch up on life.
When making it At home, this deliciously sweet Thai dessert recipe comes together with simple pantry staples like cup rice flour, cup of coconut milk, and cans of coconut milk you can find at your local store.
What is Kanon Krok?
Kanom Krok, also spelled Khanom Krok, is made from a light rice batter topped with a rich coconut mixture that sets into a soft coconut cream layer. The center can be filled with corn kernels, green part of spring onions, or coconut meat.
Traditionally cooked on a kanom krok griddle, you can easily recreate it with a Takoyaki pan, Ebelskiver pan, cast iron pan, or even an electric pan.
You will love this Thai dessert because it cooks quickly, uses simple ingredients, and gives you the same crispy edges and creamy centers you find in Thailand. It is fun, fast, and one of the easiest Thai street foods to make at home.
Ingredients
In this version, I blend a little cooked jasmine rice into the batter. It adds body, aroma, and a beautiful texture that my family loves. Everything else follows the classic two-layer method used by Thai street vendors.
The fillings are completely optional and you can mix and match based on what you enjoy or what you have on hand.
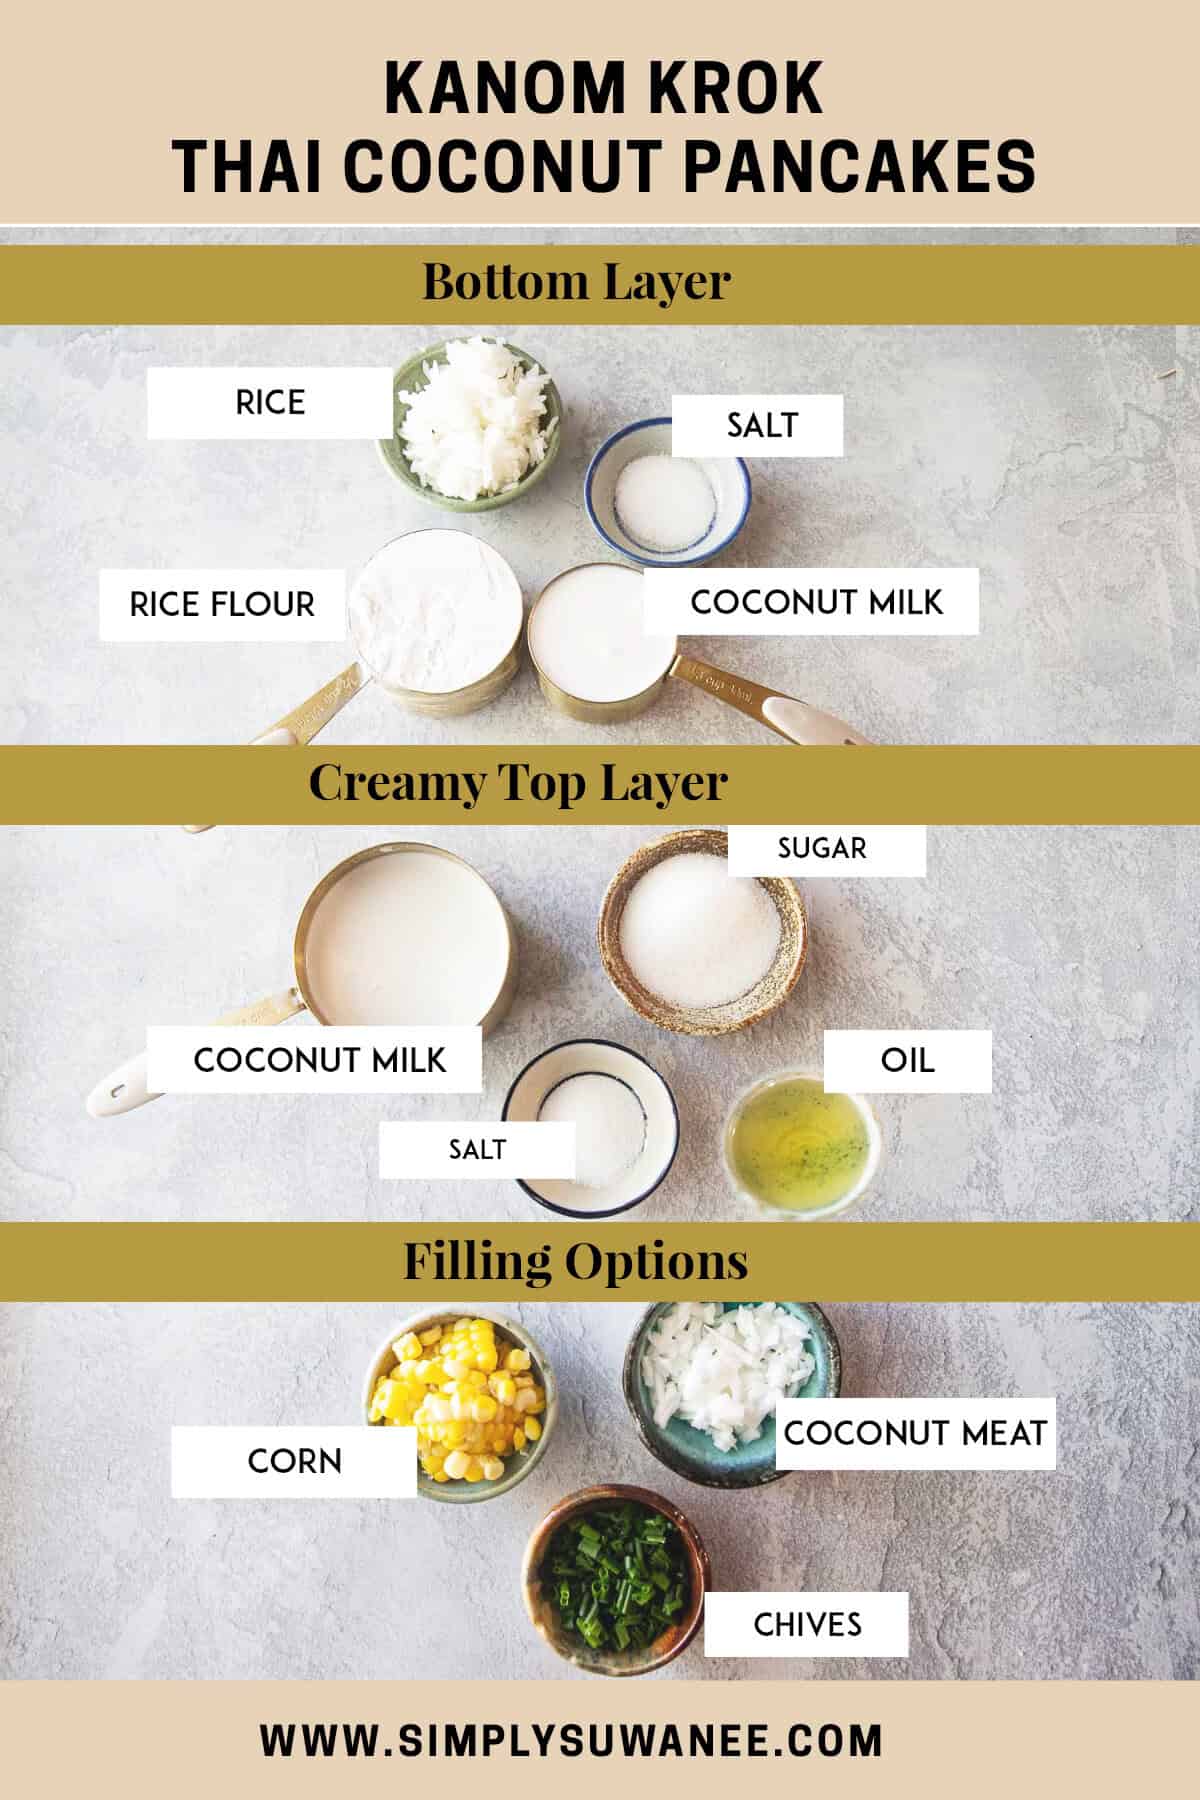
Bottom Batter (Crispy Base)
- Cooked jasmine rice. Adds aroma and a slightly fuller texture to the base layer.
- Rice flour. The foundation of the pancake batter, helping create that lightly crisp outer shells texture.
- Coconut milk. Creates the soft coconut cream topping and rich coconut flavor.
- Sugar. Adds a gentle sweetness.
- Salt. Balances the flavors.
- Cooked jasmine rice. For added texture and body.
Coconut Cream Topping (Creamy Top Layer)
- Coconut milk. Makes the rich, soft coconut cream top layer.
- Sugar. Sweetens the topping.
- Salt. A tiny pinch enhances the coconut flavor.
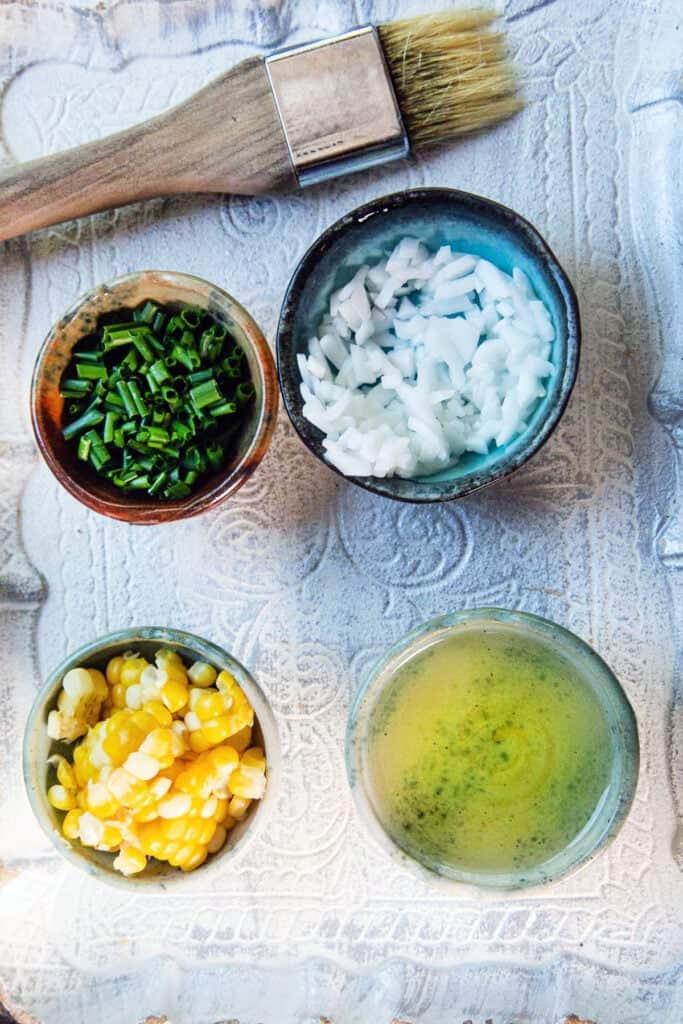
Fillings For Kanom Krok
- Corn kernels. A classic sweet filling.
- Chives or green onions. A savory contrast that Thai people love.
- Fresh coconut meat. Soft, sweet texture in the center of each pancake.
- Steamed taro or sweet potato. Mild, sweet, and earthy, and one of the most traditional fillings you’ll find at Thai markets.
For the Pan
- Oil. Use a neutral oil to grease the cups of the pan and prevent sticking. Coconut oil is a great choice because it adds a light, fragrant aroma to the dessert.
How to Make Kanom Krok
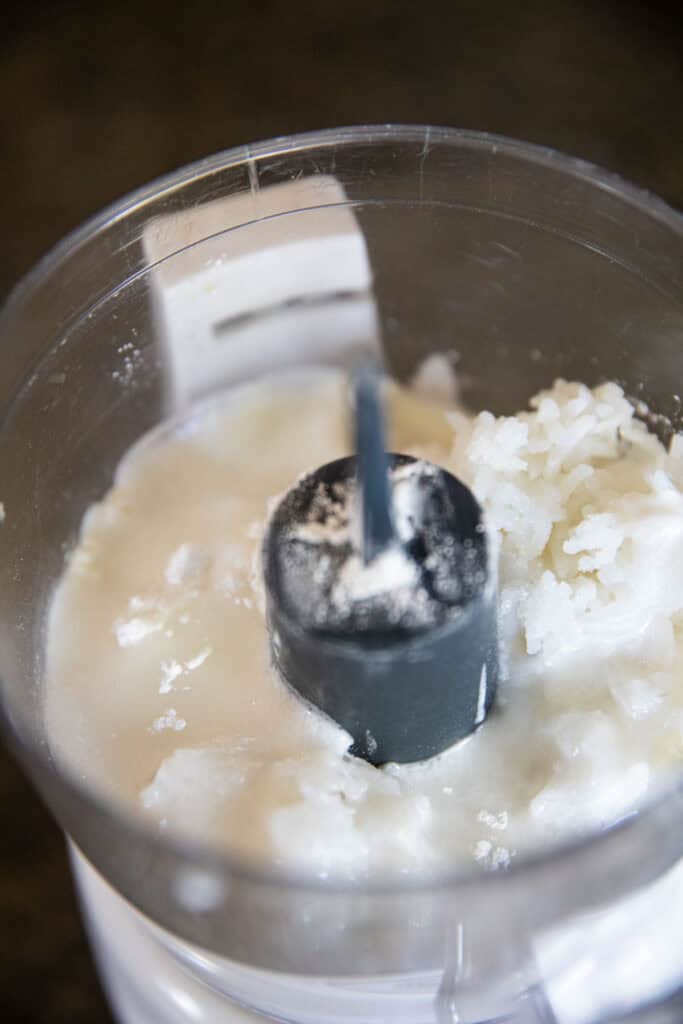
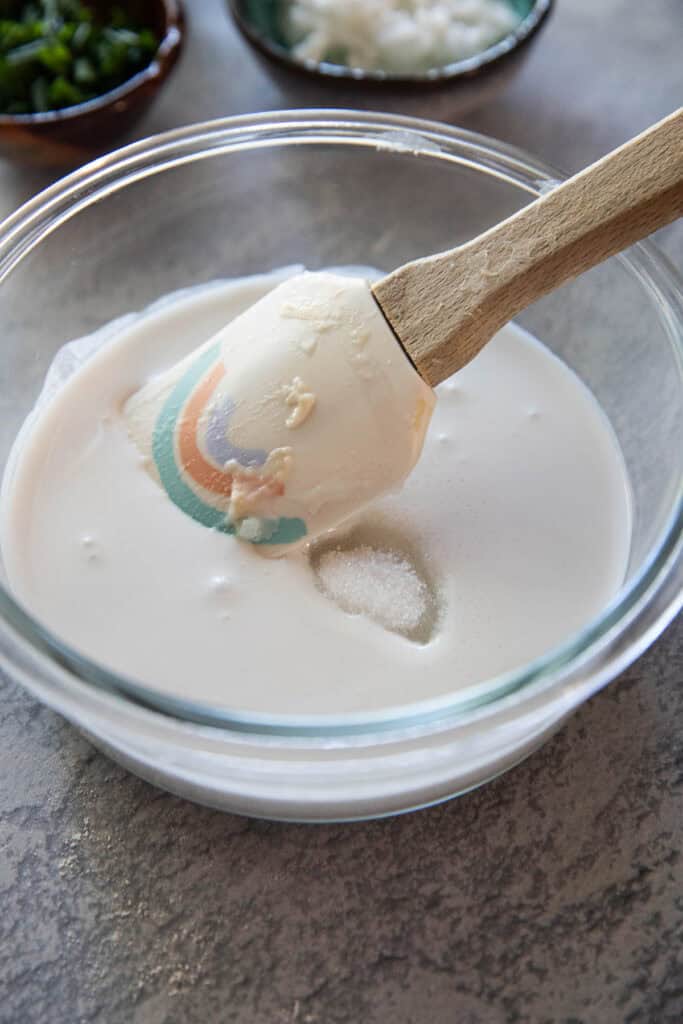
- Blend the bottom batter. For the crispy base, add cooked jasmine rice, rice flour, coconut milk, sugar, and salt to a blender. Blend until completely smooth.
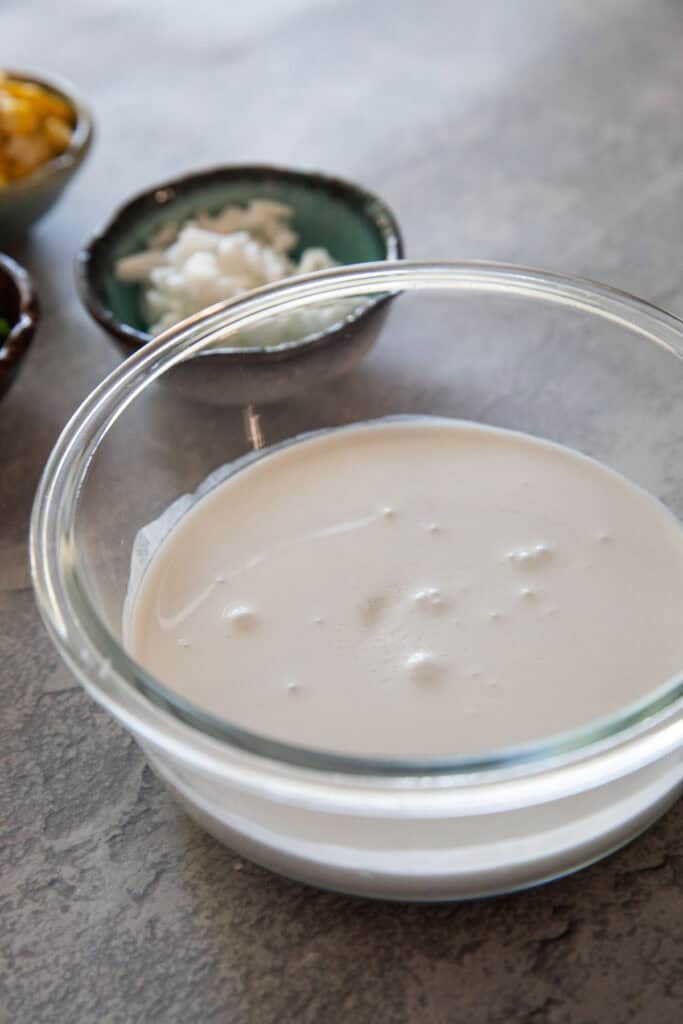
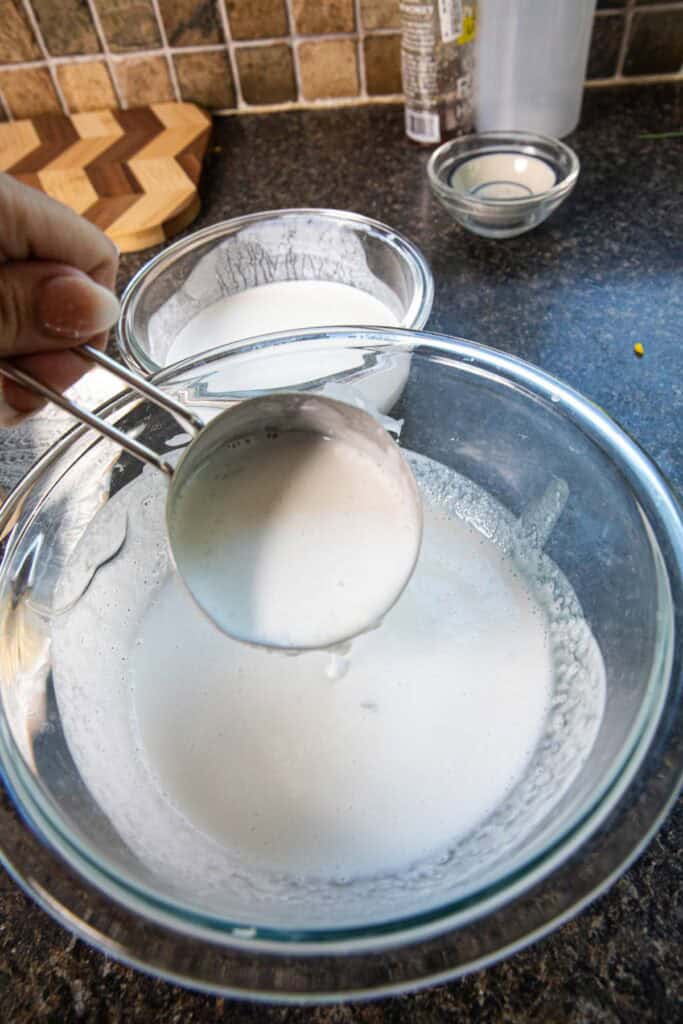
- Make the coconut cream topping. In a small bowl, stir the coconut milk, sugar, and a small pinch of salt until everything is fully dissolved. This mixture creates the soft coconut cream top layer.

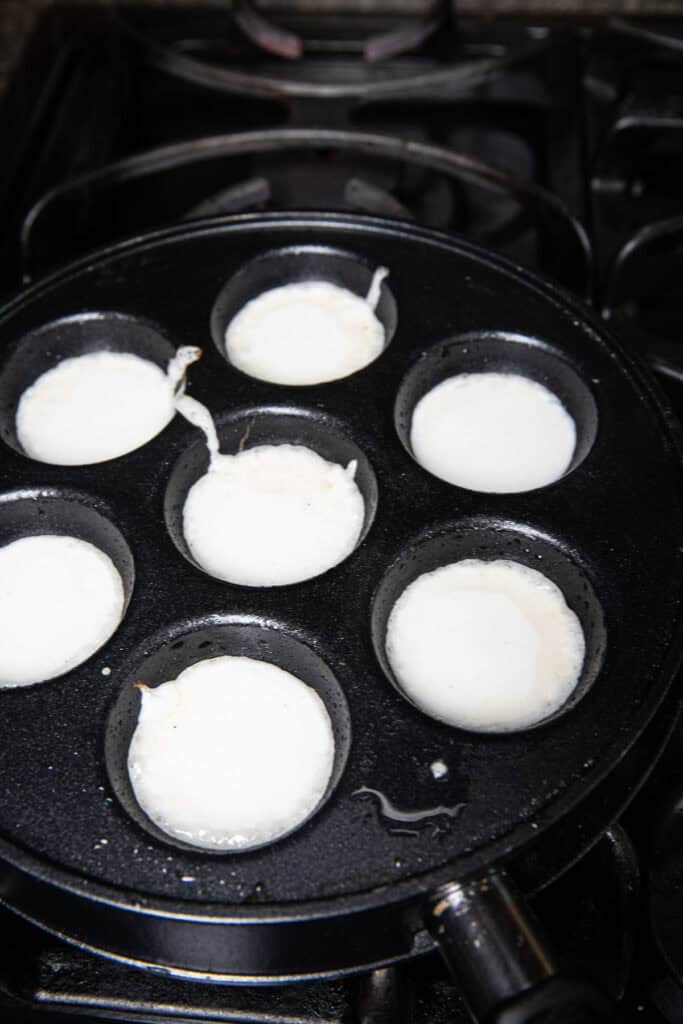
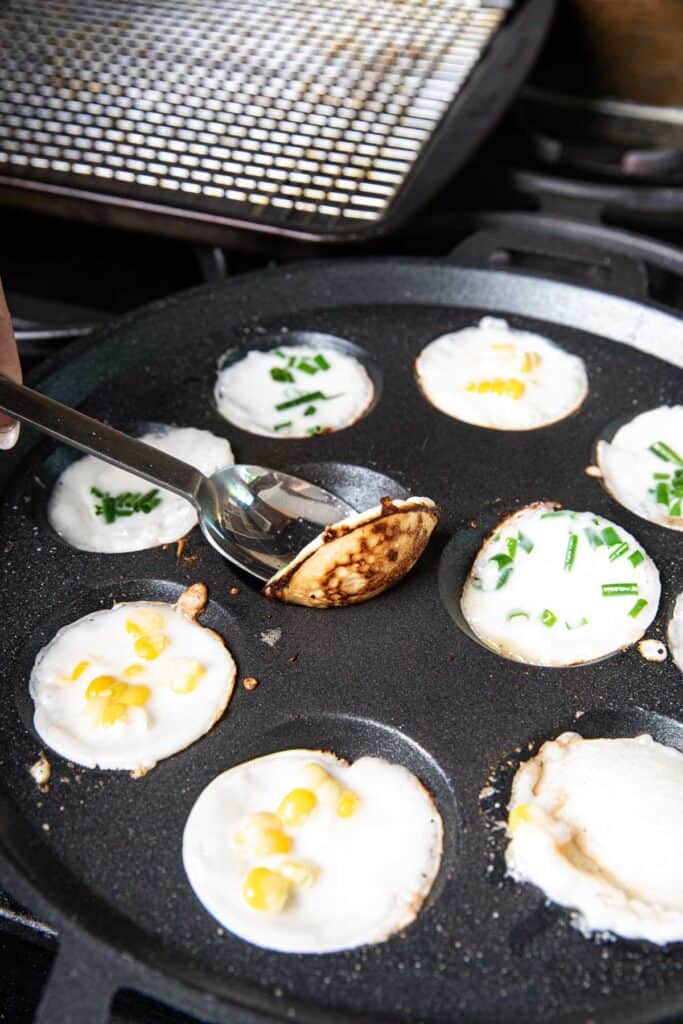
- Heat the pan. Place your takoyaki pan, cast iron pan, kanom krok pan, or electric pan over medium heat until a drop of water sizzles. Coat each cup with melted coconut oil.
- Pour the batter. Fill each cup halfway with the blended batter (bottom layer from step 1 above), and let it cook for 2 to 3 minutes until the edges begin to set.
- Add the coconut cream. Spoon a little of the coconut topping into the center of each pancake so the top layer becomes soft and creamy.
- Add the fillings. Add corn kernels, chives, fresh coconut meat, or steamed taro right into the center of each pancake.
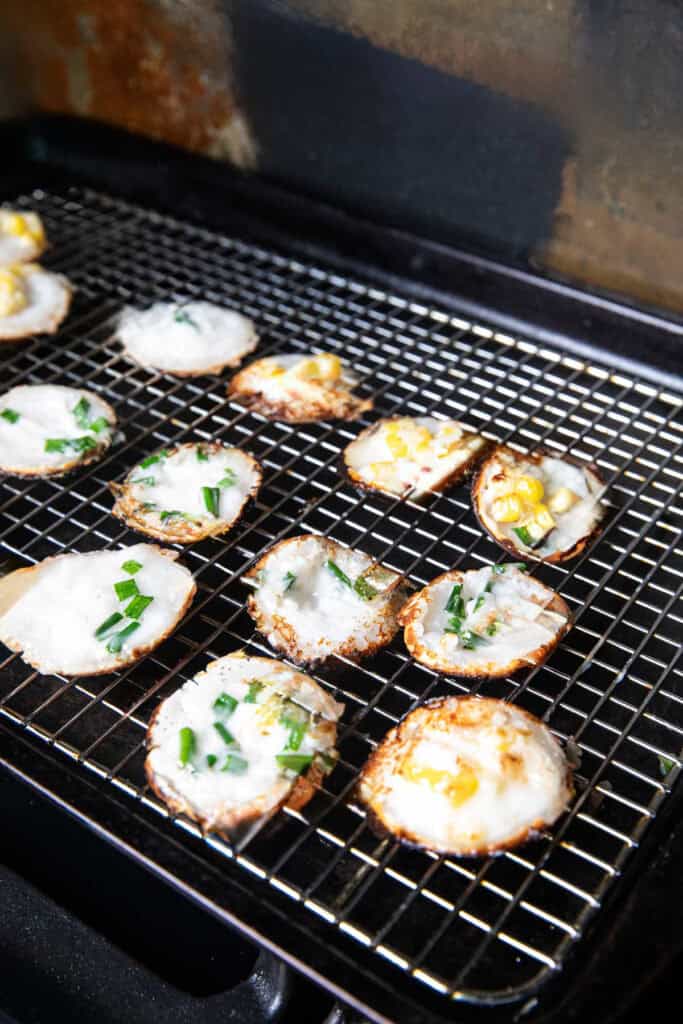
- Cover and cook. Place a large lid over the whole pan and cook for another 2 to 3 minutes until the bottoms turn golden brown and the tops are set.
- Remove and cool. Lift the cooked pancakes with a small spoon or butter knife and cool them briefly on a wire rack to keep the bottoms crisp.

Helpful Kitchen Tips
- Use medium heat for even cooking.
- Let the batter sit for a moment on the work surface so bubbles settle.
- Use vegetable oil or peanut oil if your pan tends to stick.
- If the edges of the pancakes brown too quickly, reduce the heat.
- At the very end, use a small spoon to scoop out the rounded bottom cakes. Trim any dark or burnt edges for a clean, pretty presentation.
How to Store Leftovers
Kanom krok tastes best fresh. Keep leftovers in a covered container for one day. Reheat on a hot griddle without oil to bring back crispiness. Store leftover batter in the fridge for one day.
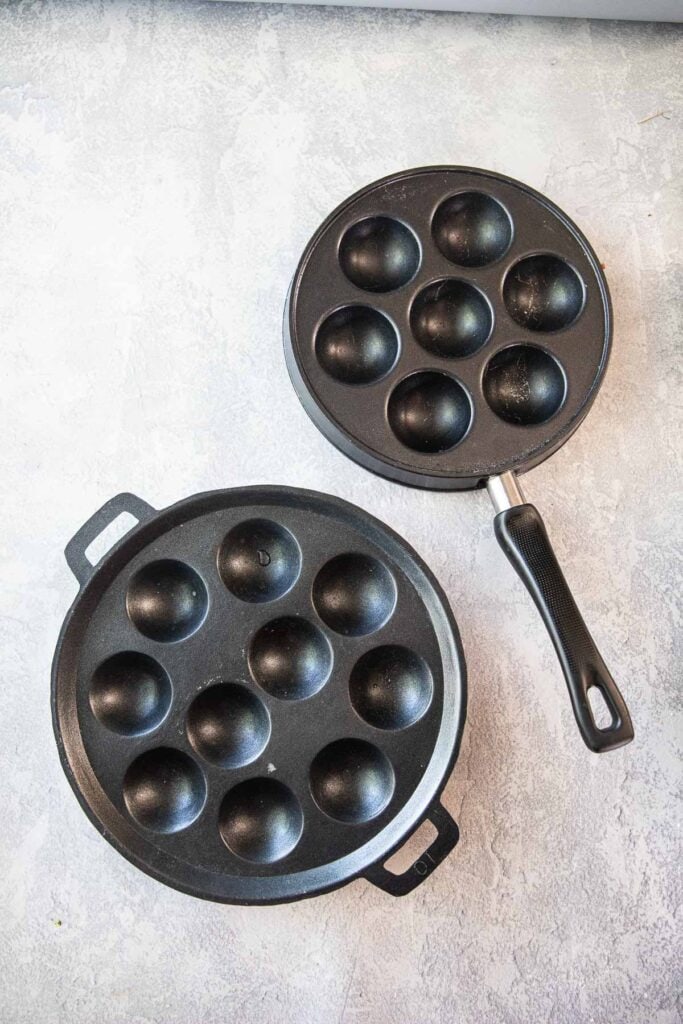
Equipment for Kanom Krok
The pan you use really matters for this recipe. Kanom krok needs those little round cups to get the crispy bottoms and soft creamy tops, so a regular skillet will not do the job. Luckily, there are a few great pans that work beautifully at home.
- Victoria Cast Iron Poffertjes Dutch Pancake Pan. Heats evenly and makes perfect crisp bottoms.
- Japanese Taponyaki pans. The closest to a real kanom krok pan and always reliable.
- Nordic Ware Danish Ebelskiver Pan. Lightweight and easy to use.
- Cast Iron Aebleskiver Pan – Authentic Danish Pancake Maker. Heavy, durable, and gives that authentic street food feel.
Any of these pans will make the process simple and help you get that classic kanom krok texture every time.
FAQ
Your pan may not be hot enough. Always heat the pan on medium until a drop of water sizzles, then add oil before pouring the batter.
You can, but the pancakes will not be as creamy. Full-fat coconut milk gives the top layer its soft custard-like texture.
Yes. You can make the batter a few hours ahead. Stir well before cooking because rice flour settles to the bottom of the bowl.
Add a little more oil or let the pan heat fully before pouring the batter.
More Thai Desserts
Looking for other recipes like this? Try these:

Kanom Krok (Thai Coconut Pancakes)
- Total Time: 30 minutes
- Yield: 6 servings (10-12 cakes) 1x
- Diet: Vegan
Description
Make crispy bottom, soft top thai coconut pancakes kanom krok at home using a takoyaki pan or kanom krok pan in just a couple of minutes.
Ingredients
Outer Shell (Bottom Batter)
- 1 cup coconut milk
- ¼ cup cooked jasmine rice
- 5 tablespoons rice flour
- ¼ cup sugar
- ¼ teaspoon salt
- ¼ cup oil, for greasing the pan (coconut oil or neutral oil)
Inner Cream Layer (Coconut Topping)
- ½ cup coconut milk
- 2 tablespoons rice flour
- 2 tablespoons sugar
- Pinch of salt (optional but recommended)
Fillings (Optional)
- 2 tablespoons corn kernels
- 2 tablespoons chopped chives or green onions
- 2 tablespoons fresh young coconut
- 2 tablespoons steamed taro or sweet potato (optional)
Instructions
- Blend the bottom batter. For the crispy base, add cooked jasmine rice, rice flour, coconut milk, sugar, and salt to a blender. Blend until completely smooth.
- Make the coconut cream topping. In a small bowl, stir the coconut milk, sugar, and a small pinch of salt until everything is fully dissolved. This mixture creates the soft coconut cream top layer.
- Heat the pan. Place your takoyaki pan, cast iron pan, kanom krok pan, or electric pan over medium heat. Coat each cup with melted coconut oil.
- Pour the batter. Fill each cup halfway with the blended batter (bottom layer from step 1 above), and let it cook for 2 to 3 minutes until the edges begin to set.
- Add the coconut cream. Spoon a little of the coconut topping into the center of each pancake so the top layer becomes soft and creamy.
- Add the fillings. Add corn kernels, chives, fresh coconut meat, or steamed taro right into the center of each pancake.
- Cover and cook. Place a large lid over the whole pan and cook for another 2 to 3 minutes until the bottoms turn golden brown and the tops are set.
- Remove and cool. Lift the cooked pancakes with a small spoon or butter knife and cool them briefly on a wire rack to keep the bottoms crisp.
Notes
- Use medium heat for even cooking.
- Let the batter sit for a moment on the work surface so bubbles settle.
- Use vegetable oil or peanut oil if your pan tends to stick.
- If the edges of the pancakes brown too quickly, reduce the heat.At the very end, use a small spoon to scoop out the rounded bottom cakes. Trim any dark or burnt edges for a clean, pretty presentation.
- Prep Time: 20
- Cook Time: 10
- Category: Desserts
- Method: stovetop
- Cuisine: Thai
Hi there, I’m Suwanee!
I’m the person behind this Thai food blog. I spent the first thirteen years of my childhood in Thailand, where I fell in love with the flavors of Thai cooking. What started as sharing recipes from my kitchen has grown into a journey from home cook to restaurant chef — and now one of just eight contestants chosen nationwide for PBS’s The Great American Recipe, Season 4. You’re in the right place if you love to cook Thai food. Come by often, and let’s get cooking!
Leave a Reply